Cleaning a bathroom isn’t exactly a job we want to do. It’s dirty, it’s tiring and you never know which section to start working on first.
But sprucing up a bathroom has to be done at some point, whether we like it or not!
So, how do you clean a bathroom properly, and how do you make the most out of a tidying exercise?
Keep on reading and you’ll discover a step-by-step guide to cleaning a bathroom.
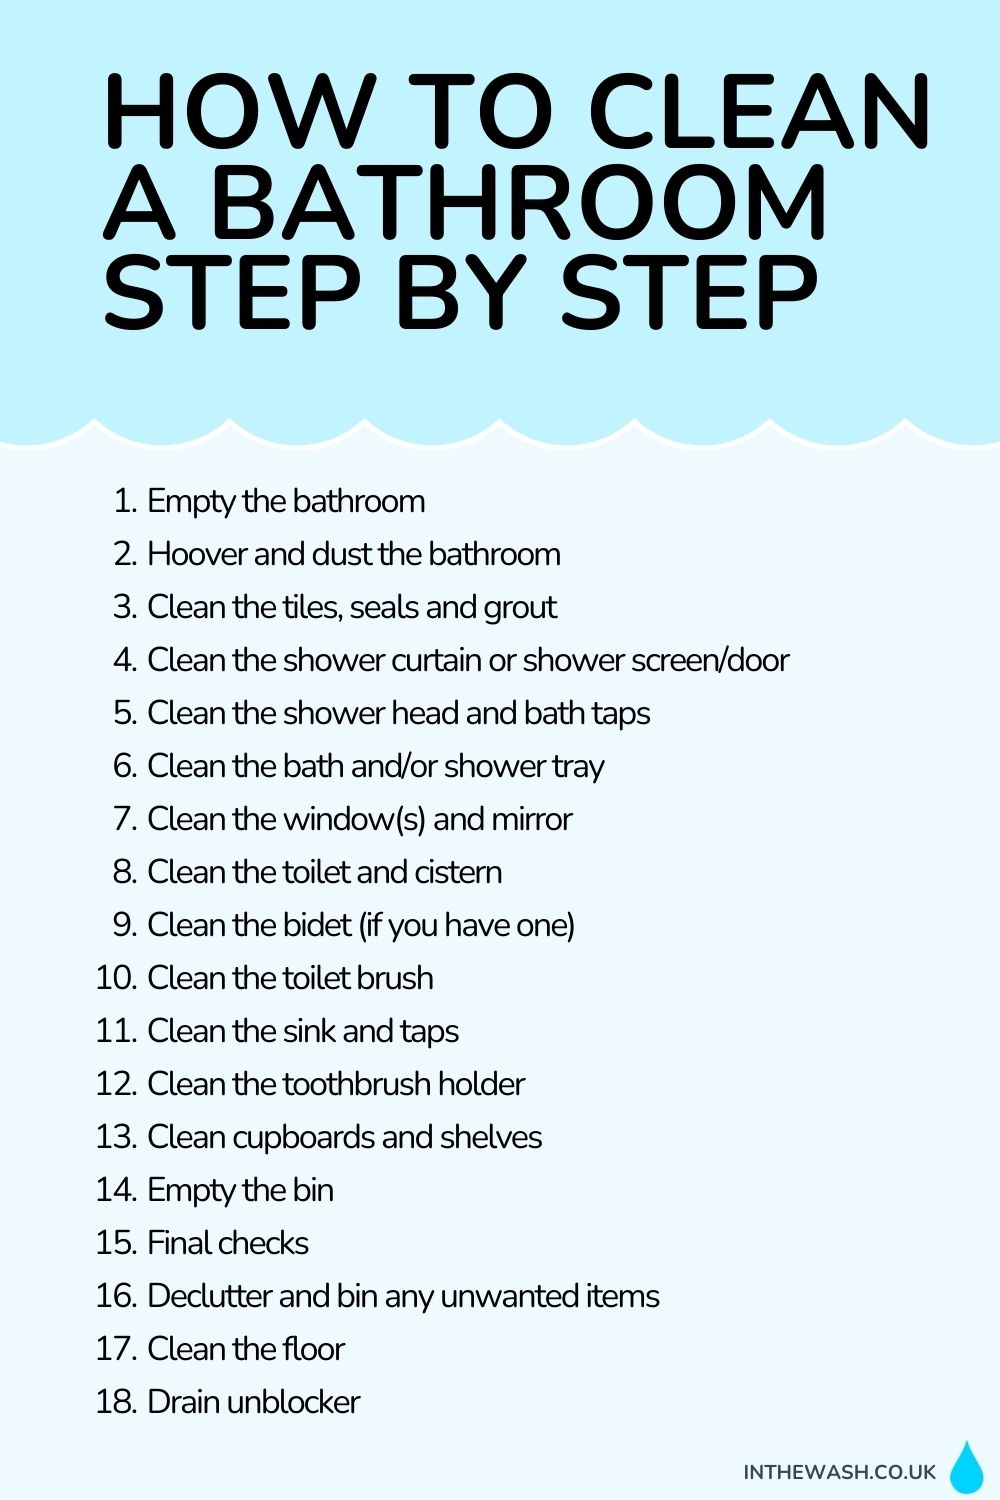
How to Clean a Bathroom Step by Step
When cleaning a bathroom, it’s often easier to work from top to bottom, so start by cleaning the roof and work down to the floor.
If you clean the floor first, you’ll have to walk all over it to clean other surfaces in the room, and this would defeat the object of you cleaning the floor to start off with.
It’s also easier if you do your dry cleaning first, sweeping for example, and then go on to work with liquid cleaning products. It is often difficult to remove dirt, like hair, from surfaces when they’re damp.
It’s also essential that you gather all of your cleaning supplies before you start this cleaning process.
This will allow you to get the job done much quicker because you won’t be going back and forth collecting cleaning products.
Items you will need along the way include, but are not limited to:
- Gloves
- Hoover
- Cloths
- White vinegar
- Multisurface cleaner
- Water
- Glass cleaner
- Mop and bucket
- Toilet cleaner
- Toothbrush
- Disinfectant spray
- Spray bottle
Follow the step-by-step guide below to clean your bathroom.
Remember: You will need to replace your cleaning tools, like sponges, cloths and toothbrushes, before moving on to clean a new space. You must not use the same cloth to clean a toilet and a sink, for example – this is unhygienic, so change your tools.
You should also wear gloves throughout this entire process. And you need to keep the window(s) open so fresh air can get into the room.
Step 1: Empty the bathroom
A simple place to start when cleaning a bathroom is to empty it of its entire contents. You should gather up all your shampoos, toilet rolls, soaps, shavers, towels, bathmat and any other items you keep in the room, and put them aside.
The bathroom should now be quite empty and this’ll make the cleaning exercise easier!
It’s also a good idea to pop your dirty towels and bath mat in the washing machine at this point. They’ll be clean by the time you’re done, and can be dried and replaced.
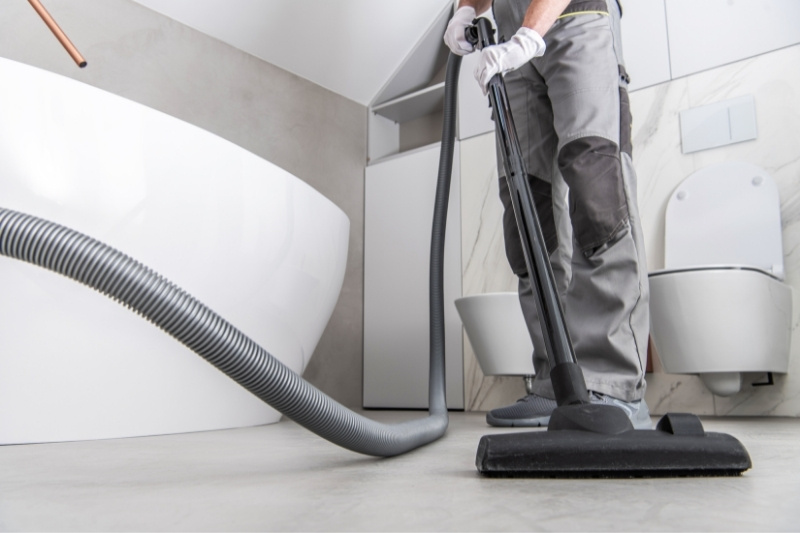
Step 2: Hoover and dust the bathroom
It’s better to start cleaning your bathroom when it’s dry. Liquid tends to make dust go all clumpy and it’s not so easy to clean dirt off surfaces that are moist.
In fact, this can make the cleaning process more frustrating and needlessly longer, because you often have to go back to re-clean surfaces.
So, hoover the floor, around the windows, the sills, the blinds, the roof, the extractor fan, along the skirting boards and behind the sink and toilet. You can also dust these areas to make sure they’re extra clean!
Make sure you catch and clean those pesky cobwebs away – especially the ones lurking behind the radiator!
Step 3: Clean the tiles, seals and grout
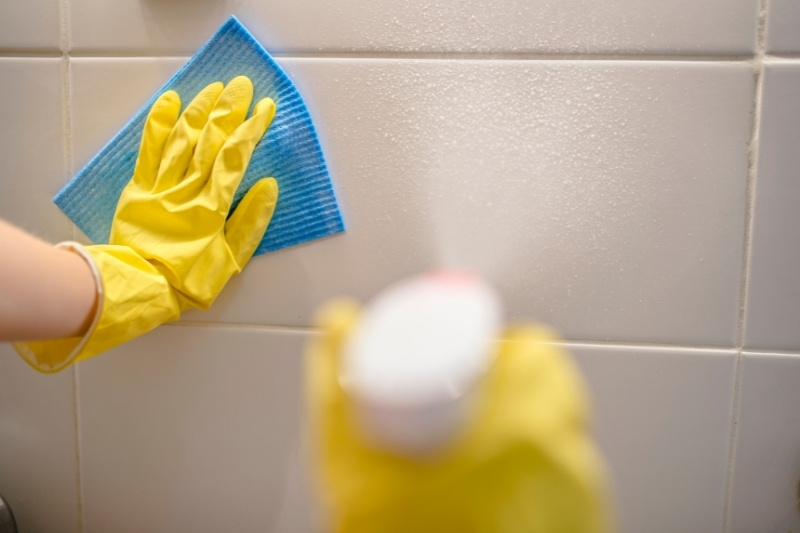
It’s not much work to restore tiles to their former glory. To clean your bathroom’s tiles, you can create a white vinegar and water spray for the job (50/50 will do). Simply spray the solution directly onto and all over the tiles, and wipe them down with a cloth.
Seals and grout, on the other hand, don’t always age well and can start to look black with time.
To clean the seals and grout in your bathroom you should apply a bicarbonate of soda and white vinegar mix to the areas. Then you need to rub the surfaces with a soft toothbrush to clean the grime away.
In some cases, if the seal is too bad to clean, replacing it might be the only option.
For mildew and mould related problems you will need to treat them with a professional cleaner. A product like HG Mould Spray would work a treat, and it also helps to manage the issue.
See our guide on cleaning mould off bathroom sealant for some more tips.
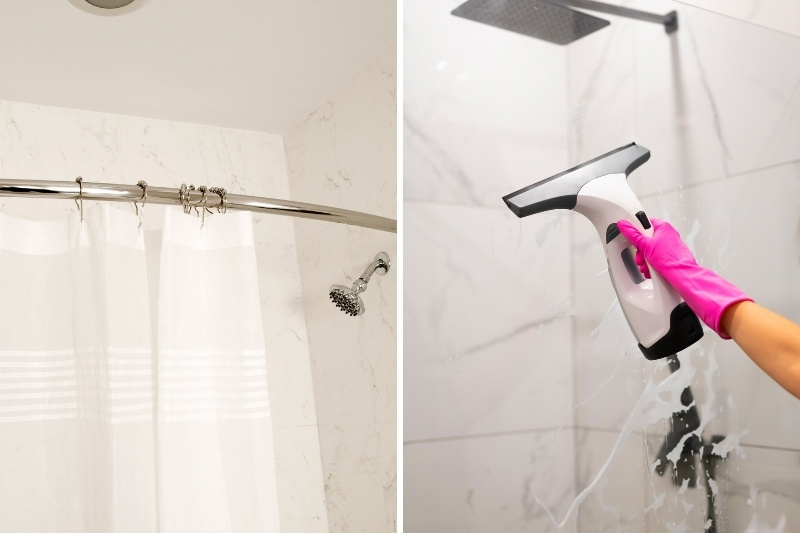
Step 4: Clean the shower curtain or shower screen/door
Shower curtains are some of the dirtiest items in a bathroom, and if they’re not maintained, they can start to look really rugged and grotty.
It just so happens that you can clean a shower curtain with ease. You can either wash a curtain by hand or in a washing machine.
All you need to do is check the care labels on your shower curtain, choose a suitable washing method, see the cleaning through and hang the curtain back up to dry. It’s as simple as that!
Find out more on how to wash a shower curtain and what products to use in our in-depth guide.
If you don’t have a shower curtain and you have a screen/door instead, you can use a multipurpose bathroom cleaner, or a white vinegar and water mix to clean it.
All you need to do is spray the mixture onto the screen/door, wipe the screen down with a cloth, rinse it with warm water and use a squeegee to remove excess product.
In addition to the above, you will need to clean the plastic strip that runs along the bottom of the door. Water tends to collect in this section, so mould and grime like to set up home here.
If you don’t clean this area regularly it will turn a funny colour, may become redundant and perhaps it’ll have to be replaced.
It just so happens that cleaning this tiny section isn’t too difficult. All you need to do is remove the plastic strip, add a cleaning solution to it and use a toothbrush to dislodge the grime. And if you need to up your game, add bicarbonate of soda to the strip and keep on scrubbing.
Just make sure to dry your plastic strip off before you replace it.
Step 5: Clean the shower head and bath taps
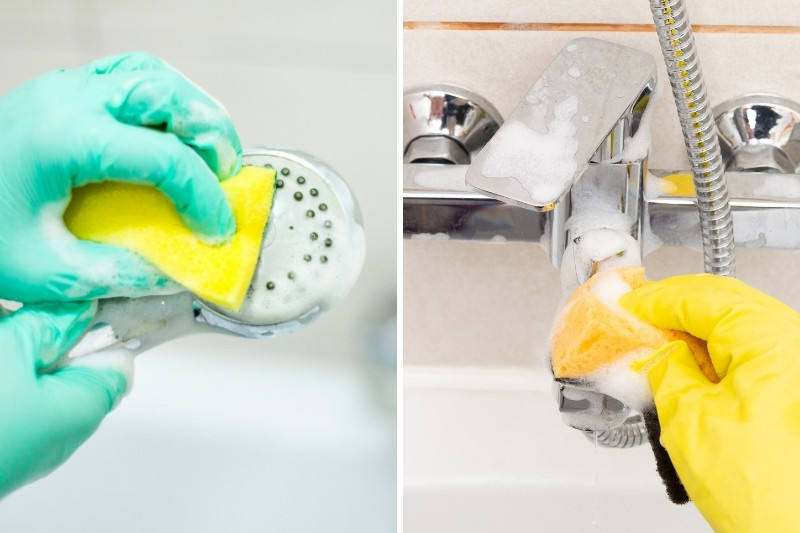
Limescale can quickly build up inside and outside a shower head, and it can really hinder how the shower works. So, it’s essential that you remove this chalky build up before it causes mayhem.
To clean a shower head you can use an off the shelf limescale cleaner for the job, or you can go natural and use white vinegar. If you’re going to buy a product, just follow the instructions on the bottle to find out how to use the item correctly.
If you’d rather go down the vinegar route, how you’ll actually clean the head will depend on what type of shower you’ve got – fixed or not.
If you’ve got a detachable shower head, you can pop the shower off its hook, and put the head in a bowl of white vinegar for about half an hour to clean it (ideally a longer period would be better but it’s not always essential).
If your shower is fixed, you’ll need to fill a large bag with a few cupfuls of vinegar, but don’t overfill the bag. Then you need to carefully slot this bag over the shower head and secure it in place.
The vinegar should be making contact with the shower. Leave the vinegar and shower head alone for about half an hour, so the vinegar can work its magic.
At the end of both processes you should use a soft toothbrush to rub away dirt that’s lodged in the head. And when you’re done, you should rinse the shower head down, replace it and turn the shower on to clean out the sprayers.
You can wipe down the shower pipe and box with a multipurpose cleaner. This method can also be used to clean the bath’s taps too.
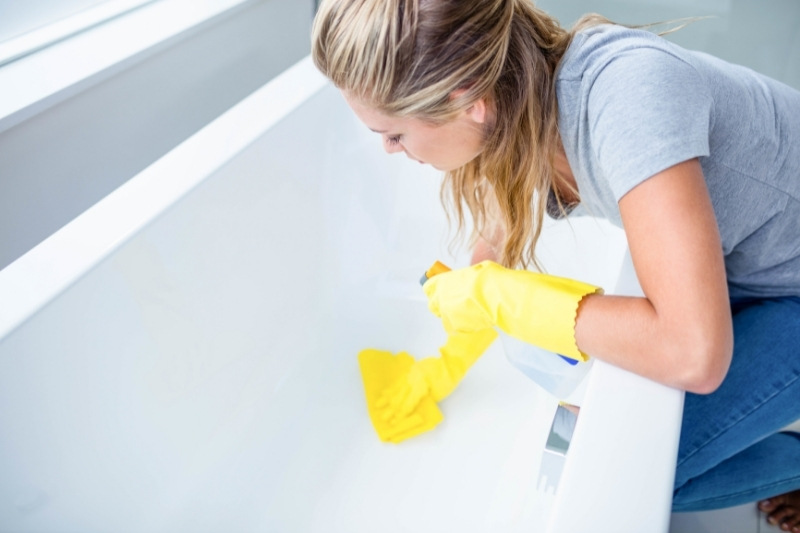
Step 6: Clean the bath and/or shower tray
Before attempting to clean a bath/shower tray out you should remove any hair from the plug. It’s not a very nice job, but it’s an essential one. Hair usually gets stuck in pipes, clogs up drains and usually prevents dirty water from draining away.
If you don’t use a hair catcher in your drain, you’ll need to use tweezers to pull any visible hair out of the drain. You need to dispose of this waste in a bin – don’t flush it down the loo!
To clean the actual bath or shower tray, just coat the surface in a bathroom cleaner. Then massage the cream into the bath/shower tray with a cloth, and rinse the area down when you’re done.
Remember to clean out the soap holders that are built into your bath and trays too. They’ll be harbouring a lot of scum that needs to be cleaned away!
Using a specialised bathroom cleaner for this kind of job is ideal, because these cleaners can remove oily residues and limescale from tubs. These deposits are usually left behind by soaps and oils you add to a bath or are left by water.
You can also treat any rusty patches or stains that you see in the bathtub/ shower tray too, like those found around the plug area. To remove such marks, you can use a basic vinegar and lemon mixture!
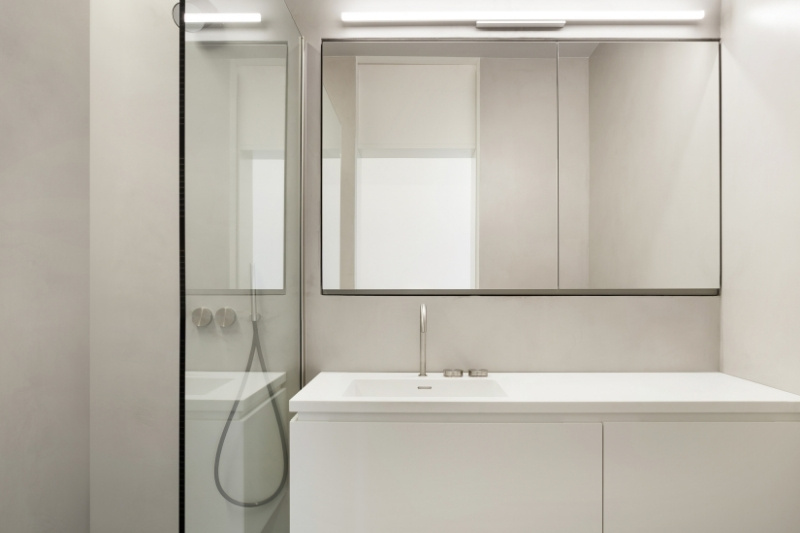
Step 7: Clean the window(s) and mirror
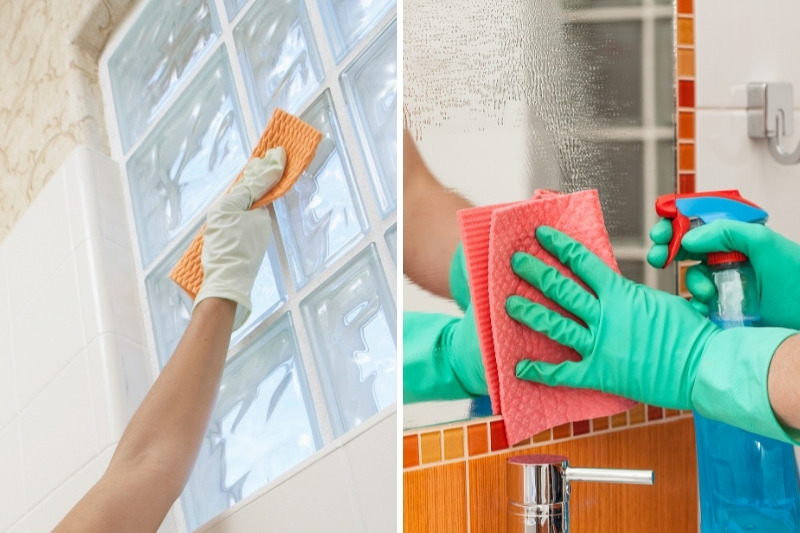
Windows get incredibly dusty and mucky, and it’s this grime that makes them look aged and discoloured!
So, to keep windows looking in tip-top condition just clean the dust away from the frame, and use a window cleaner spray to clean the glass itself.
Just like windows, mirrors can become quite dirty if they’re neglected over a period of time. If they’re not being plagued by makeup, someone will accidentally spit some toothpaste over them. So, they can end up looking pretty grubby!
To clean a mirror just mix one part white vinegar to three parts water in a spray bottle, then spray the mirror, and wipe it down with some kitchen towel.
Kitchen towels prevent smears from forming on the mirror, and they’re often chosen over cloths, because cloths sometimes leave tiny fibres behind on surfaces.
Alternatively, you can use a window cleaner instead – the one from Method noted above would do the trick. It would also leave a minty smell behind, which is an added bonus.
A clean window can allow a lot of natural light in and a clean mirror can make a room look a lot bigger!
Step 8: Clean the toilet and cistern
Most toilets will have some limescale build up in them because water sits stagnant at the bottom of the loo. So, even if your toilet doesn’t look smeared with dirt it’ll still need a clean.
One of the simplest ways to wash a toilet is to use a toilet cleaner. Specialised toilet cleaners are not very expensive to buy, and you can buy a branded or an unbranded cleaner for the job.
To use a toilet cleaner, read the instructions on the product’s packaging and follow the advice given.
If you’ve got a stained toilet bowl, and you need to get rid of the marks, you’ll need to treat the toilet and this may take some time. You can remove the marks by using natural products, like vinegar, bicarbonate of soda, lemon juice or you can even try denture cleaning tablets!
Just add the ingredient you want to use to the toilet bowl, and allow it to rest in the water for a period of time before flushing. Read our article on how to remove stains from a toilet bowl for some more tips.
For an extra fragrant loo, you can add a freshener to the bowl.
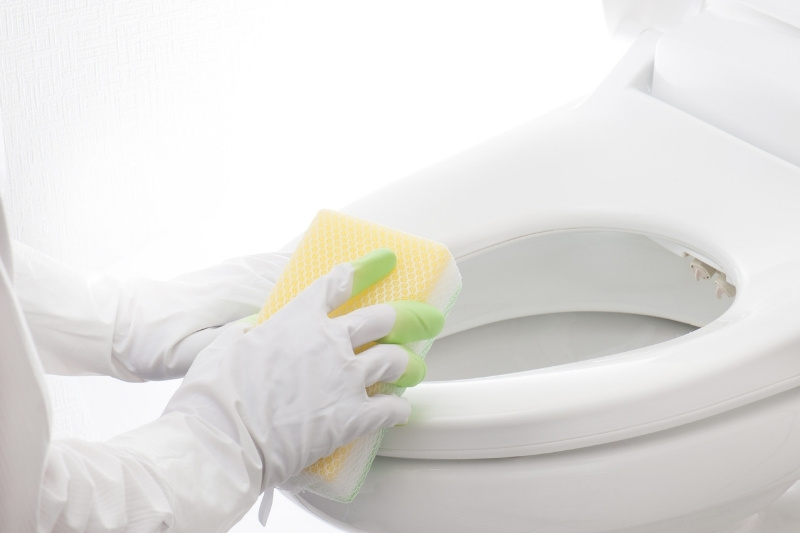
Once the toilet bowl itself is clean you will need to clean the seat, hinges, handle and rim of the toilet. You can use a multipurpose bathroom cleaner for these jobs.
After these jobs have been completed you can move on to cleaning the cistern.
As you might’ve guessed, the cistern is usually one of the most neglected areas in a bathroom, yet it still needs to be cleaned, so it keeps functioning effectively.
It’s super simple to clean a cistern. You just need to add a solution to the water and start rubbing away the brown marks, if there are any present, with a magic eraser.
Products you can use to clean this area include bicarbonate of soda, vinegar, bleach and lemon juice – but don’t use all the ingredients at once!
See our guide on how to clean a toilet cistern for some more tips.
Step 9: Clean the bidet (if you have one)
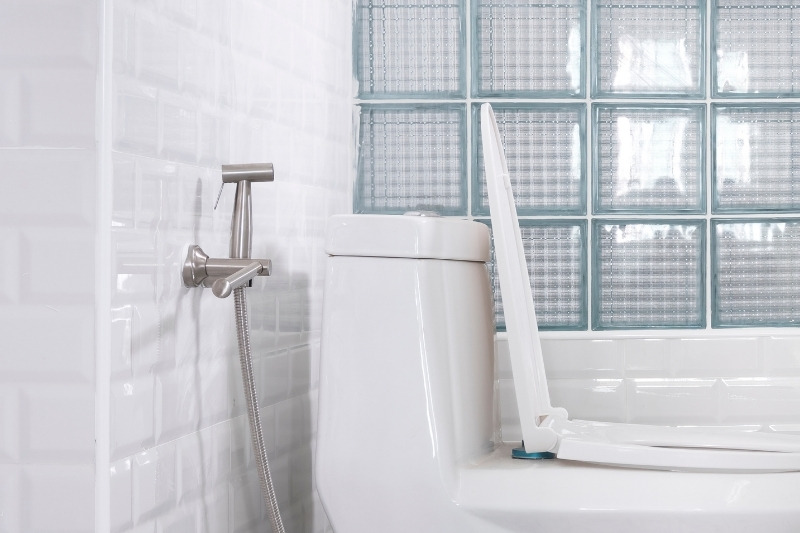
Not every home has a bidet, so if you don’t have one you can skip this step. If you do have a bidet, you need to clean it on a regular basis and this is what you need to do.
To clean a bidet, use a regular bathroom cleaner to wipe the bowl down, and clean the tap part and surrounding areas with white vinegar, or a multipurpose cleaning spray.
Step 10: Clean the toilet brush
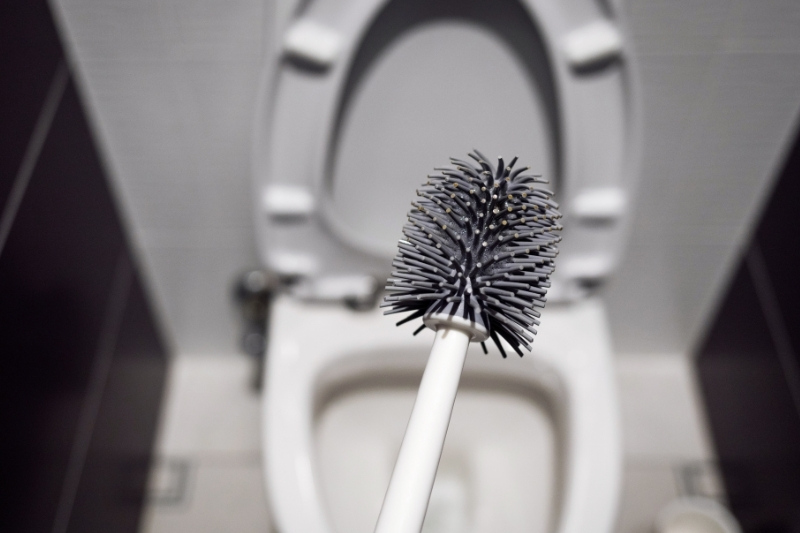
A toilet brush is usually riddled with germs, and I’m sure you can guess why, so it’s absolutely vital that you clean it!
One of the easiest ways to wash a toilet brush is to pop it in a bucket filled with two cups of bleach and boiling water. You need to leave the brush to soak in the solution for four hours for this cleaning session to work out!
You also need to clean the holder and disinfect it.
When you’re done you just need to rinse the brush and replace it back in its holder.
Step 11: Clean the sink and taps

The sink can be cleaned in the same way as you washed down the bathtub/shower tray. All you need to do is squirt some bathroom cleaner into the sink, massage the product in, and rinse the sink out. And don’t forget to wash down the soap holders too!
The sink’s taps can be cleaned with a multipurpose bathroom cleaner, like Dettol Power and Pure Advance Bathroom Spray, or a white vinegar and water mix. Simply spray the solution onto the taps and wipe them clean with a cloth.
Keep a look out for toothpaste-spit marks – they somehow get into all the nooks and crannies in the sink area!
And as with the bathtub’s plug hole, you will also need to remove any hair from the sink’s plug hole too. Once again, you will need to use some tweezers to pull the hair out, if you don’t use a hair catcher in the sink.
Step 12: Clean the toothbrush holder
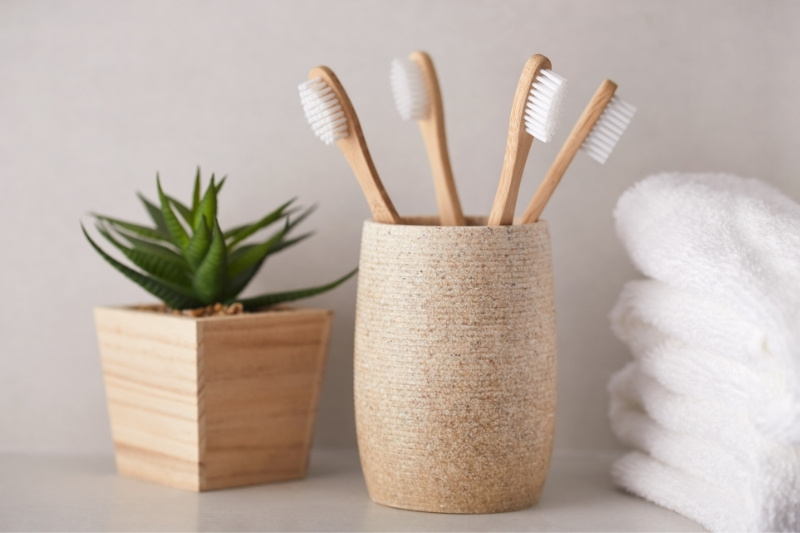
When you’re done with your toothbrush, you soak it under the tap to clean off any toothpaste residue, and then you put it back in its holder. It seems fairly harmless.
However, this isn’t exactly hygienic because there’s still a lot of bacteria on the brush! When you pop your wet toothbrush back in the holder, the germs on the brush head mix with the leftover water, and they start to drip down and into the toothbrush holder.
At the bottom of many toothbrush holders, you’ll find a horrible, dark, slimy looking liquid. It’s not appealing to look at, and it’s quite scary to think that you pop your toothbrush that’s been housed in this bacteria-infested mess into your mouth every day!
So, it’s vital that you keep it clean.
A toothbrush holder can be cleaned with soap and water, like the soap used to clean dishes.
After being cleaned out, you then need to add white vinegar to the pot and leave it to sit like that for half an hour. Once the time has passed you can further sterilise the holder with boiling water.
Step 13: Clean cupboards and shelves
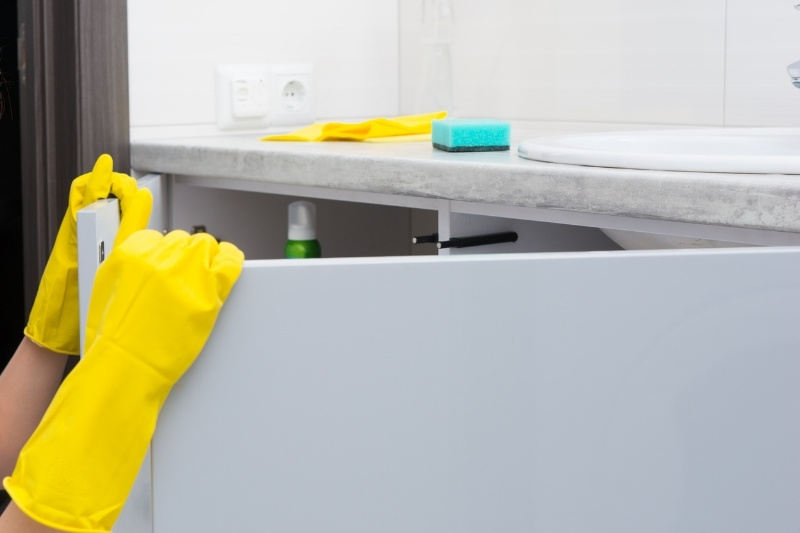
If you have a vanity cabinet in your bathroom, it’s a good idea to give it a clean when it’s empty! To do this just check what material your cupboards and shelves are made of.
If the storage units are made of a hard-wearing material, you can squirt them with some multipurpose cleaner and wipe them down.
Step 14: Empty the bin
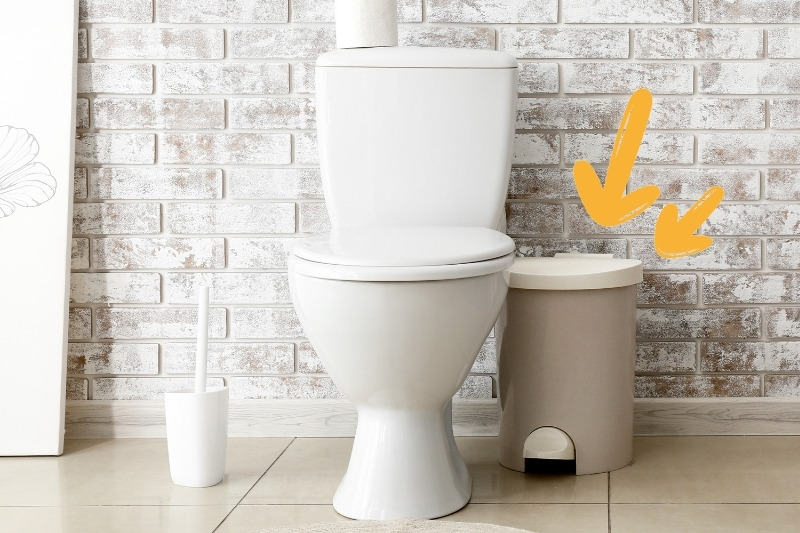
Emptying the bin not only makes your bathroom tidier and hygienic, but it can also make it smell fresher.
In addition to this, cleaning your bin will also give it a new lease of life. Just use some soap and water to do this. And if you feel that the bin is getting a little smelly just use bicarbonate of soda to neutralise the smell, or add some essential oils to the bottom of the bin to keep it smelling clean.
Pop a new bin liner in before you start collecting rubbish again!
Step 15: Final checks
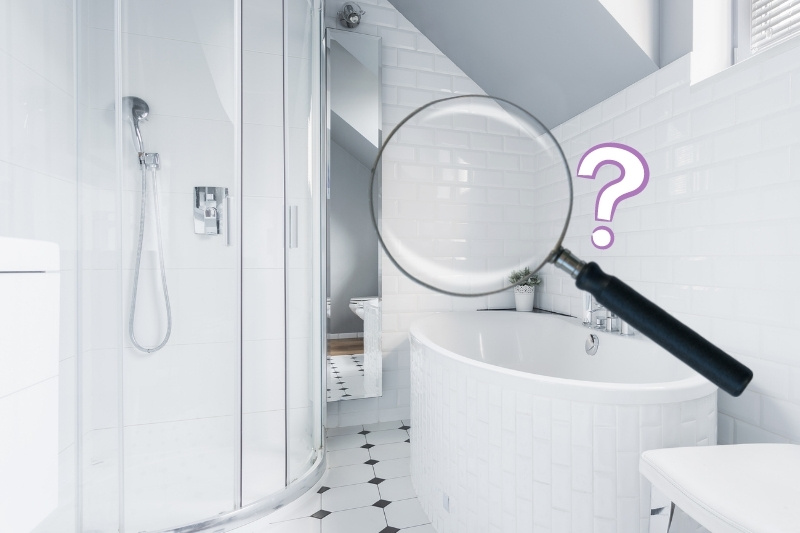
Have a look around your bathroom to see if you’ve missed any patches. If you see some, now is the time to tackle them.
Think of areas like… behind the toilet or sink, the radiator, and the window’s handle.
This is also a good time to give any surfaces a final wipe down or to run the hoover around again. Some areas might’ve got a little dirty when you were doing other cleaning jobs.
Step 16: Declutter and bin any unwanted items
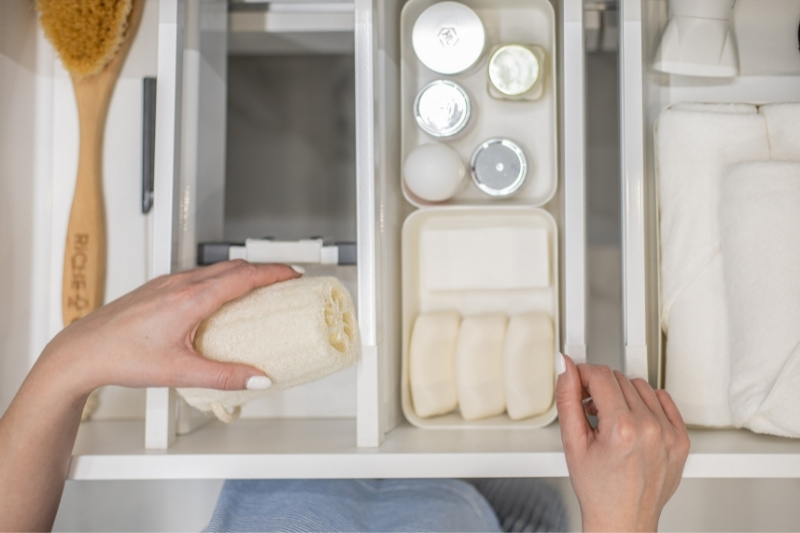
Way back at the beginning you took a load of stuff out of your bathroom and put it to one side. It’s now time to go back and sift through these products to see what you really need to keep, and to pop the essential goods back in the bathroom.
Throw out empty items or goods that are just taking up needless space. Instead, organise your bathroom items better.
Keep essential items near the front of the cupboard, and put spares and duplicates towards the back, for example.
If it helps you to organise your stuff better, give each member in the house their own bathroom basket. This’ll help to keep everyone’s items in one place! Or you can use draw dividers to stop items rolling all over the place in the draw.
Step 17: Clean the floor
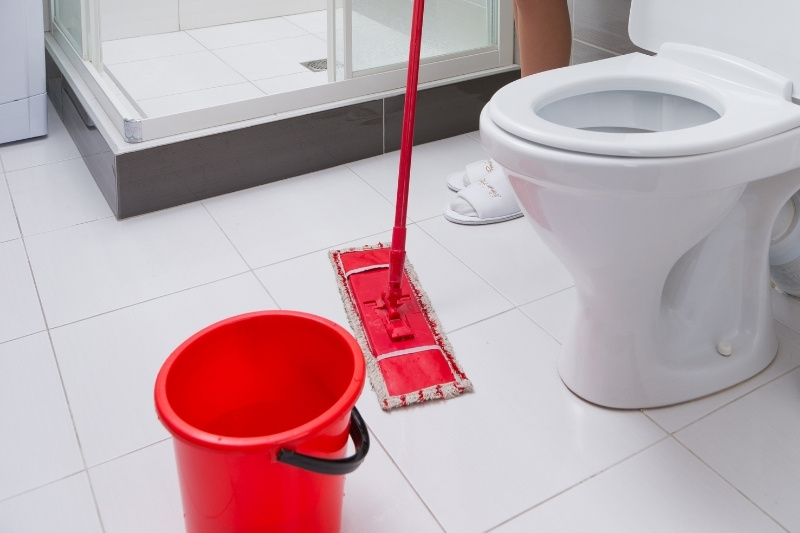
Now that everything in the bathroom is clean, you’ve done your final check, and returned items to the room, you can clean the floor.
To clean a bathroom floor, just grab a bucket, fill it up with warm water and some suitable floor cleaner (follow the dosage on the label), and start mopping the entire floor.
It would be better to start mopping at the furthest end of the room, and to work your way towards the bathroom door. That way you won’t get boxed in, and you won’t have to walk across a wet and slippery floor to get out.
Ideally, the window(s) in the bathroom needs to be open to help the floor to dry.
Step 18: Drain unblocker
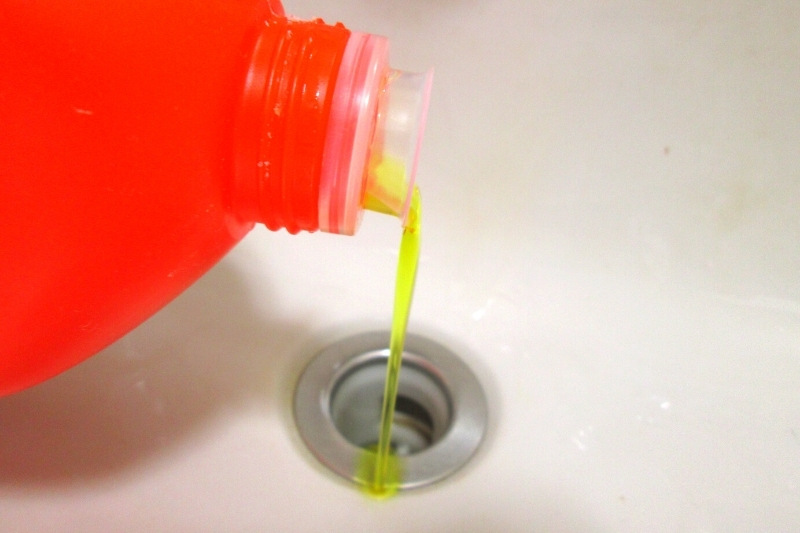
The next day, you should pour some drain unblocker down each drain in the bathroom. The drain unblocker will break down grime that is troubling your plumbing system!
You carry out this step the next day because there’s less chance of the drain unblocker coming into contact, and reacting, with other cleaning chemicals.
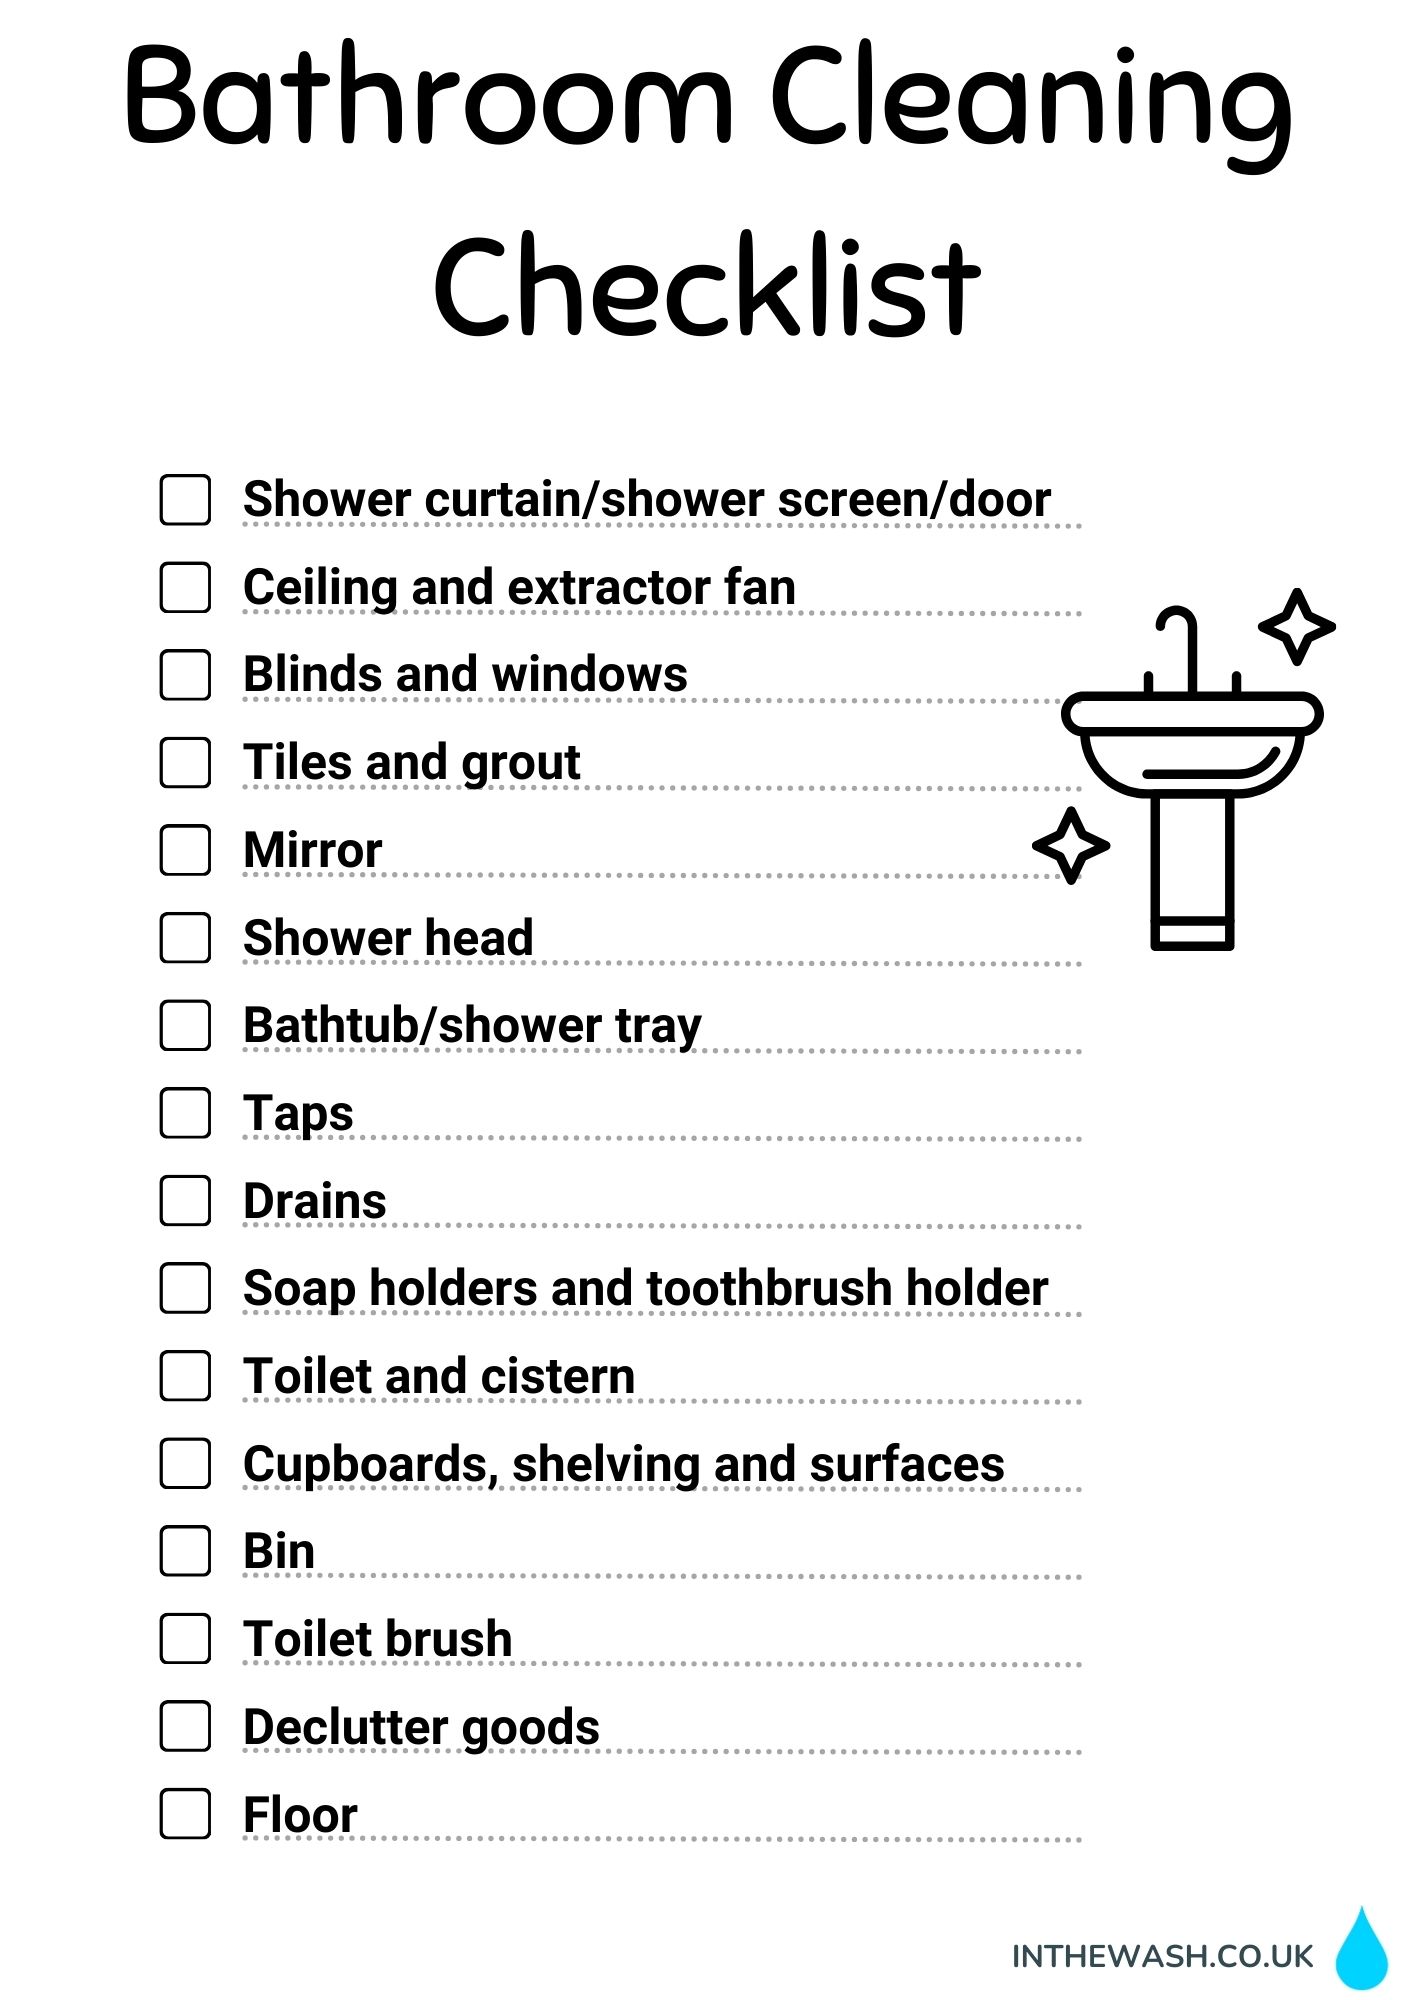
Checklist of What to Clean in a Bathroom
Here’s a recap of what needs to be cleaned in a bathroom:
- Shower curtain/shower screen/door
- Ceiling and extractor fan
- Blinds and windows
- Tiles and grout
- Mirror
- Shower head
- Bathtub/shower tray
- Taps
- Drains
- Soap holders and toothbrush holder
- Toilet and cistern
- Cupboards, shelving and general surfaces
- Bin
- Toilet brush
- Declutter goods
- Floor
How Often Should You Clean a Bathroom?
A bathroom should be spot cleaned on a regular basis. For example, you should clean the toilet, the bath and the shower out regularly, after every use would be ideal.
However, you should try to do ‘quick’ cleans on a weekly basis (clean the toilet, the bath, the shower, hoover, dust, and wipe the taps, for example).
And extra deep cleans should be done every six weeks. Although, if you keep on top of the cleaning, it shouldn’t take you very long to carry out a deep clean!
How Can You Keep a Bathroom Tidy?

Here are a few ideas to help keep your bathroom clean:
- Keep on top of the cleaning – do regular mini cleans and wipe the surfaces down!
- Don’t keep unwanted goods – declutter your bathroom.
- Make sure the room has good ventilation – keeps mould at bay.
- Get everyone involved in the cleaning – give family members their own jobs to do.

Bethan has a passion for exploring, reading, cooking and gardening! When she’s not creating culinary delights for her family, she’s concocting potions to keep her house clean!


")
")