Cleaning a gas hob can be a chore. Unlike with the smooth surface of an induction hob, it can be tough to get your head around cleaning all those nooks and crannies.
The caps on the hob often get coated in splatters of food, so what’s the easiest and best way to clean them?
If you still have the user manual, it’s worth checking it first to see if it recommends a particular cleaning method. Otherwise, read on for our tips on cleaning gas hob burner caps.
Step 1: Safety First
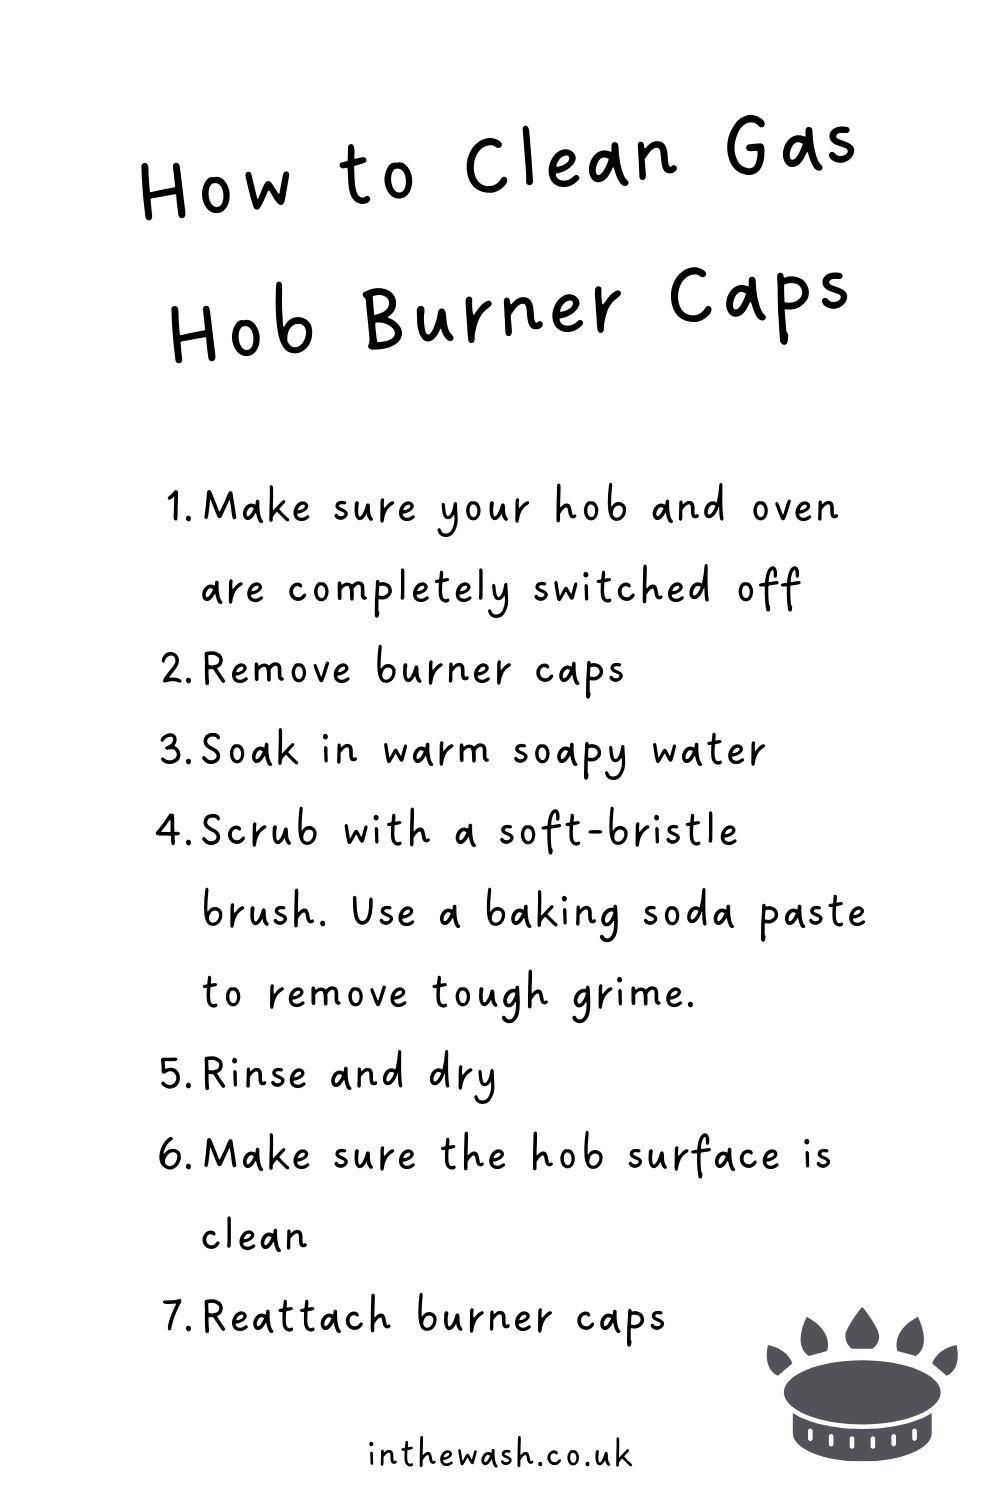
Of course, make sure your oven is completely switched off before starting to clean.
Switch off the gas supply where possible by shutting off the gas valve. Gas can be very dangerous so always be super careful when cleaning any part of your oven and ensure all knobs and dials are set to OFF or zero.
If you have used the hob recently, make sure it has cooled down and the surface is no longer hot. As well as being safer for you, it’s also best for the burner caps to let them cool down first, as soaking hot burner caps in cold water can damage the finish on them.
Remove the pan supports so you can easily access the burner caps.
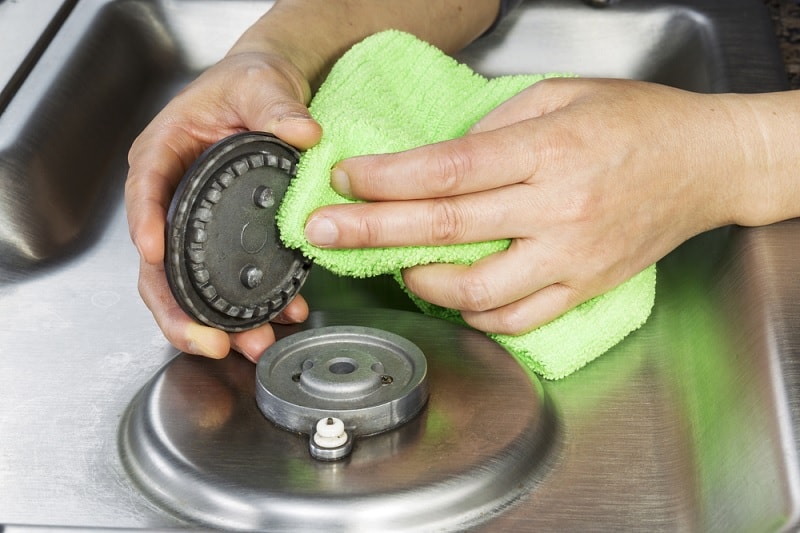
Step 2: Remove Burner Caps
Most gas hob burner caps can be easily removed for cleaning. Gently lift the burner caps off the hob, being careful not to damage the igniters or other components.
The burner caps are usually placed directly on top of the burners, and they may be attached by clips or held in place by their own weight.
If you’re unsure of how to remove the caps, check the user manual or the manufacturer’s website. You should be able to find specific instructions for your particular hob that way.
Step 3: Soak in Warm Soapy Water
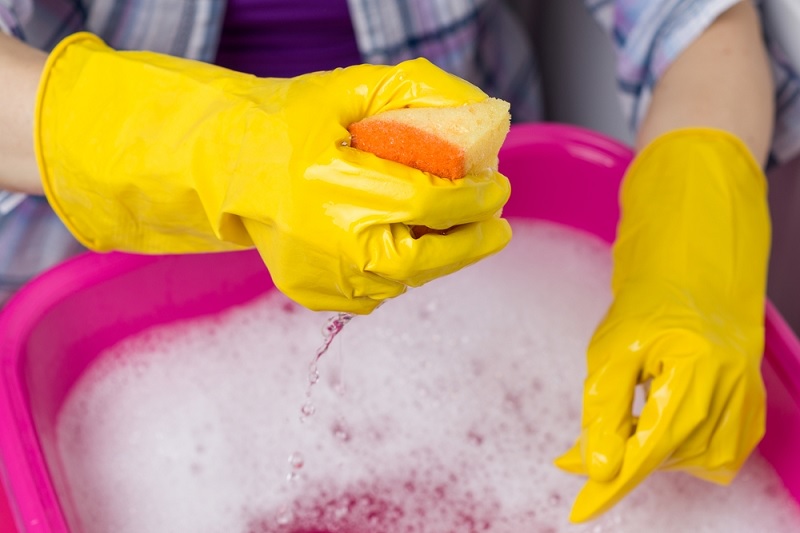
Fill a sink or a large bowl or basin with warm water and add a few drops of washing up liquid.
Leave the burner caps to soak in the water for about 15-20 minutes. This should loosen some of the grease and grime, and make the next step easier.
Step 4: Scrub
There’s a big chance that there will be burnt-on food or just general charring on the caps, so simply soaking them won’t be enough.
Removing burnt-on food and charring takes a bit more effort and sometimes plenty of elbow grease.
Use a soft-bristle brush, an old toothbrush or a non-metallic scouring pad to gently scrub the burner caps. Treat it like brushing your teeth, using a circular motion and making sure you get into all of the gaps and crevices!
If water and washing up liquid aren’t enough, there are a few other things you can use to help get your burner caps squeaky clean.
You don’t want to go gung-ho into cleaning your hob with something that may damage it, so if the manufacturer of your hob recommends using a particular product, it’s best to use that.
Bicarbonate of soda (baking soda)
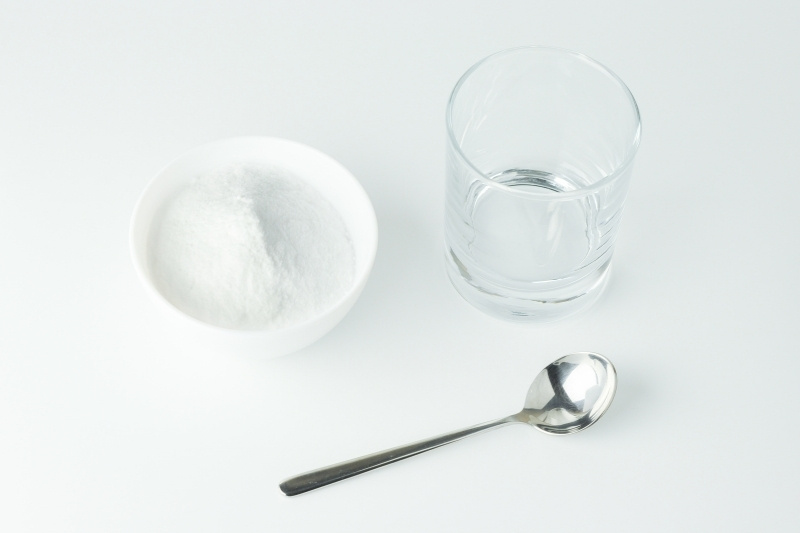
This baking ingredient does wonders for cleaning. Combine equal quantities of bicarbonate of soda and water to make a paste, and scrub this over the burner caps. You may need to rinse the burner cap and reapply the paste a few times.
Cola
You could try soaking your burner caps in cola (instead of water). Cola can clean the dirt from a penny, so might help to budge the burnt-on food!
Metal scourer and white vinegar
Sometimes a metal scourer or a brass brush can be needed for very stubborn burnt-on grease. This should only be used on the caps of a gas hob if they are made from stronger metal than aluminium.
Always check which material your oven tops, grates and hob caps are made from before cleaning.
This video demonstrates a great way to clean gas hob burner caps using white vinegar and Pierre d’Argent Cleaner with a metal scourer:
Step 5: Rinse and Dry
Once you’ve finished scrubbing, rinse the burner caps thoroughly with clean water to remove any soap residue or leftover cleaning agents.
After rinsing, pat them dry with a clean cloth or paper towels.
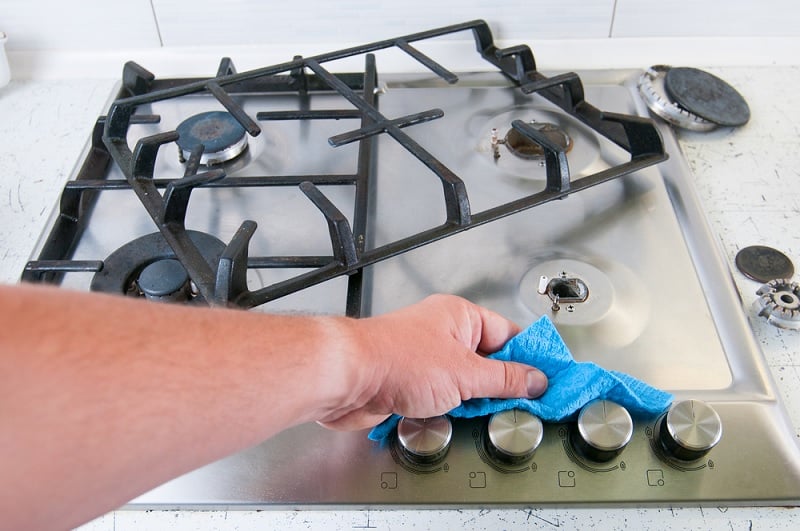
Step 6: Make Sure the Hob Surface Is Clean
Before putting the burner caps back on the hob, make sure the hob itself is clean.
This is a good time to clean the hob surface as you’ll have easy access to it with the burner caps removed.
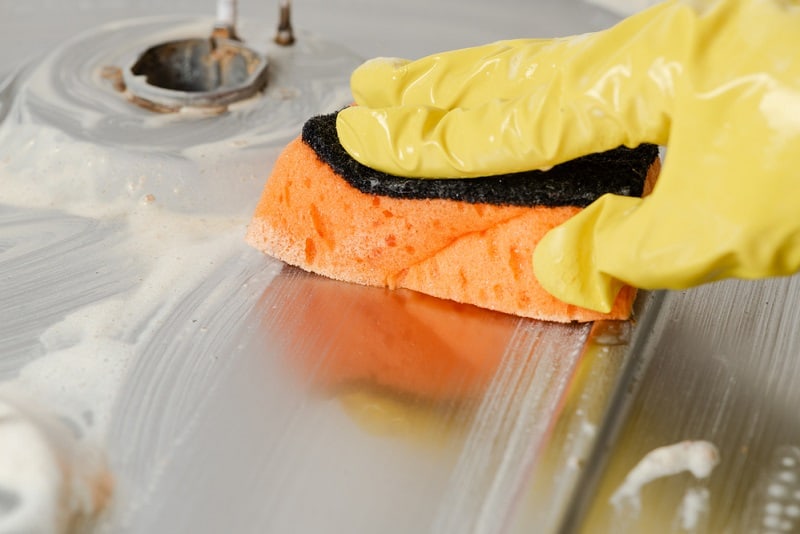
Wipe the surface with a damp cloth or a sponge and some washing up liquid. Make sure you don’t allow water to get into the burner bases, as this could stop your hob from working properly.
Dry the surface with a clean cloth afterwards.
Step 7: Reattach Burner Caps
Make sure the burner caps are completely dry before putting them back in their positions.
It’s usually easy to reattach burner caps, but if you’re not sure how, your user manual should have some instructions.
Make sure they are attached correctly and aren’t loose.
Once they’re back on, you can reconned your hob to the gas supply and carefully test they all still work ok.
Can You Put Burner Caps in the Dishwasher?
Some gas hob burner caps are dishwasher safe, especially those that are enamel coated. However, most burner caps shouldn’t be washed in the dishwasher.
Check the user manual or manufacturer’s website for your particular brand and model of hob, or just wash them by hand to be on the safe side.
Washing by hand is quick, and usually much more effective as you typically need to scrub the burner cap surface, which a dishwasher wouldn’t do.
How Should You Clean Brass Burner Caps?

You can rinse brass burner caps in washing up liquid and water and then scrub them with a brush or plastic scouring pad.
GE Appliances recommend soaking brass burner caps in a solution of vinegar and water. They also suggest scrubbing brass burner caps with a brass cleaner product such as Brasso.
Brass burner caps shouldn’t be put in the dishwasher, and shouldn’t be scrubbed with steel wool or other metal scouring tools.
Again, check your user manual to see if it has any specific instructions or cleaning tips.
Conclusion
Now that your burner caps are clean this will help with even distribution of heat through your pans – meaning your cooking might even improve! All you have to do is keep them cleaned regularly to keep up with your newly successful cooking.
Make sure to replace all caps properly once they have been cleaned, check that they are perfectly slotted back on top of one another and it all looks flat when viewed from the side.

In The Wash is your guide to the best laundry and cleaning products, tips and tricks. Our mission is to solve the UK’s cleaning and laundry dilemmas!


