For years there’s been a debate about dusting and hoovering and which to do first! Some say you should vacuum then dust, and others say you should dust then vacuum. And then, just to mix things up, some individuals say you should hoover, dust, and then hoover again!
Nobody wants to waste time hoovering and dusting all week long. So, what exactly should you be doing and when? Is it dust first, then hoover or something completely different?
Keep on reading to find out what you should be doing.
Should You Vacuum or Dust First?
Ideally, you should dust first, and then vacuum.
The main reason is that as you dust, tiny particles float into the air and eventually land on lower-level surfaces. This surface is usually the floor or a large piece(s) of furniture.
So, naturally, after you’re done dusting, you can hoover the surfaces to remove the debris you dislodged during the dusting process.
To further the point above, the best way to dust a home is to start high up and work towards the floor.
By dusting from top to bottom, all the dust falls from above (ceilings and light fittings) and down onto a lower surface (usually the floor/sofa), hence why it makes more sense to hoover after dusting.
In addition, it may be quicker and far simpler to dust and then hoover. For example, you can squeeze a duster (microfibre cloth, for example) into tight nooks and crannies and gather lots of dirt out of the area in one swift move. In turn, you save a lot of time, and the cleaning process is more straightforward.
On the flipside, a vacuum cleaner may not be able to get into as many small spaces and isn’t always as easy to handle and lift about.
As a result, you’ll have to stop vacuuming to fit new attachments onto the hose so that you can manipulate the machine into awkward spots.
And even after all of this trouble, you might not clean the area effectively, even if you’re using the best hoover on the market! This whole process isn’t always as straightforward and can be more frustrating.
From this perspective, it’s easier for you to use a duster to carry out the bulk of the work and to hoover the surfaces to remove the leftover dust.
On a final note, remember that most modern hoovers are fitted with HEPA filters which trap dust particles inside the machine so they don’t float back into the environment. By hoovering after dusting, you’ll be able to gather up more particles from the air and make the area even more dust-free!
What’s the Best Order to Clean a Room In?
To give your rooms a spruce up, follow the steps below:
1. Remove the clutter from the room

To clean a room effectively, you first have to clean the clutter from it.
To remove clutter from a room, start gathering the items up and either put things away correctly, bag the pieces up ready for the charity shop or pop the unwanted stuff in a rubbish bag ready to go to the recycling centre.
Bits and pieces like toys, papers and magazines fall under this bracket. Try to focus on one section of a room at a time so you don’t get swamped by the task.
By the time you’re done, you should have a clutter-free area that you can clean effectively because there aren’t objects and trip hazards in the way! Plus, this action alone will improve your space and will make it look dramatically tidier.
2. Dust
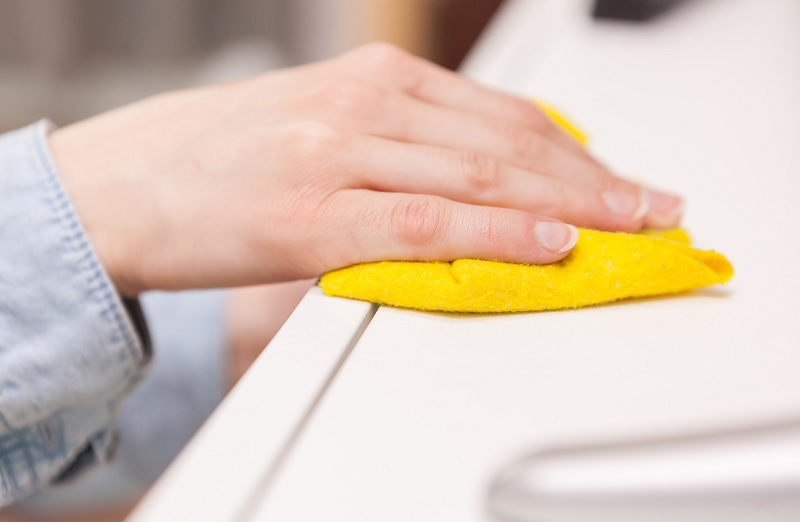
The next step is to start dusting your room.
For this to work out effectively, you must work from the top of the room and towards the floor.
For example, you dust the cobwebs from the ceiling, clean the lampshades and pictures on the wall, remove the grime from the top of the units and shelves, and then dust the TV stand and skirting boards.
You can use different dusting tools to carry out this work, but from experience, a microfibre cloth manages this task very well!
At this point, you may also need to grab a multipurpose cleaner and a cloth to remove toughened dirt from a couple of spots around the room.
It’s essential that you also dust the curtains, blinds and windowsills in the room because a lot of grottiness finds its way onto these surfaces!
If your curtains are a little dusty, give them a gentle shake to dislodge the debris from them, and you won’t have to wash them. The dust will fall onto the floor, and you can hoover it up in the next step.
3. Hoover
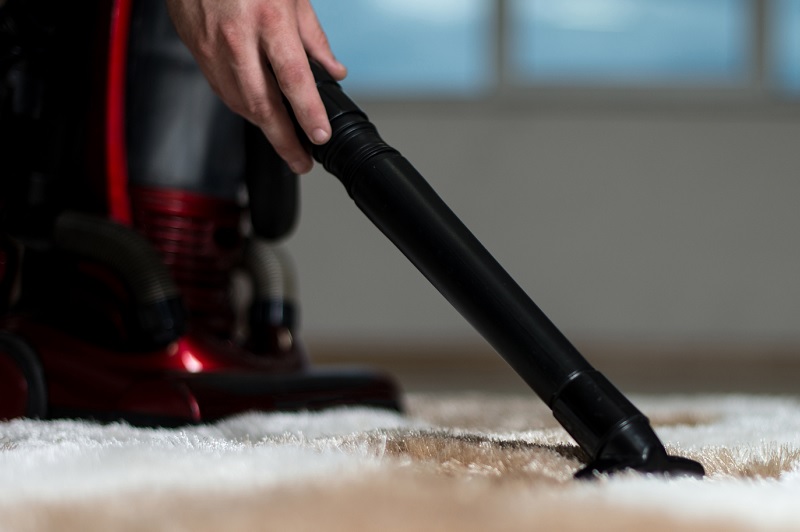
When you’re done dusting, you can hoover the entire space. (Take note of what floor you have and adjust the brush head on the vacuum cleaner to suit the surface).
To vacuum a floor effectively, you should push the hoover in straight lines along the floor, from one end of the room to the other. You must also hoover the area twice because this will remove most of the dust particles from the area.
In addition, you may also need to gently hoover your curtains with the upholstery attachment if they’re dirty. And you might need to repeat this action on your soft furniture (sofa) too.
Keeping Dust at Bay
Dust will always find a way into your home. But there are ways you can keep dust to a minimum in your house. Follow the tips below:
- Carry out some light dusting every week or fortnight.
- Do some heavy dusting every month or two.
- Use a microfibre cloth to wipe dusty surfaces down (TV screens, tables and windowsills, for example).
- When dusting, always start at the highest point in a room and dust down.
- Hoover often so you can remove pesky particles.
- Empty and clean your hoover frequently so it works effectively.
- Hoover and dust more often if you have pets, someone with allergies in the house, or if you live in a dustier environment.
- Clean bedding and throws regularly.
- Close windows and doors.
- Use an air purifier in the home.
- Take rugs and mats outside and beat them with a carpet beater to dislodge dust.
- Ask people to remove their shoes before walking into the house.
- Remove dusty outfits before entering the house.

Bethan has a passion for exploring, reading, cooking and gardening! When she’s not creating culinary delights for her family, she’s concocting potions to keep her house clean!

