
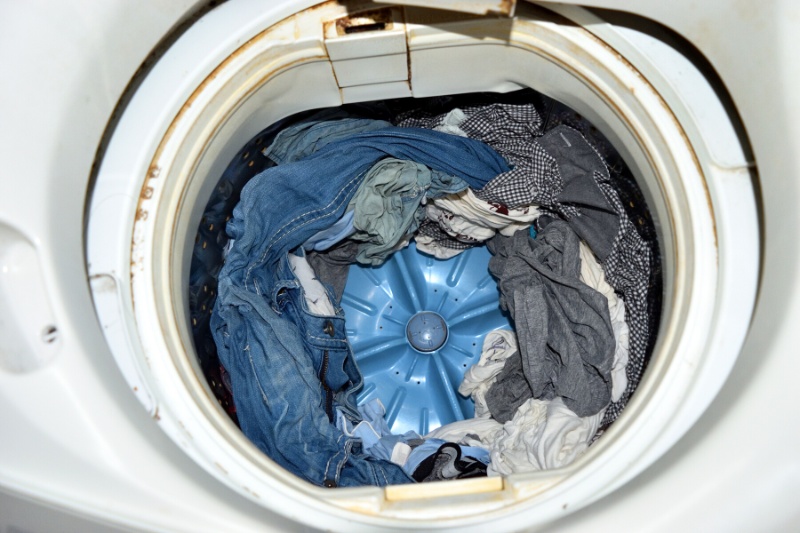
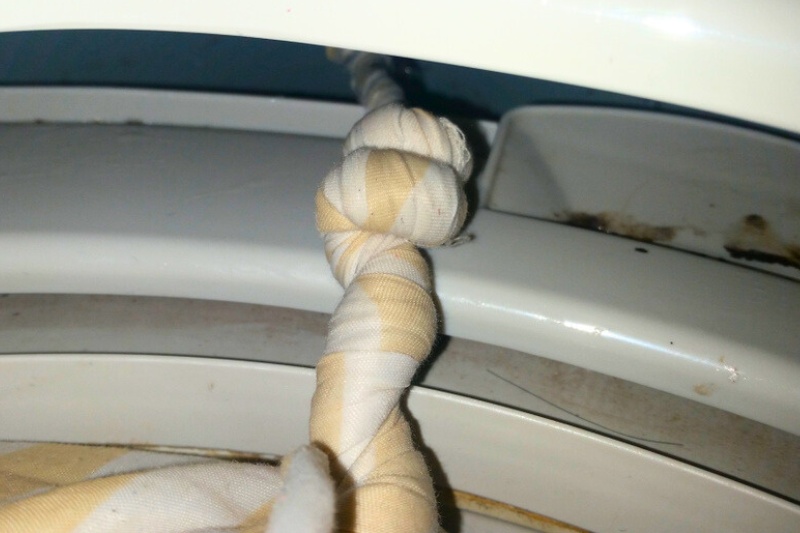
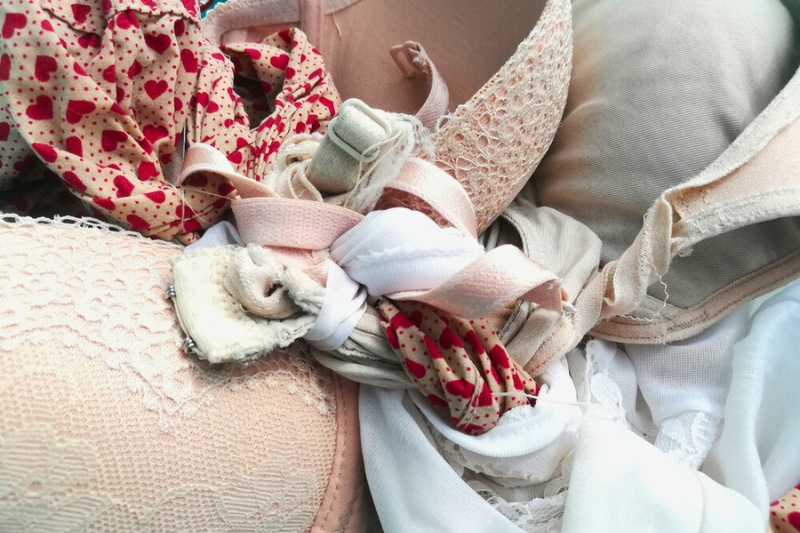
Opening the washing machine door to find your bra wrapped and hooked up to your best woollen jumper, your jeans twisted up in your t-shirt, and your knickers being strangled by a pair of tights is far from ideal!
You’ve got to tease the clothes apart while being careful not to snag any material in the process. It can take ages, and let’s face it, there are far better things to be doing than untangling laundry.
So, why does laundry get twisted in the wash, and how do you stop your clothes from tangling in the washing machine? Keep on reading to find out.
Why Do Clothes Get Tangled in the Wash?
Laundry gets tangled in the washing machine for various reasons. These include:
An uneven load has been added to the drum
If you add random clothes to a washing machine’s drum, like multiple pairs of jeans, several silk blouses, a few cotton t-shirts, and a woollen scarf, you’ll have an unbalanced load.
When the wash takes place, you’ll get a load of heavy items banging into, dragging down and knotting themselves up with lighter garments.
An overloaded washing machine

Adding lots of clothes to a washing machine’s drum may seem like the best way to speed up the laundering process, but it isn’t.
Adding too many clothes to the washer leads to an unbalanced load. Consequently, the laundry won’t be cleaned properly, and the items will end up twisted because they can’t move around freely.
In the end, you’ll have a bunched-up and knotty pile of laundry to rifle through.
You’ve used the wrong washing cycle
Occasionally, using the wrong washing cycle can lead to clothes tangling in the wash. For example, if you clean a load of delicate garments on an intense cycle with too much heat and agitation, the laundry may get ruffled up and knotted during the wash.
You’ve not used laundry bags

If you’ve not put measures in place to protect your laundry from damage during the washing cycle, there’s a good chance it will end up in a twisted mess.
Using mesh laundry bags to keep your garments in check during the washing cycle is one of the easiest things you can do.
You pop your items in the bag, zip it up and put it in the drum. During the cleaning cycle, the laundry stays in the bag and doesn’t get flung around inside the drum. Consequently, the items don’t end up tangled.
The spin cycle is too high
If you’ve used the wrong spin speed, there’s a chance that your clothes will become tangled in the drum.
For example, if you put very light laundry through an intense spin, the outfits won’t be heavy enough to withstand such a vigorous spinning session, so they’ll get thrown around and end up twisted up with each other.
All of the above
Laundry can get tangled because of a mixture of or all of the above reasons.
There’s always a chance that the washing will get tangled because you’re exposing it to heat, water and a load of agitation. Unless you put measures in place to deal with the issue, your laundry will eventually get twisted!
Now you know why your clothes are getting tangled in the wash. You can put measures in place to prevent the problem from happening too often.
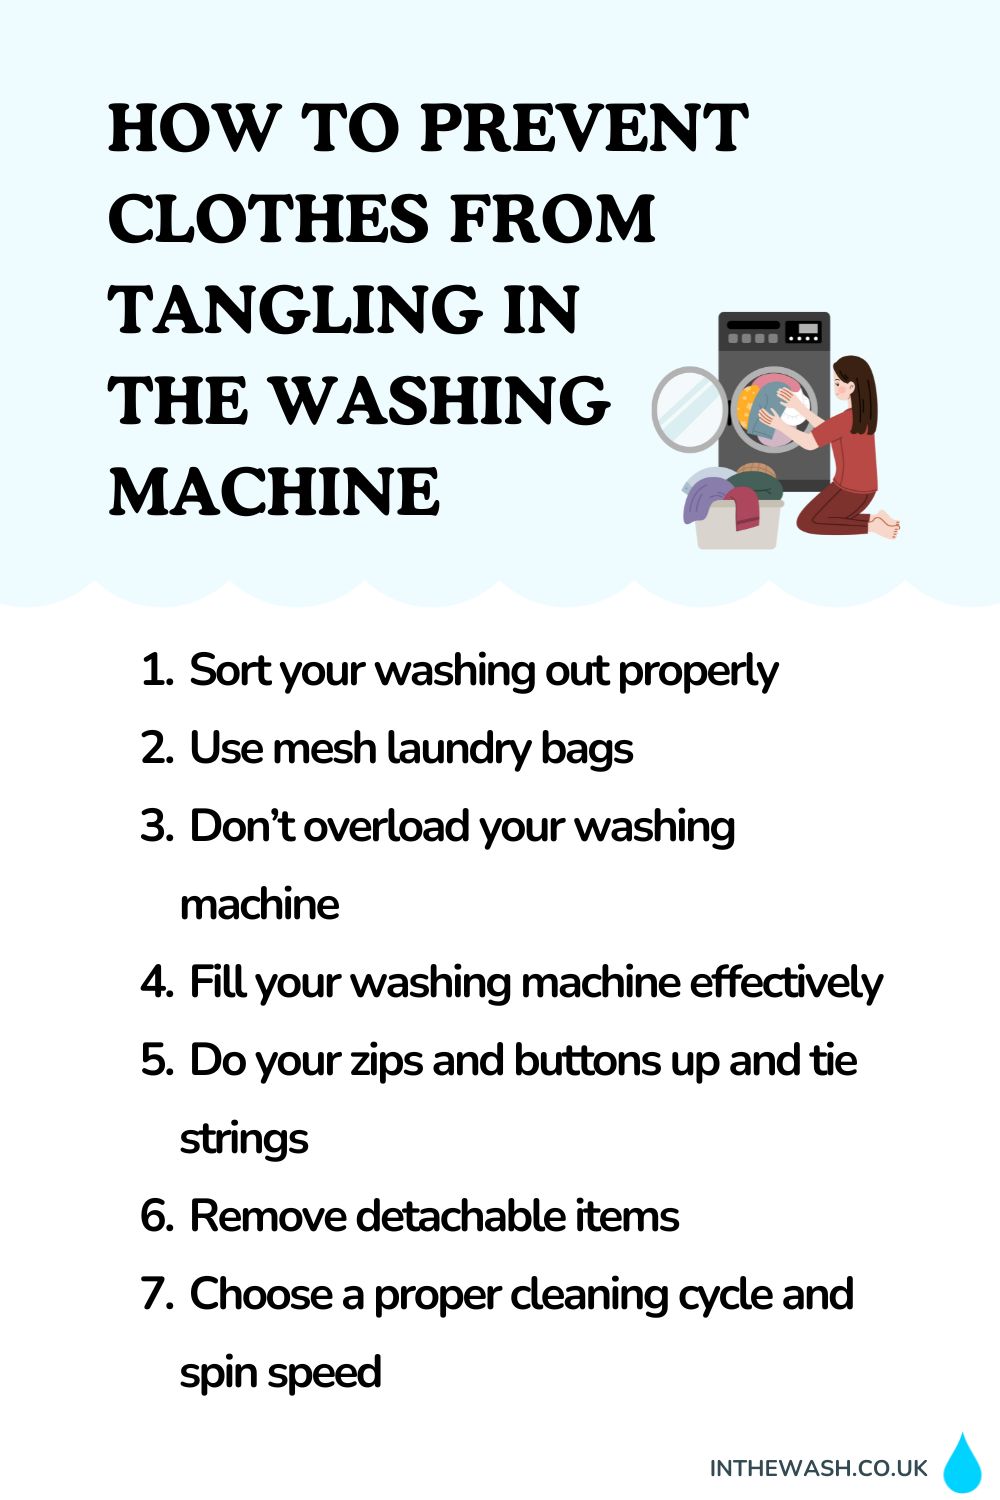
How to Prevent Clothes from Tangling in the Washing Machine
Nobody wants to open the washing machine door to find a load of twisted and knotted clothes. So, to prevent this from happening too much, follow the steps below:
Step 1: Sort your washing out properly
The first step you need to take is to sort your laundry out properly. By sorting your washing out, there’s less chance of your clothes being damaged or dyed in the wash, your laundry will be cleaned effectively, washed on the best cycle for the material, and, ultimately, won’t tangle up too much during the cycle.
You should sort your clothes out like this:
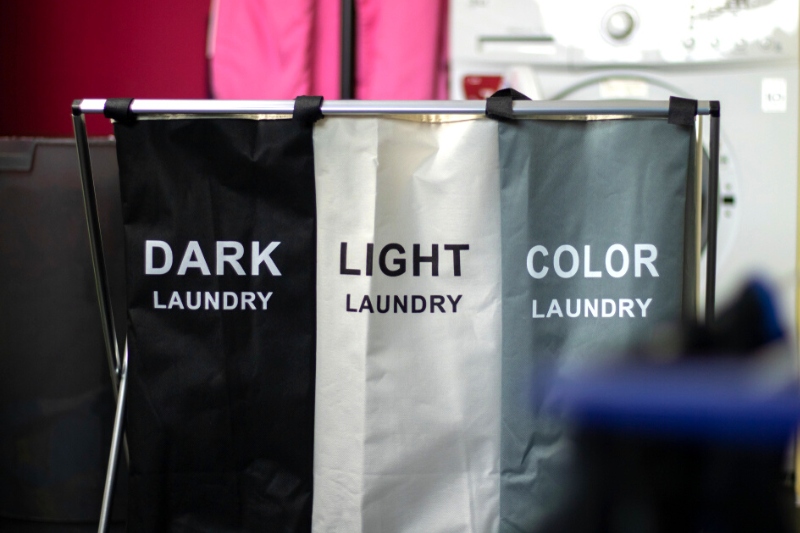
Colour
The easiest way to sort laundry out is by colour. You should put your clothes into three piles – whites, lights and darks – when you’ve done this, you can move on to the next sorting phase.
Fabric type
The next step is to sort your garments by fabric type. This is when you read the care label on your items and place them into piles based on the material they’re made from.
For example, put all your hard-wearing materials, like cotton, into one pile and your delicates into another.
Weight
After sorting your clothes by colour and material, you can sort them further by weight. This is when you put clothes that are roughly the same weight together.
This may seem like a long-winded process, but by doing this, you’ll be making sure that you put an even and well-balanced load into the washer.
In reality, this process shouldn’t take too long because you’ll have already sorted the laundry by material, so each pile should be filled with clothes that weigh roughly the same anyway.
Dirtiness
As a final step, you should assess how dirty your clothes are. If your items are filthy, you should pre-treat them before laundering them.
Step 2: Use mesh laundry bags
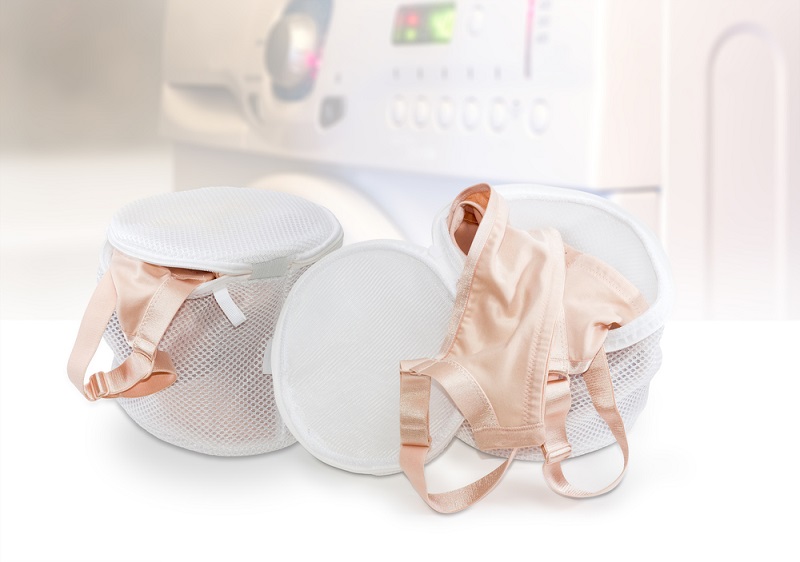
Certain clothes, like knickers, bras, socks and tights, should be placed inside mesh laundry bags to protect them during the wash.
Instead of the items being thrown around in the drum, the garments stay in the zipped bag, and it moves around in the drum. By doing this, there’s no chance of the garments tangling up with other items during the wash. You can also add multiple bags to the cycle at the same time.
In addition, if you put your laundry inside mesh laundry bags, they’re protected from snagging and stretching.
Step 3: Don’t overload your washing machine
It’s tempting to bung a whole heap of washing into the washing machine. You get the cleaning job done in one go, and then you’ve only got to dry one pile of laundry.
However, overfilling your appliance can do more harm than good. An overfilled washer will not clean your laundry effectively, for starters.
You’ll also put needless strain on the appliance’s inner workings. Plus, there’s more chance of your clothes getting into knots!
To solve this problem, sort your clothes into smaller washing piles and clean these loads one at a time.
Yes, it’s more time-consuming, but your clothes will be cleaned properly, you won’t damage your appliance, and there’s less chance of tangles.
Step 4: Fill your washing machine effectively
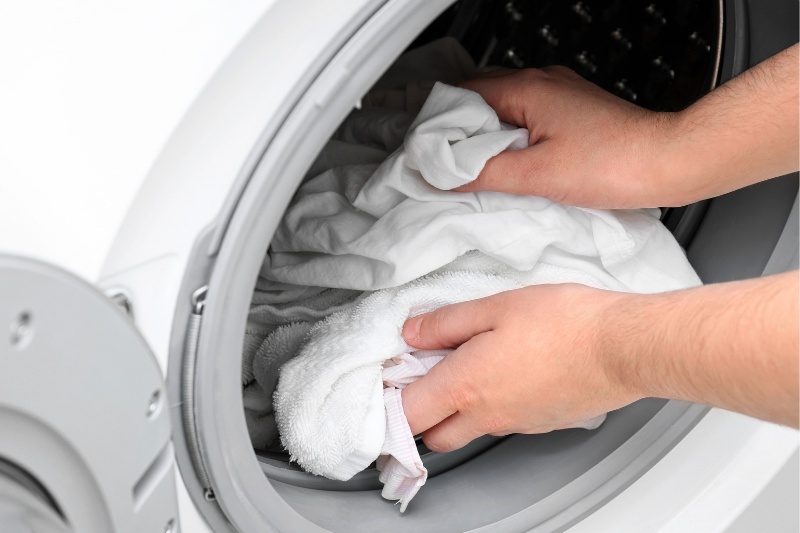
Filling your washing machine’s drum effectively can also limit tangles.
Essentially, you need to make sure that your clothes are picked up one at a time from the laundry pile and placed loosely inside the appliance.
You shouldn’t ram your clothes into the drum; they should be placed carefully inside the machine.
Doing this ensures you’ve left enough space in the drum and added the correct type of clothes to the machine – no runaway red sock!
As a bonus, if you put one item of clothing into the washing machine at a time, you’re making sure that none of the garments are tangled up pre-wash, which means they’re less likely to end up tangled post-wash.
Step 5: Do your zips and buttons up and tie strings

If you leave your jackets open, more material will be able to flap around inside the drum. This extra fabric can get caught up in other garments. Similarly, if you don’t tie up the tassels on your garments, they can get tangled with other pieces.
Just take a few seconds to check and secure the zips, buttons and ties on your clothes.
It’s good practice to do this anyway because zips and tassels tend to get caught in and rip fabrics during the washing cycle. This extra step could prevent snags and damage!
Step 6: Remove detachable items
Removing detachable items that may be zipped or buttoned onto your garments before the cycle – for example, a hood or furry hood accessories – is a good idea.
You can remove and clean these items by placing them in a mesh laundry bag – like the ones mentioned above – the bag will keep the detachable section safe during the wash.
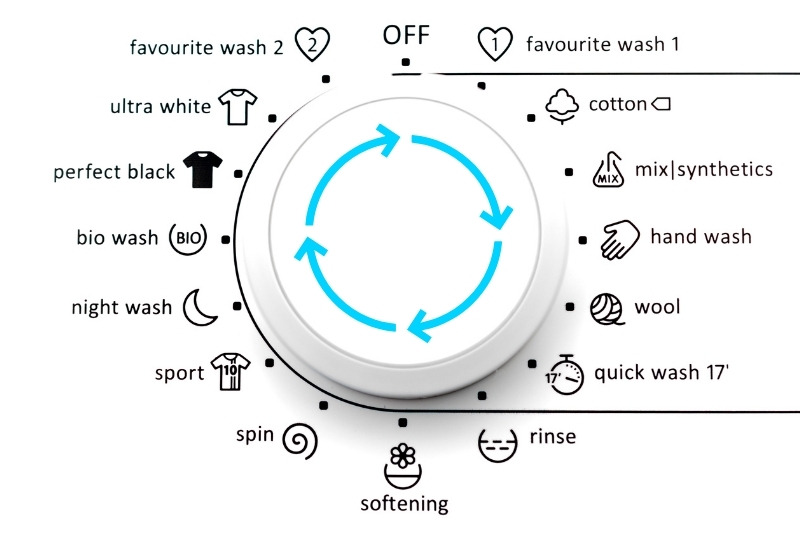
Step 7: Choose a proper cleaning cycle and spin speed
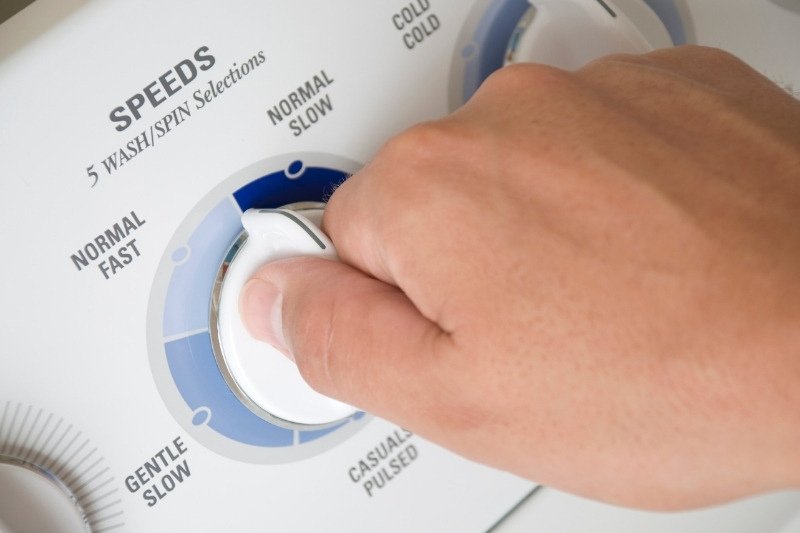
As mentioned earlier, the wrong type of cycle and excessive spinning can lead to unwanted tangles.
For example, if you run a load of delicates through an intense washing cycle suitable for cottons, the items will be thrown around in the drum and end up bunched and tangled together.
A quick way to rectify this is to ensure you choose the proper cycle and spin speed. All you need to do is take note of the material you need to clean and pick the correct washing cycle.
You can decrease the spin speed on your washer if you need to slow it down further.
Note: Remember that the steps above are not 100% foolproof methods. Some items will slip through the gaps and may end up tangled. However, the steps above will limit how often this happens.
Why Do Sheets Get Twisted in the Washing Machine?
Sheets are known for getting tangled and bunched up in the wash. We’ve all been there when you open the washer’s door to find a gigantic sausage made up of sheets and pillowcases in the drum. It’s no fun to untangle the mess!
The most common reasons why sheets do this are:
- The large sheets get thrown around inside the drum and end up tangled because of the agitation. It’s as simple as that.
- You’re putting too many sheets into the machine at once, so you’re creating an uneven load. Stick to washing one sheet, two, if small, at a time.
- You’re washing your sheets with other garments, so you’re creating an unbalanced load. Wash sheets with sheets! Don’t mix heavy, bulky items, like sheets, with lighter items, like silk scarves, because you’ll end up with tangles.
- You’re using the wrong cycle. If you’re using too harsh a cycle or one with excessive spinning, the over agitation may be bunching up the sheets. Make sure you pick cycles and spin speeds that match the material you’re trying to clean. If in doubt, go for gentle cycles and low spin speeds.
There are some tools you can buy to help keep your sheets ‘flat’ in the washing machine, like this tool from Wad-Free.
However, it’s worth remembering that items like this often get mixed results. Sometimes, they work exceptionally well. Other times, not so much, and you end up with a sausage sheet in the drum!
To use a tool like the one mentioned above in the wash, you need to tuck the corners of your sheet into the locks on the square-shaped tool pre-wash.
The sheet stays locked to the tool during the cleaning cycle. When you pick the sheet out of the drum afterwards, it won’t be tangled up because the tool will have kept it ‘flat’.

Bethan has a passion for exploring, reading, cooking and gardening! When she’s not creating culinary delights for her family, she’s concocting potions to keep her house clean!


