Getting a new washing machine can be an exciting time. And although it isn’t difficult to work such an appliance, there are a couple of things you need to do when you try your new machine out for the first time.
But, what are you supposed to do? Keep on reading to find out how to use a washing machine when you’re new to the scene!
Before You Use a Washing Machine for the First Time You Should…
Below you’ll find a few tips on what you need to do before you start using your brand-new appliance for the first time.
Try not to skip out on any of the points below!
1. Check the box and appliance over
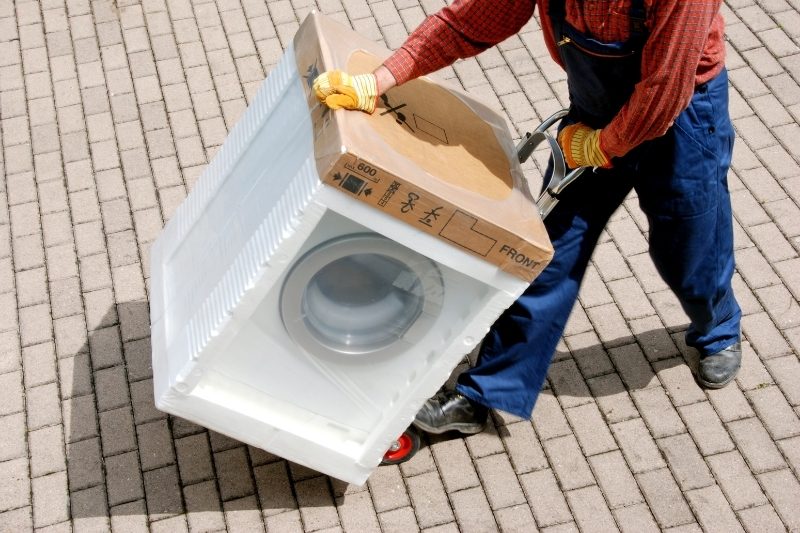
When your new washing machine arrives, you’ll be so excited to try it out that you’ll likely discord the packaging, and forget to check the appliance over.
But it’s vital that you do have a quick look over the box and the washing machine itself.
Why should you do this? Simple. Having a quick look at the state of the outer packaging can tell you a lot about the journey your washing machine has been on.
If there are lots of dents and rips in the wrapping, you can assume that the appliance might’ve been rocking around in the van, or it may not have been handled with care.
Of course, in most cases the packaging is generally okay and there’s not too much to be concerned about.
It’s equally important to check your new washing machine over when it’s out of its protective gear too, as this will also tell you a little bit more about the machine.
You should keep an eye out for dents, marks and scratches, because if they are present, you probably should ring the seller up to inform them.
After all, you’ve probably spent a lot of money buying your new appliance, so you don’t want it to be marked, even if the marks will be hidden.
In addition to these simple checks, you should also make sure that all the parts are present.
Finding out that you’re a hose down later on is just going to cause chaos – so have a quick look before you start setting the appliance up!
2. Read the washing machines handbook to get tips

Whether this washing machine is your fourth one with the brand or your first one, you should always make a point of reading a new washing machine’s handbook.
There will likely be changes from one model to another, so it’s good practice to read the book before you start using the machine.
And on the flipside, if you’re new to the washing machine world, reading the handbook can take away some of the anxieties you might be feeling towards using your new machine.
Handbooks aren’t really very long and they’re pretty straightforward to read, so there shouldn’t be much of a problem.
Plus, the books are typically split into sections, so you can split the reading up like this if you need to.
A quick flick through the book will also advise you on some dos and don’ts too, so you don’t really want to go skipping over these sections.
3. Unscrew any travelling aids from the back of the washing machine
You will need to remove any travelling brackets that are still attached to your washing machine before you start to work with the appliance.
The aids might hinder how the machine works or they might make a noise when the washing machine is in action.
As a side note, some people keep the travelling aids just in case they move house and they want to take their washing machine with them.
4. Plumb in the new washing machine
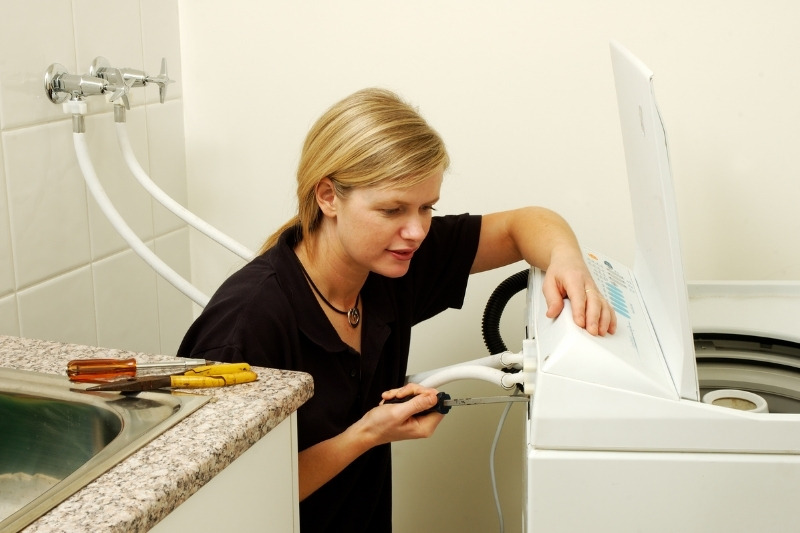
Plumbing in your new washing machine is absolutely essential, so it goes without saying that you cannot skip this stage!
It’s generally a very straightforward procedure to plumb in a new washing machine, and there’s usually advice on how to do this properly in the handbook.
And if you still need advice, you should look on the appliance for a scannable QR code. If you scan this code you’ll probably get taken to a ‘setting up’ video which you can watch—it’ll be very helpful for you.
Alternatively, you can call in a professional to help you plumb in your new washing machine. They might even be able to give you a quick tour of how to use the machine as well.
5. Register you new washing machine’s warranty
New appliances usually come with pretty big stickers on the front that tell the user to register the machine for its warranty.
It’s essential that you do this because your machine will be covered for longer.
So, if the appliance breaks you can get the issue sorted out under the warranty, rather than handing over your hard-earned cash to sort the problem out.
In addition to this, by registering for a warranty you might be able to get an extended warranty too. For example, you might get an extra year free of charge.
6. Run an empty cycle to clean out the machine of any unwanted dirt or chemicals
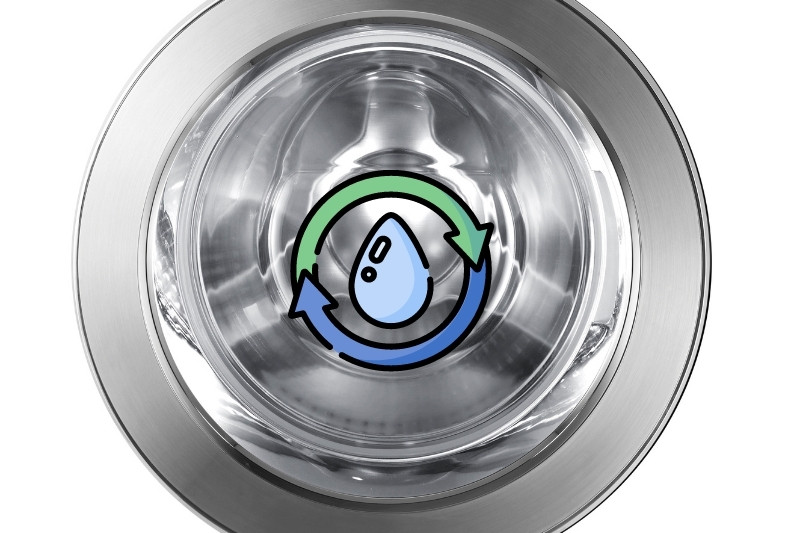
One of the last things you need to do before washing your laundry in your new washing machine is to run an empty hot cycle through the appliance.
This simple exercise just removes anything unwanted that may have been left in the machine during the production phase.
Don’t worry, there won’t be anything serious left behind in the machine, just some greasy substance, for example.
Running such a cycle before doing an official laundry wash can prevent the manufacturing dirt from contaminating and ruining your precious clothes.
Plus, when you run a hot and empty cycle you get to test out the machine, so keep a listen out for suspicious noises and check for water problems.
We’ve written about why it’s essential to run a new washing machine empty first if you’re wondering whether this is really necessary!
Using a Washing Machine for the First Time
Now that you’ve covered the basics of what to do pre-using your new washing machine, it’s now time to use your newest appliance to clean your dirty laundry!
1. Re-read the user handbook to get a handle on the cycles that you can use
Not to keep on about reading the handbook, but you should consider scanning it again, or maybe just the section on ‘cycles’ to familiarise yourself on what cycles you can use.
You will likely see the following cycles listed, but depending on what make and model you have, you might have more or less programmes, and each one may be labelled with a different symbol.
Some of the programmes your machine is likely to have include the following:
- Cotton
- Synthetics
- Delicates
- Quick wash
- Hand wash
- Hot
- Cold
Once you know what cycles you have, you’ll be able to pick the right one, depending on what your laundry pile consists of, of course.
Plus, you’ll also know more about what buttons you need to be pressing and when.
2. Get a better understanding of your washing machine’s capacity
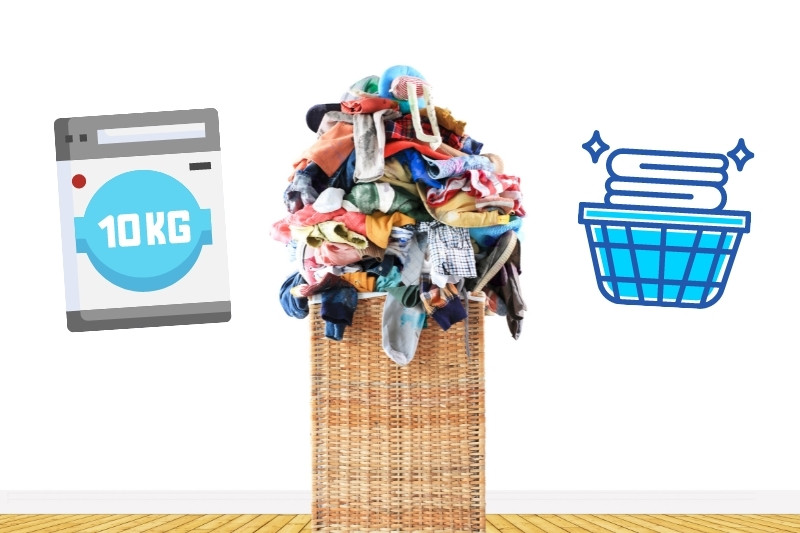
Before you go and throw a load of laundry into your new washing machine, you need to remind yourself of the appliance’s capacity guide.
Not sure what a capacity guide is? You’re in the right place!
A washing machine’s capacity refers to how much laundry you can pop into the drum inside the machine.
Generally, the capacity guide is measured in kg, and you should’ve been informed of what capacity your new washing machine has when you were buying it.
Washing machine’s typically have capacity guides between five to twelve kg, five being the one of the smallest drum sizes available to buy. Twelve, as you might have guessed, is one of the largest ones.
It’s crucial that you adhere to the capacity guide of your washing, because overfilling the drum with clothes will prevent the laundry from being agitated and washed thoroughly.
On the other hand, not putting enough laundry in can unbalance the machine.
Exposing your machine to either of these scenarios time and time again, usually results in the appliance breaking down and needing to be repaired.
But how do you stick to the capacity guide? Easy, you weigh your laundry! Discover how to weigh out your laundry here.
You can also do it visually—try to fill the drum at least halfway but with at least enough space to place your hand on top of the laundry.
If you stick to the capacity limit when washing your clothes, you’re less likely to damage your new machine, and you can actually run more economical washes because there’ll be less waste to consider.
3. Gather your laundry and separate it into washing piles
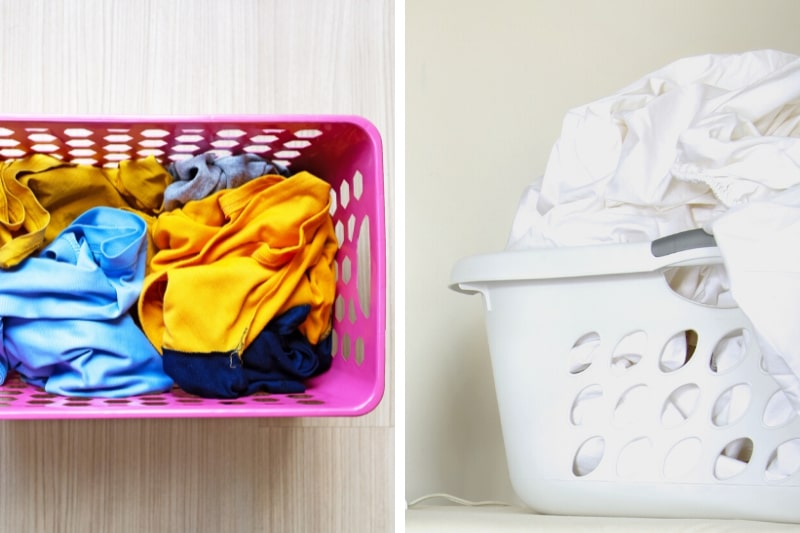
It’s imperative that you don’t just shove all of your laundry into the drum, not only because it’ll be heavy, but also because you need to separate your laundry before washing it.
Yes, separating laundry can be a time-consuming exercise, and it’s usually not very pleasant, but it does mean that your laundry doesn’t get ruined.
You need to separate clothes by colour first, then you should read each items’ clothing tag, and you should separate the clothes based on the information on the tag regarding washing.
You will then, for example, have a pile of white clothes, that are delicate wash only.
When you’re going through your laundry you should put stained clothes aside, so that they can be treated and then washed. If you don’t do this, the stain may infect other relatively clean clothes.
You can then weigh the pile of laundry, and pop the pile of dirty washing inside the washing machine’s drum.
4. Setting up your new washing machine to clean your pile of laundry
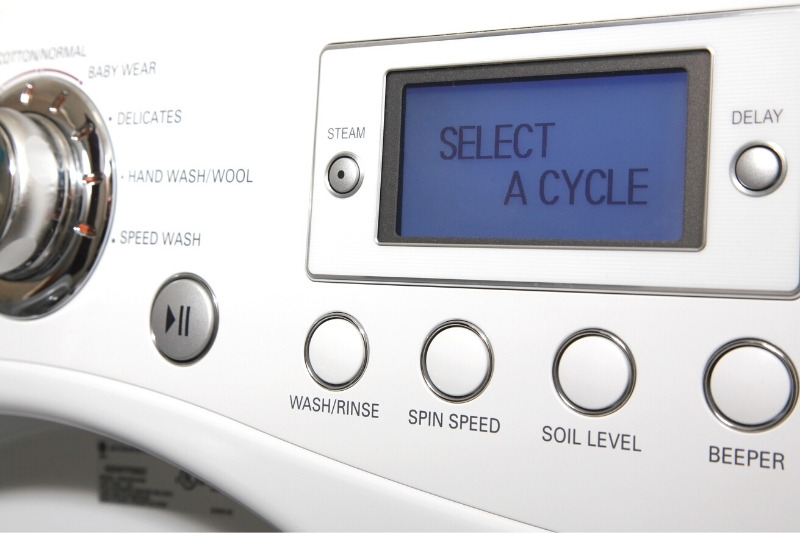
Now, because you’ve done all the hard work already and you’ve studied the handbook, this next bit will be really simple.
All you need to do is pick the right cycle, usually by turning the dial, pick a suitable water temperature for the laundry you are washing, add the detergent of your choice to the drawer, close the door and start your first official wash!
What to Do After Using the Washing Machine
It goes without saying that your first official washing session with your new washing might be quite tense.
But, if you’ve followed the advice above, there really shouldn’t be anything to worry about, and you’ll be onto your second load in no time at all!
Here are just a few points to keep in mind when the first official cycle is done:
- Remove and dry the laundry as soon as possible. Try not to leave wet clothes in a washing machine because they can cause mould to form, and they’ll start to smell horrible!
- Inspect the machine to see if there are any issues—have a quick look inside the drum and check if there is any water leaking from somewhere.
- Check to see if your laundry was washed properly—this will tell you if the washing machine performed the cycle as it should have done.
- Give the door and seal a wipe down to remove excess water.
- Some time later: After a few more washes you will need to clean the washing machine properly—you can buy an off-the-shelf product from your local supermarket to do this. And remember, there’s no harm in running an empty hot cycle now and again to flush out any unwanted bacteria and detergent from your new washing machine. It’s important to clean your washing machine regularly.
Should a New Washing Machine Have Water Inside?
It’s not uncommon for some washing machines to have water inside of them. This is because the machine was tested in the factory to make sure it worked correctly before it was sent out to you. The water probably didn’t dry up quick enough before the appliance reached your home.
Why Do New Washing Machines Take Ages to Finish?
It’s normal for modern washing machines’ cycles to take longer.
The reason for this is, modern washing machines are built to use less water and energy, so that they are greener.
However, the end result of this is that it takes a while for the machine to clean the laundry properly, hence the longer cycles.

Bethan has a passion for exploring, reading, cooking and gardening! When she’s not creating culinary delights for her family, she’s concocting potions to keep her house clean!


")

