When it comes to cleaning around the house, ovens are usually low down on the to-do list. Even hoovering is higher up!
This generally means that your trusted oven, which is probably used on a daily basis, is covered with bits of old food and sludgy grease. And this mess just sits there on the surface and gets worse over a period of weeks, and even months in cases…
In reality, though, cleaning a fan-assisted oven isn’t actually too difficult, and there’s nothing technical about it! Simply follow our guide below.
A Few Things to Consider When Cleaning a Fan-Assisted Oven
Before cleaning your fan-assisted oven you should think about the following points:
- Don’t clean the oven when it is on.
- Always wait for the oven to cool down before cleaning it.
- Wear gloves, a face mask, and eye protection when cleaning a fan-assisted oven.
- Keep pets and kids away from the oven when you’re cleaning it.
- Put old towels on the floor to mop up any dirt that falls out of the oven.
- Have plenty of brushes, pans, and clothes at hand.
- Read your user manual for cleaning tips.
- Not every single part of a fan-assisted oven can be removed and cleaned, so read up on your particular oven model before you dive into the cleaning.
- Don’t assume that every single product available at the supermarket is okay to use in your oven, make sure you do your homework.
- Always empty your oven before you clean it.
- Pre-soaking may be essential for dirtier ovens with tough dirt.
- Self-cleaning ovens take time to clean themselves, so keep this in mind.
- Make sure that plenty of air can get into the kitchen when you’re cleaning your oven.
- Don’t use scourers on glass.
Let’s get onto cleaning your fan-assisted oven.
Choose Your Cleaning Method
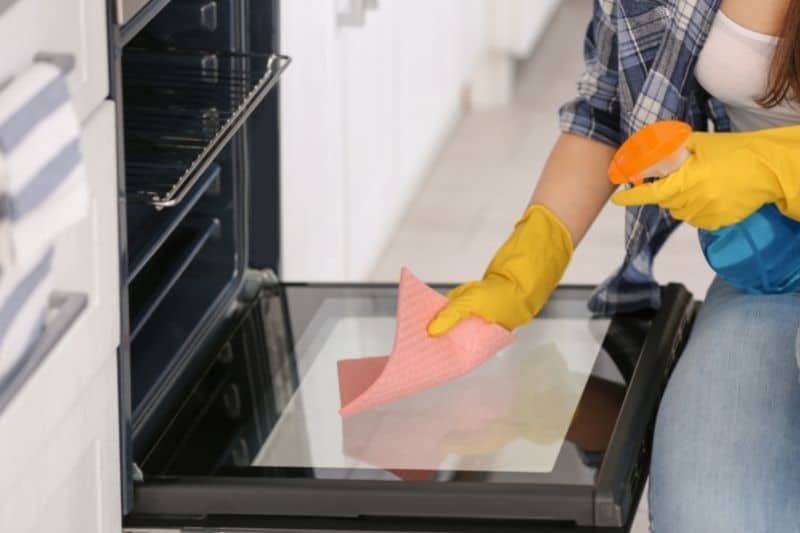
When cleaning a fan-assisted oven you have a couple of methods you can choose from to aid your cleaning process.
Read the methods below and choose the one that suits your situation, then follow the detailed steps. You’ll be whipping up meals in your pristine oven in no time at all!
Just before you start cleaning you should decide on how you want to clean your oven. Check out your opinions below.
Method 1: Use the self-clean feature on your oven
This first method only applies to very modern cookers, so if you have a fan-assisted oven that is older, sadly, you’ll have to choose one of the DIY methods below.
If you’re one of the lucky ones though, all you need to do is clear your oven of any food, racks, and pans and set the oven up to clean itself.
The oven will heat itself up to such an extreme temperature that anything that’s left inside gets turned to ash. This ash needs to be swept up by the user and disposed of.
Method 2: Clean your oven with homemade remedies
The second option involves you using goodies found in your home to clean your fan-assisted oven.
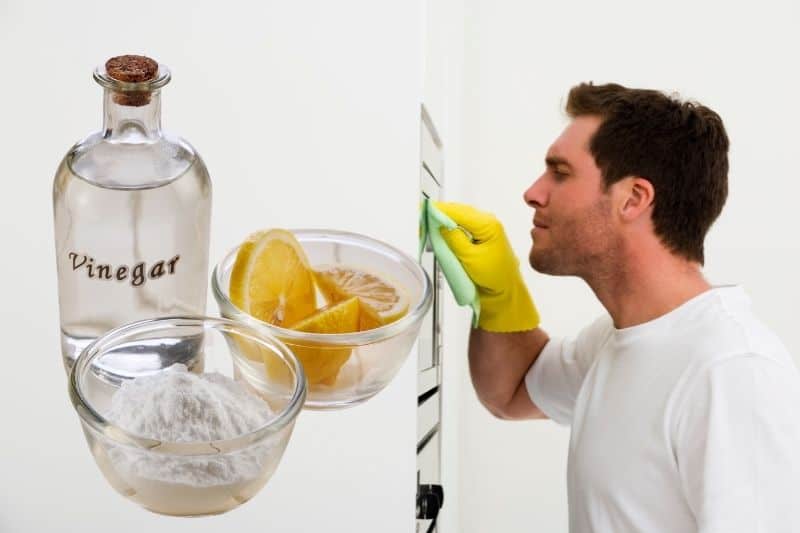
These items include; bicarbonate of soda, water, white vinegar, salt, and lemon juice. This method is suitable for ovens that do and don’t have a self-clean feature.
More on this method below!
Method 3: Use a specialised oven cleaning product
Your third option is to go to the supermarket, or buy a product online, to clean your fan-assisted oven.
There is obviously a price tag with this option and you’ll need to do your research before you purchase a fan-assisted oven cleaner.
Method 4: Professional help
Your final option is to call for professional help to clean your fan-assisted oven.
This option is probably the last resort because it’s not going to be cheap! But professional cleaning does yield great results, usually!
Method 1: Use the Self-Cleaning Feature
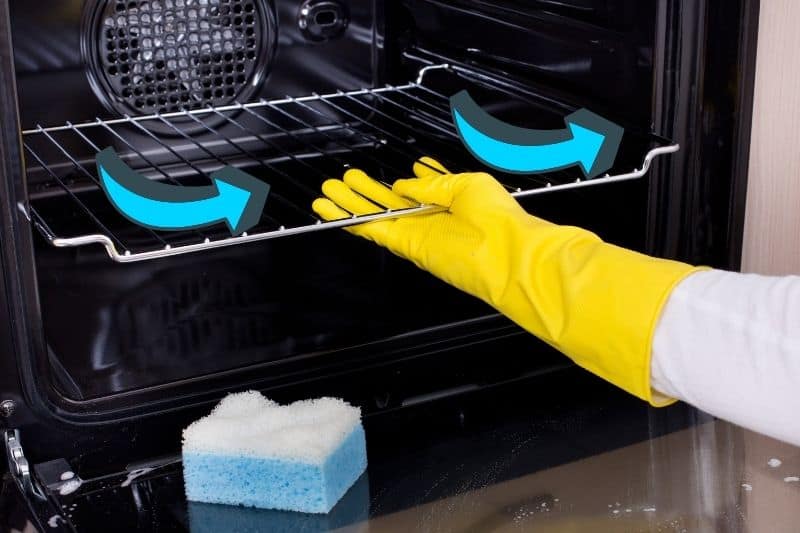
As mentioned above, you do need to have the self-cleaning feature present on your fan-assisted oven for this to work. If you’re not sure if you have this you need to check your user manual for help.
Follow these steps:
1. Remove the racks and food from your fan-assisted oven
The oven needs to be completely empty before the self-cleaning can commence. This means that you need to remove any trays, racks, and any food that you’re storing in the oven.
2. Close the oven door
It is essential that the oven door is shut properly. Double-check that it is closed. When the self-cleaning program starts the oven will be subjected to extreme heat and this can be lethal.
3. Set up the self-cleaning mode
If you’re not sure how to do this look through your user manual and follow the steps in the handbook. There may be an option to set a time limit for the self-cleaning program too.
4. Start the self-cleaning phase
Activate the program when you’re happy that the oven is safe and that there is no danger.
5. Empty the room
Make sure that no kids can get into the kitchen and fiddle with the buttons/door when the self-cleaning program has started. The oven will reach a temperature of about 500℃.
6. Clean the racks separately
When the oven is cleaning itself, this is a good time for you to clean the racks.
You can either clean the racks with hot water and soap, like Fairy Liquid, in the sink or bath. Or you can buy zippable packs that you put some cleaning solution and the racks into for a few hours, and the dirt gets removed from them.
7. Allow the oven to cool
Once the self-cleaning phase has finished you must leave the oven to cool down. This will take some time because the oven reached scoring temperatures of about 500℃. You may need to leave the oven to cool overnight.
Do make sure that you switch your oven before you go to bed or out.
8. Clean the ash away
When the oven is cool enough just open the door and sweep the ash away. Dispose of it correctly.
9. External cleaning
It’s always worth giving the outside of your oven a quick clean too.
This includes; the front of the door, the handle, and the buttons.
You don’t need to use any harsh products here; some hot water and a dash of Fairy Liquid would do the trick!
Method 2: Homemade Oven Cleaner
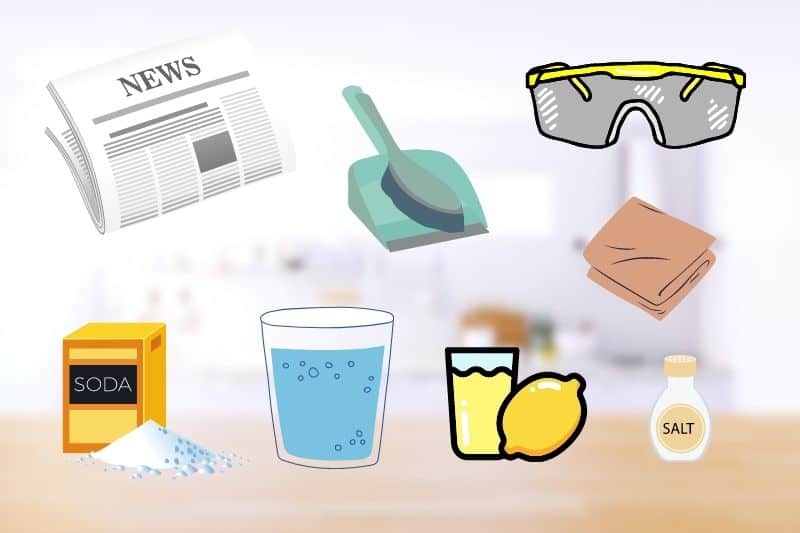
What you need:
- Sheets/newspaper
- Pan and brush
- Eye protection and gloves
- Bicarbonate of soda
- Water
- White vinegar
- Lemon juice
- Salt
- Cloths
- Rack cleaning tray
Follow these steps:
- Switch your fan-assisted oven off.
- Prepare your workspace by putting down some sheets/newspaper on the floor to catch any muck that comes out of the oven.
- Pop your gloves, facemask, and eye protection on.
- Create bicarbonate of soda and water paste – use around a cup of bicarb to 1 cup of water, but don’t make the mix too runny. (Adjust as needed).
- Remove the racks, pans, and food from the oven.
- Use a dustpan and brush to remove any bits of food that come away from the floor of your oven with ease.
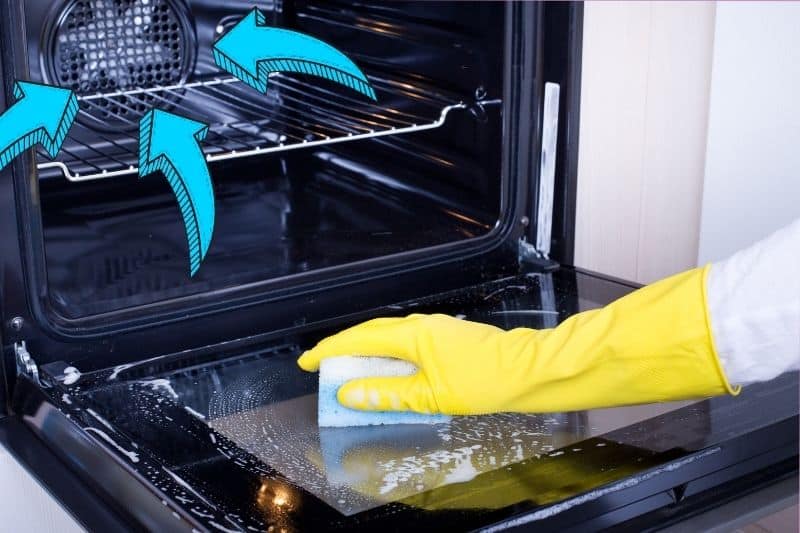
- Spread the bicarbonate of soda and water mixture over the interior of your fan-assisted oven. Use a cotton cloth to do this. (Areas to cover; floor, sides, door, and roof).
- Add more paste to mucky areas.
- Do not get the paste on the fan or any other heating element in your oven.
- Shut the oven door and leave the mixture to sit on the walls and door of the oven overnight.
- Grab an old cloth, wet it in hot water, rinse it and start rubbing the bicarb off the oven.
- Keep doing this until all the mixture has been removed. You may need to scrub harder in some areas or use a plastic scraper to remove the debris!
- Allow your fan-assisted oven to dry naturally. Or, if you see obvious wet patches use a kitchen towel to dab the area dry.
- External cleaning: You’ll need to use a damp hot cloth to wash the front of the oven down. And you can also clean the buttons too. (Use a toothpick to remove any dirt caught behind the buttons).
- Once the oven itself is clean you can move onto cleaning the racks.
- You can wash your oven’s racks in the sink/bath in a hot water and soap mix. Or, you can buy a large oven rack soaking tray, or rack cleaning bags to aid this process.
Additional tips
If you find a really tough part of dirt that doesn’t come off after using bicarbonate of soda, try making up a white vinegar and warm water mix (1 part vinegar to 3 parts water).
Just spray the mixture onto the dirty spot, wait a few minutes, then wipe away the excess moisture and the dirt will come off.
Or, for really stubborn burnt food marks, you can mix lemon juice and salt together and spread it evenly over the burnt area. Just leave it for a few minutes and then wipe the mix off with a cloth.
Method 3: Oven-Cleaning Products
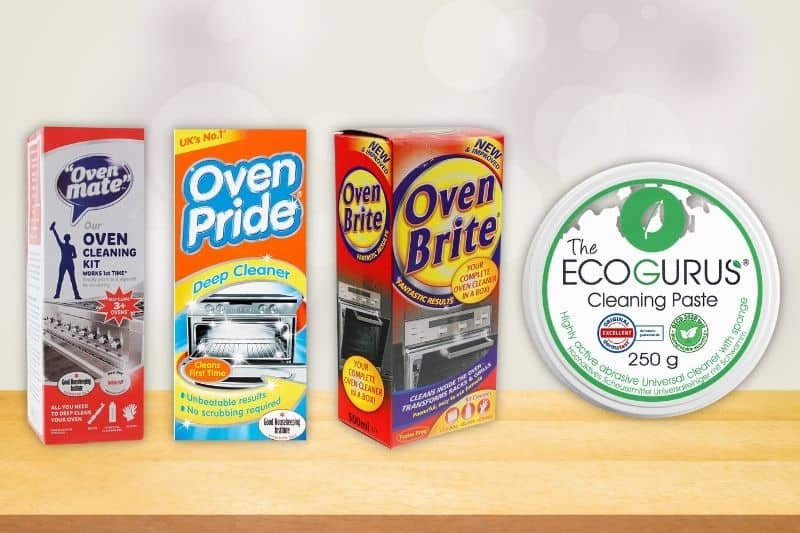
If you’re not keen on creating your own pastes and mixes you can, of course, buy a product to clean your fan-assisted oven.
When choosing a product, it’s worth keeping in mind the following tips:
- Products bought in are almost always full of chemicals, so you need to be extra careful when working with them.
- You should always follow the instructions on the packaging – follow the dose, the time, and the procedures.
- You shouldn’t allow kids and pets to play around your oven when you’re using a shop-bought cleaning product.
- It’s advised to keep your rooms well ventilated when working with heavy-duty chemicals like oven cleaners.
- You should always wear protection when working with these goodies. (Mask, eyewear, and gloves).
- Read your cookers handbook to make sure the product you plan on using is safe to use in your oven before you go ahead and use it.
Here are some examples of products that you could try:
- Oven Brite – If you buy this product, you’ll get all the essential goods you need to clean your oven. This includes a pair of gloves, a bottle of solution, and a cleaning bag for your racks. You will need to source your own sponges.
- Oven Pride – If scrubbing ovens isn’t for you then look no further than the UK’s No.1 oven cleaner! You’ll get all the goodies you need in the box and you won’t have to work too hard to see amazing results at the end.
- Oven Mate Gel – If you think that a liquid-based cleaner isn’t for you, then try this extremely powerful cleaning gel from Oven Mate! Not only does this product come with an abundance of solutions to use, but you also get a cleaning brush. Tackling those tiresome greasy spots will be no trouble for you.
- The EcoGurus – If you’re looking for an item that is more natural and is safer to use in a busy home, then The EcoGurus is what you should consider purchasing. This eco-friendly and natural multipurpose cleaner will clean your mucky oven with ease, and you can clean other areas in your home with it too!
You’ll need to allot yourself a set time to clean your oven because all of the products above take time to work. So, don’t decide to clean your oven when you know you have dinner to prepare.
Method 4: Get Professional Help
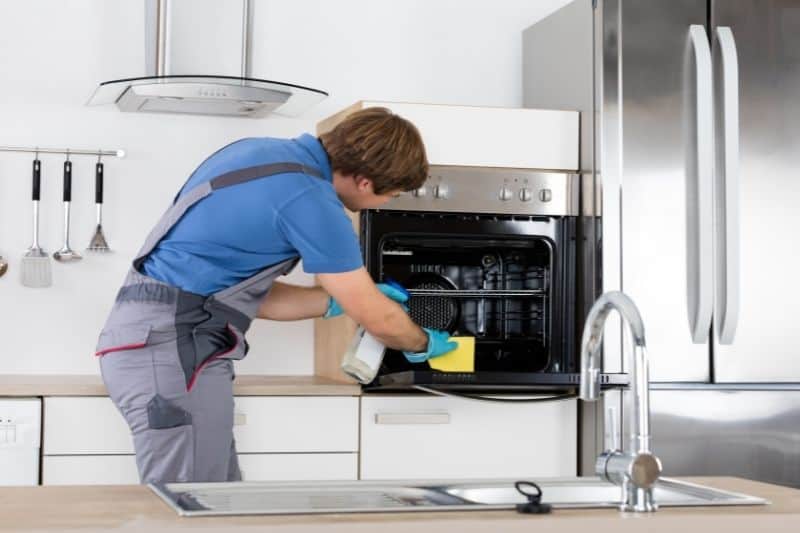
If you’ve tried the methods above, and you’re still not satisfied that your fan-assisted oven is clean, then it may be time to call in professional support.
There are many companies in the UK that specialise in oven cleaning, so you’ll have plenty of options to choose from:
But keep these tricks in mind when choosing a person/company:
- Research the person/company – check their credentials.
- Read reviews.
- Ask people for advice – neighbours, family, and friends.
- Ask the person/company plenty of questions when they arrive.
- Get a written quote before they do the work, so you know what you’re paying for.
- Find out who will actually be cleaning your oven – sometimes companies send individuals out to quote work but don’t do the work themselves.
Finally, just make sure that this method is absolutely essential before you go ahead with it.
Keeping Your Fan-Assisted Oven Clean
When you’ve got a sparkly clean oven the last thing you want to go and do is smear it with horrid gunk again. So, what can you do to prevent further dirt from piling up…
Consider the following tips:
- If you’re cooking food that is likely to spit, cover it with a lid or some foil. The lid or foil will stop the grease from getting onto your oven’s walls and floor.
- You could use roasting bags to stop food from sloshing everywhere.
- When you’re done with your cooking, wait for the oven to cool down then wipe it clean.
- Keep on top of the cleaning, this will prevent big build-ups from developing over a period of time.
- Take out the racks and clean them as often as possible, because this is where food has likely dripped all over.
- Wipe away spills before they harden.
- Make sure you use dishes to cook your food in as this will limit the amount of dirt that gets onto the racks in your oven.
- Make sure you utilise self-cleaning functions and catalytic liners.
The take-home message is that food will inevitably soil your oven, but if you do your best to make a habit of cleaning your fan-assisted oven after every use, it’ll stay clean for longer!
FAQs
Can I just steam clean my fan-assisted oven?
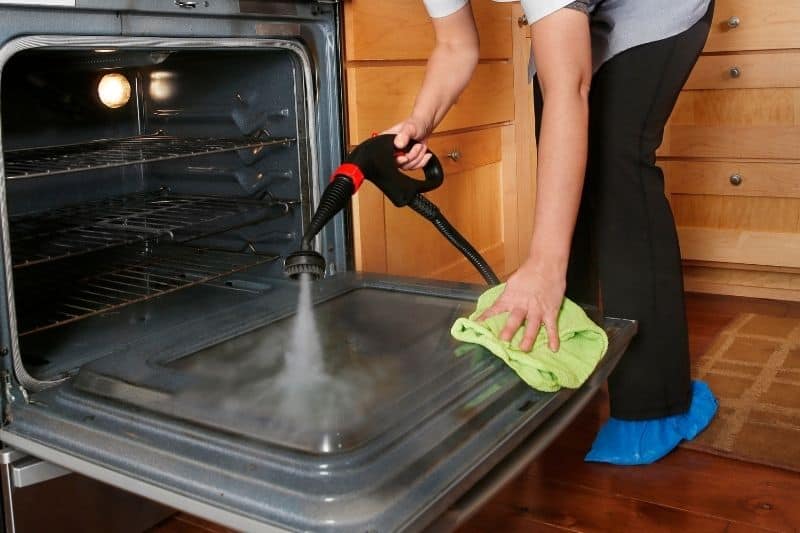
There’s nothing wrong with steam cleaning ovens, but you should be careful when you do it. Steam is very good at removing grease and burnt food from ovens. But you must still wipe the excess dirt away!
How often should an oven be cleaned?
You should aim to maintain your oven after every use. That means that you should keep an eye out for spillages and splatters so that you can wipe them away when the oven is cool.
Racks should be looked after weekly, but again if they’re particularly dirty after cooking a fancy meal, just wash them again!
On the whole, if you keep your oven on a relatively clean slate, a deep and thorough clean should be completed once a month.
Not only will cleaning your oven make it vastly more hygienic for you and your family, but your food will also taste better if you clean out the food of weeks gone by! Who wants to eat a posh meal that stinks of yesterday’s food…?
Is there such a thing as an easy-to-clean oven?
Technically all ovens need to be cleaned and need work done to them in some shape or form. However, there are ovens that are easier to keep clean in comparison to other ovens.
Easy to clean ovens are usually the ones that come with self-cleaning features. They’re not necessarily going to break the bank, but they will come with a bigger price tag!
But if you keep on top of cleaning your oven it’ll be easy to clean regardless.
How do you clean oven door glass?
To thoroughly clean your oven door’s glass, you need to clean the inlet, the glass outside of the door, and the glass inside the door. Read our guide on how to clean oven door glass.

Bethan has a passion for exploring, reading, cooking and gardening! When she’s not creating culinary delights for her family, she’s concocting potions to keep her house clean!
