Clean floors don’t just make a space look, feel and smell welcoming, but they make the area more hygienic! So, it’s a no-brainer to wash the floors in your property.
The trouble is if you don’t clean your mop head but continue to mop your floors, you won’t end up with hygienic surfaces throughout your home. What you’ll end up with, in complete contrast, are floors that have covered in various germs from around your abode!
Bathroom germs will be spread around the hallway, kitchen grime will be thriving on the living room floor, and utility room waste will be living it up on the bedroom’s laminate! Not quite the outcome you were hoping for!
One way to limit the cross-contamination of germs is to clean your mop head frequently so you make it extra sanitary and safe to be used around your house! But how do you wash a mop head?
Follow the steps below to clean your mop head correctly so that you actually end up with a clean mop, and in turn, you can limit the spread of germs in your home.
Things to Remember About Cleaning Mop Heads
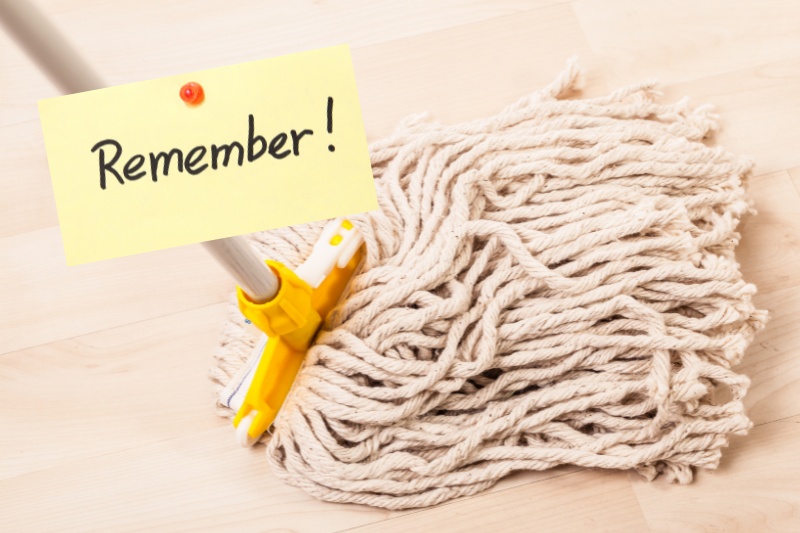
Here are a few tips to think about when it comes to mop care:
- Rinse your mop head out after every use.
- Clean your mop head thoroughly every two to three uses so you don’t wipe your floors with a contaminated mop head.
- Dry your mop head correctly when you’re done with it to keep the germs at bay.
- Keep your kids and pets away from the mop head and cleaning solutions you’re going to use to wash the mop.
- When cleaning a floor, continuously empty and refill your bucket with fresh water and cleaning solution. It may seem like a lot of work, but if your bucket of water gets too dirty, you’ll coat your mop head in dirt every time you dip it into the water. So, when you wipe the floor, you’ll just put grime back on it.
How to Wash Mop Heads in the Washing Machine
Follow the steps below to clean your mop head in a washing machine.
Remember that this cleaning method isn’t suitable for all mop heads, so if you’re in doubt, hand-wash your item instead.
Step 1: Rinse the mop head
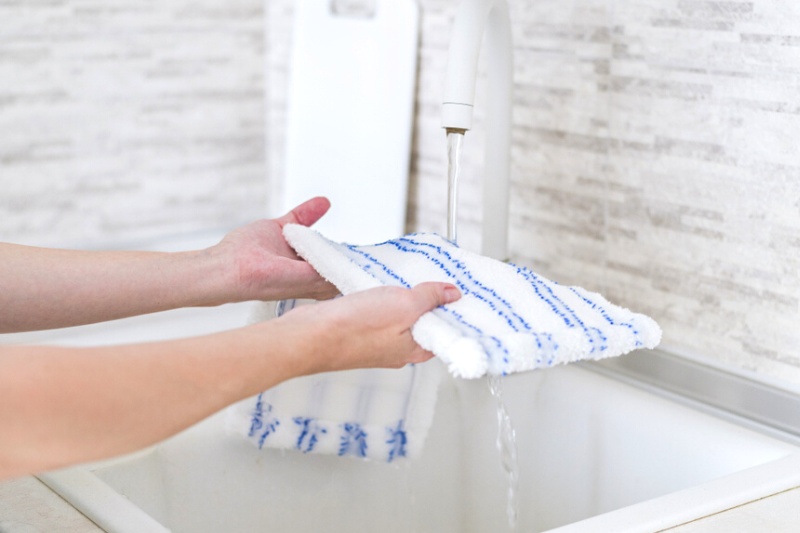
The first step you should always take when cleaning a mop head is to rinse it clean.
By holding the mop head under water (or dislodging the microfibre pad from the head of the mop), you can quickly rinse any loose debris from the material.
All you need to do is hold the head/pad under some running warm water and wait for the water to run clear.
Tip: You actually need to carry out this step every time you finish using your mop. This vital step will remove general dirt from your mop so it’s clean and ready to be used again. It will also stop you from spreading germs around your home.
Plus, a quick rinse will remove soapy residue from the mop head, which could damage the material if it’s left on it for too long.
Step 2: Remove obvious grime from the mop head
In most cases, there’ll be a lot of noticeable grime knotted up on the head of the mop. In general, it’ll be large clumps of hair or food.
If this is the case with you, you can pop some gloves on and tease the dirt out with your fingers.
By removing this grime beforehand, you can also stop it from blocking up your washing machine, which is a bonus!
Step 3: Make sure the mop head can be machine washed
Not all mop heads can be washed in a washing machine, so before you carry on with this method, make sure your mop head can actually go in a washer.
Generally, microfibre heads (usually flat and labelled as reusable), strip heads and cloth heads can go in a washing machine.
Other heads, like a sponge, cannot be washed in such a manner, and you need to hand wash them.
If you’re not sure if your mop head can go in the washer, have a look at the box/packaging your mop came in for extra guidance.
Or do a quick search on the manufacturer’s website to find out what they have to say on the matter.
However, if you’re in doubt, stick to hand-washing your mop head!
Step 4: Detach the head from the handle/microfibre pad from the base of the mop
When you know for sure your mop head can go in the washer, you can detach the head from the base of the handle/take the pad off the bottom, and pop it in the washer.
Step 5: Add the head/pad to the washer’s drum
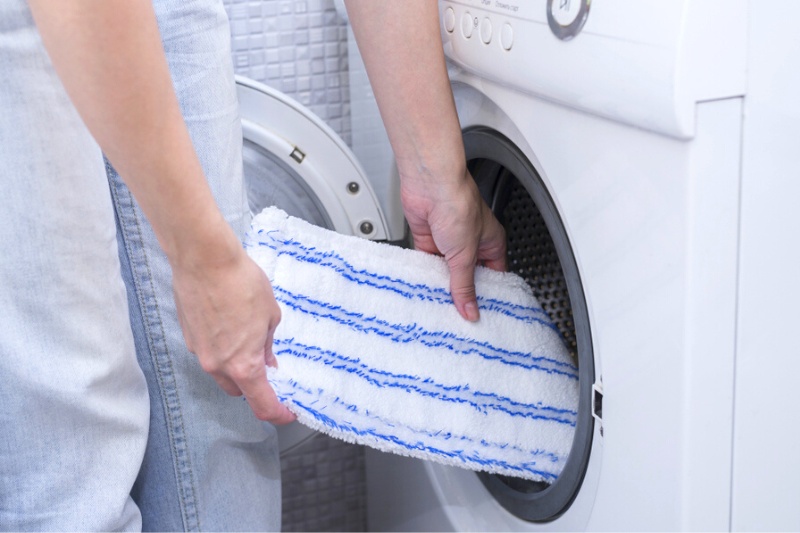
Pop the mop head/pad into the centre of the drum ready for the wash cycle.
As a rule, you shouldn’t clean anything else in your washer when you’re cleaning your mop head, which is for hygiene reasons. You can, however, clean other cleaning implements if you’d like. This would include any other cleaning cloths, for example.
As an additional step, you could pop your mop head inside a washing bag if you wanted to keep it safe in the washer. This would stop the head from flinging around and getting caught up inside the drum as the wash takes place. This isn’t an essential step, though, but it can be useful.
Step 6: Choose the hottest temperature possible and a suitable cycle
With the mop head in the drum, your next step is to choose an appropriate washing cycle, water temperature and to add a suitable detergent to the machine.
In most cases, you must choose a hot temperature. And either a ‘normal’ cycle or a ‘delicate’ cycle will be required. The mop’s packaging will advise you further on what cycle to pick.
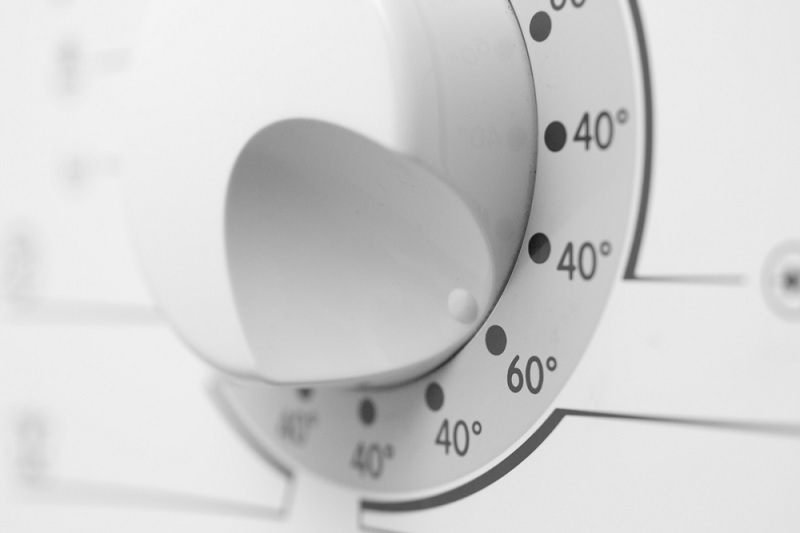
As a guide, the microfibre circular pad that’s attached to the head of the Vileda Spin & Clean Mop can be washed at 60°C in a washing machine. If you have a similar microfibre mop head, perhaps you can use this figure as a guide.
In terms of detergent, you can use your regular detergent to clean the mop head unless you’re told otherwise. And if you like, you can add a little bleach to the washer so that you can disinfect the mop head.
Step 7: Start the wash
When you’re ready, you can start the wash.
Step 8: Wash the handle and base of the mop
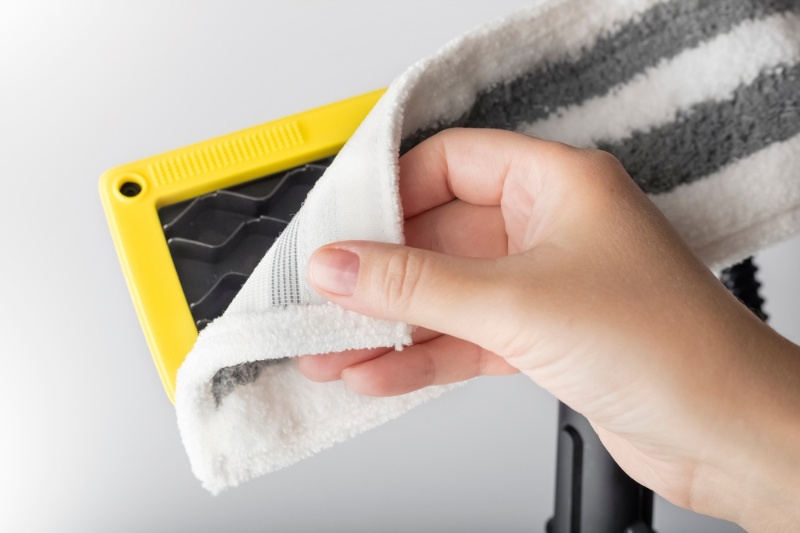
When the mop head is being washed, you can take a few minutes to clean the mop’s handle and main body.
You don’t have to do a major clean, you can just rub the body down with an antibacterial wipe/a damp microfibre cloth.
Step 9: Move on to the drying phase
The drying phase is equally important to the washing phase, so don’t skip it! If you don’t take care of your mop correctly during the drying phase, it could end up damaged and bacteria-ridden – yucky!
Follow the steps below in the section on drying mop heads.
How to Wash Mop Heads by Hand
Follow the steps below to clean your mop head by hand.
Step 1: Rinse the mop head
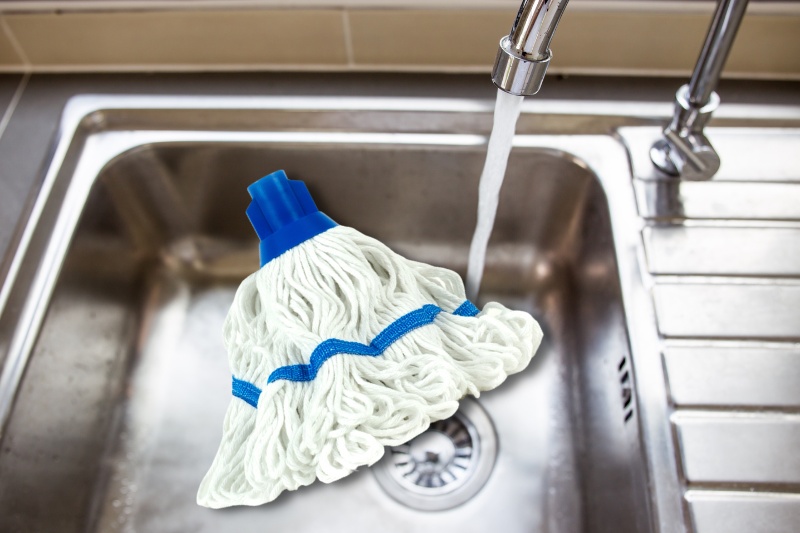
Hold your mop head under a tap and flush out any dirt that’s trapped inside it. At this point, you’ll be hoping to clear out large chunks of debris, like hair and food.
Step 2: Fill a bucket with water and cleaning solution
Fill your bucket up with hot water (the hotter, the better) and add a few drops of washing-up liquid to it.
This will be your initial clean!
Step 3: Soak the mop head
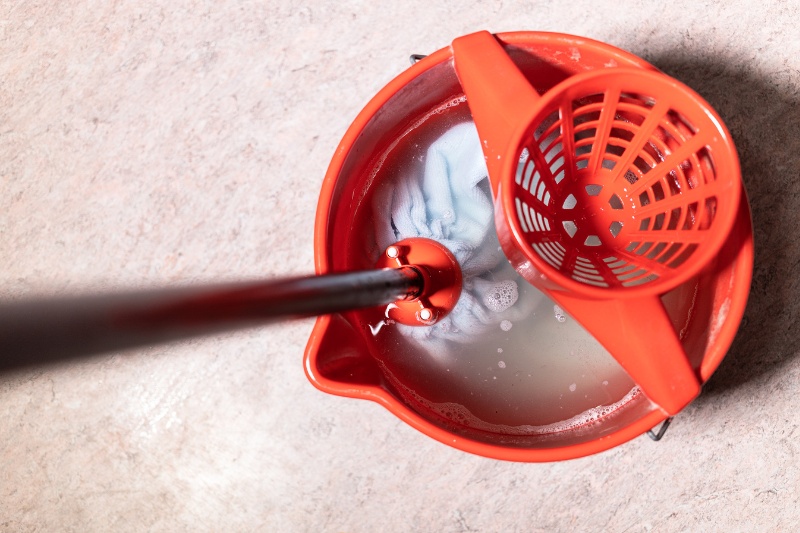
When you’re ready, pop your mop head into the hot water and agitate the head in the water for a few minutes.
Allow the mop head to rest in the water for a few more minutes. Then empty the dirty water away and rinse the mop head clean as you did in Step 1. The aim is to dislodge soapy residue and general dirt from the mop head at this point.
When the water runs clear, you can move on to the next step.
Step 4: Re-fill the bucket
It’s now time to rinse your bucket out once more and refill it with some disinfectant or white vinegar.
In general, if you want to sanitise your mop head, you should allow it to rest for about 15 minutes in a water and bleach mixture.
Of course, this isn’t suitable for all mop heads, like those made from sponge and synthetic heads. And it may lead to discolouring or fading. So, use bleach with caution and check the manufacturer’s guidance!
If you want to try something more natural, you can soak the mop head in a white vinegar and water mixture instead. This is an effective way of cleaning your mop head and neutralising odours from it!
You choose bleach or white vinegar. You don’t use both methods because this will cause a bad chemical reaction.
Step 5: Soak the mop head
When you’ve chosen your mixture, allow the mop to rest in the water for about 15 minutes and agitate it in the water every so often (move the mop back and forth in the water slowly).
Step 6: Rinse the mop head
After soaking the mop head, you will need to rinse it clean as you did in Step 1. Then you can wring out as much liquid as possible from the mop head!
Step 7: Move on to the drying phase
When the mop is free from residue, you can dry it. Follow the steps below.
How to Dry Mop Heads
Washing a mop head is just one part of the caring process. You also need to make sure that your mop head is dry!
To dry your mop head correctly, follow the advice below:
- Air dry your mop head outside in some fresh air.
- Hang your mop head on a washing line if it is detachable or is in pad form.
- Don’t tumble dry the mop head.
- Only store the mop away when the head is completely dry. A wet mop can be a haven for bacteria to thrive in.
- Hang mops up so the head doesn’t touch the floor. This will also help the mop head to keep its shape. Don’t leave a sponge mop sitting directly on the floor because it’ll gather up all the surface dirt, for example.
- If possible, take the mop head off and hang it up on a hook. This small action will help the head to keep its shape when it isn’t in use.
- If you can’t hang a mop up, store it upside down so the head’s piles and strands don’t tangle or go flat.
- Keep mops in a cool, dry place.
- If you need to replace your mop head, do so! Mop heads don’t last forever, so don’t worry if you can’t clean your item effectively or remove all the smells from it. This is just a sign that a new mop head is needed.

Bethan has a passion for exploring, reading, cooking and gardening! When she’s not creating culinary delights for her family, she’s concocting potions to keep her house clean!


