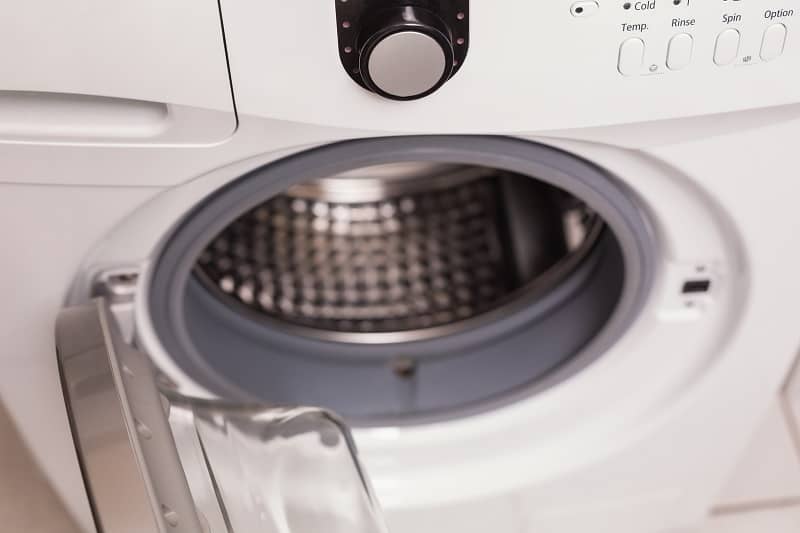
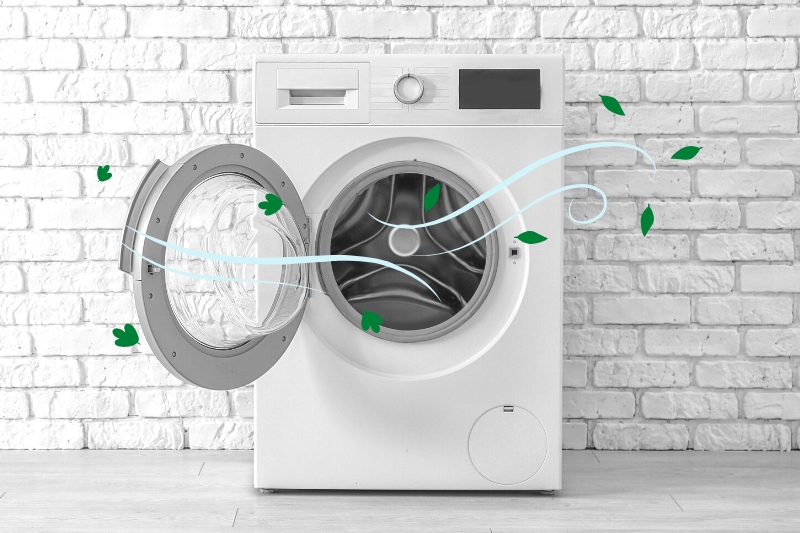
Mould thrives on moist surfaces, so it’s no surprise washing machine rubber seals are often victims.
Failure to remove the mould in time may result in an odour that could affect your clothes during the wash cycle.
So, how do you get mould off washing machine rubber? Check out the helpful tips below.
How to Get Mould Off a Washing Machine’s Rubber Seal
1. Pre-clean with a cotton pad, rag, or clean towel
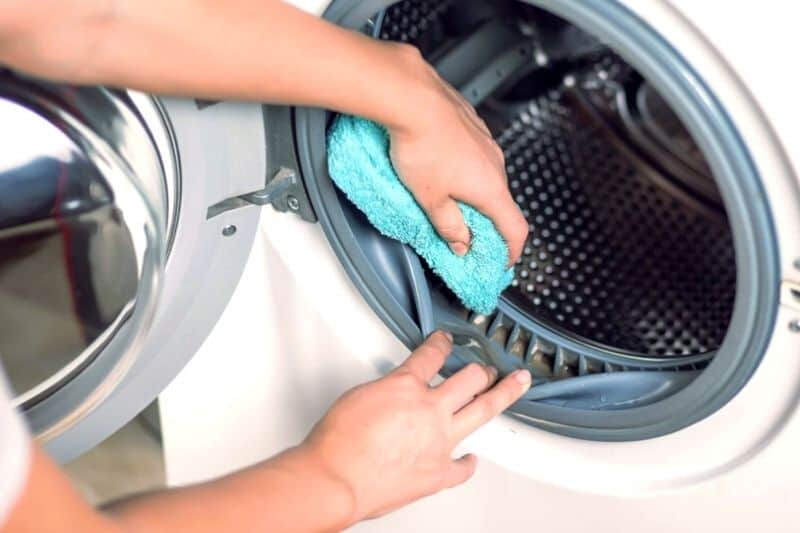
The first step is to pre-clean the rubber seal. This is an essential step as it makes the cleaning agents you apply later more effective.
Dampen the towel or rag in soapy water and start cleaning the rubber seal gently. Be sure to reach every corner, underneath and behind it.
Rinse the towel every time it looks dirty. You should also remember to change the soapy water if the seal is too dirty.
Your main objective should be to get rid of everything except the toughest stains during this step.
2. Clean the soap dispenser thoroughly
Mould often grows on solidified soap between the spaces of your machine.
Your next step should be getting rid of this soap using a rug or cloth dipped in soapy water. You may consider entirely removing the soap dispenser for easier cleaning.
Some dispensers can’t be deatched, making it challenging to reach the right corners.
You can use a pipe or bottle cleaner if that’s the case. Ensure the dispenser dries before attaching it again, or leave the machine open to ensure it dries for undetachable ones.
3. Spray the mould with mould remover
Mould removers in spray bottle form make it easy to remove the mould. Like pipes and bottle cleaners, spray bottles work best in areas where you may not reach with your hand.
Aim at the spots with the most mould to ensure it gets off the surface.
Don’t worry if the mould doesn’t come off instantly. You can allow the cleaning agents sprayed to settle for some time before the mould and dirt come off.
Use a cloth to wipe off the mould from the rubber seal once you finish spraying.
4. Run a normal wash cycle
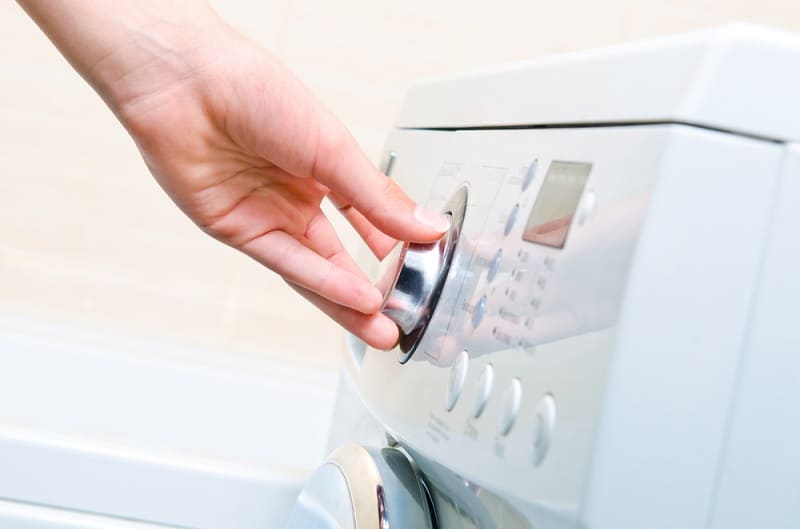
Go ahead and run an empty machine wash. This step is critical for mould removal and therefore requires hot water to be effective.
You should set your machine to the hottest settings to get the desired results. Adding some cleaning agents will also make it work better.
You should add 1 cup of bleach and a similar amount of bicarbonate of soda (aka baking soda).
It is safe to combine bleach with bicarbonate of soda, provided you follow the normal safety procedures involved in handling bleach. Don’t combine bleach with other chemicals though, as it can be dangerous.
If you don’t have any bleach, try using a residue-busting washing machine cleaner along with half a cup of dishwasher detergent.
You should allow the wash to run for several minutes and repeat the process if the odour and dirt persist.
5. Wipe the rubber with a clean, soft cloth
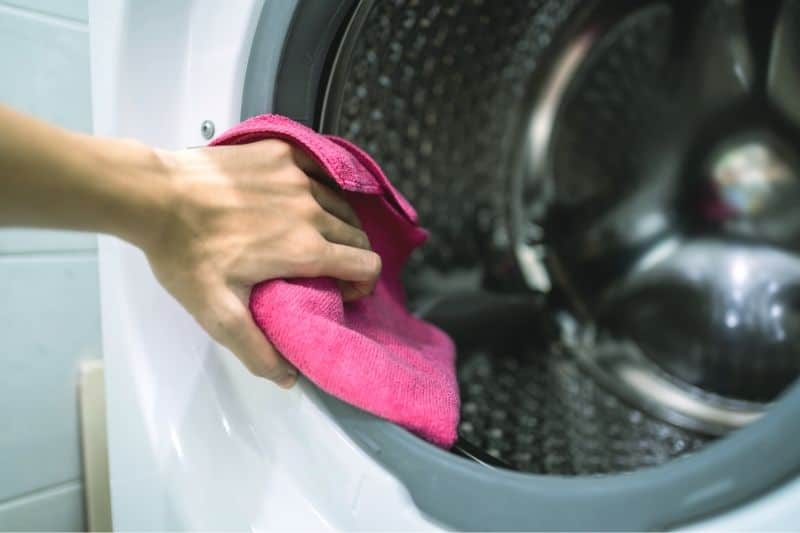
After the washing cycle ends, you need to wipe off any remaining mould. You will need a soft cloth for this step.
It is advisable to wipe off the mould with the fabric while the machine is still hot. The mould is soft and won’t require too much effort to remove.
It would be best to use fresh water when wiping the rubber. Rinse and wipe it for the last time. Ensure that you leave the machine dry and open after this step.
6. Clean the rubber seal often
If you don’t provide mould with its preferred habitat, it won’t grow. The best thing to do is make sure the rubber is always clean and no soap or dirt accumulates.
It’s a good idea to clean the rubber seal on your washing machine at least once a month. You can also do an empty machine wash every month if going through the entire process feels overwhelming.
Remember to use the right amount of bleach and hot water during these routine clean-ups.
You should also be careful not to over-clean the seal. Rubber seals wear out eventually, and intense cleaning could cause this to happen more quickly.
Why Should I Clean the Seal?
Washing machines use vast quantities of water, and as such, it is no surprise that every surface of the inside of a washing machine is a breeding ground for mould.
Without regular cleaning, this can build up and become a serious problem.
The rubber seal is often overlooked as part of a regular cleaning plan, but if this area is not dealt with, it can become less than hygienic and contribute to some nasty smells.
Even if you regularly clean the inside of the drum and run service cycles, you need to make sure that you get in the hard-to-reach places on the inside of the seal too.
How Often Should I Clean the Rubber Seal?
Every time you run a service wash! Most washing machine manufacturers will recommend that you run a service wash on your machine once a month, especially if the machine experiences heavy use or is used for clothing that is particularly grimy.
Beyond this regular clean, try to regularly check the seal for any visible signs of mould growth.
If you are unloading the machine and you notice grime on the surface of the seal, that is a key indicator that you should take the time to clean the seal as soon as you can so that the mould does not get a chance to build up.
If you’ve ever accidentally washed a tissue, you may have found it clumped inside of the rubber seal folds – always check this area after a wash to ensure no undissolved washing tabs have gotten stuck. These can be what causes some of the bad smells in a washing machine.
Cleaning the seal during a service wash
When you run a regular service wash on the machine, add one cup of bicarbonate of soda inside the drum and around the seal. Also, add a cup of bleach and baking soda to the detergent drawer.
If you do not have bleach to hand, you can use two cups of vinegar, a quarter of a cup of baking soda and a quarter of a cup of water instead.
Run the machine empty for a few cycles, and use the highest temperature setting you can, ideally 90 degrees. This is especially important if you run the machine in lower, more economical temperatures during normal use.
There is no set number for the number of times it is recommended that you run the service wash. If the machine is visibly grimy or it is the first time you have run a service wash, you might find that it needs to be run many times to achieve the best results.
Have a look inside the drum after each cycle, and if it still smells or you can see visible black spots on the surface, run the cycle another time.
After you are satisfied that the service washes have done their job, you can tackle the hard-to-reach spots on the inside of the seal.
Mix a few drops of washing up liquid with some warm water and wipe down the seal with the mixture and a clean cloth.
Make sure to get the inside and underneath of the seal too – the inside is notorious for collecting grime and bacteria and can block the door drainage holes.
If washing up liquid on its own isn’t enough, you could also try white vinegar as detailed in our next tip.
Cleaning the seal with white vinegar
If the rubber seal just needs a touch-up clean or a service wash has not shifted all the dirt, you can clean the seal with white vinegar.
For this trick, you need white vinegar, and we opt for a combination of cotton wool balls and buds.
For the large surface areas of the rubber seal, dampen the cotton wool balls (or pads) in white vinegar, and wipe or scrub the mould away.
For particularly stubborn mould, leave the white vinegar to sit for just a few minutes before wiping it away.
For the hard-to-reach parts of the seal, use a cotton bud. Pull the seal’s fold forward with your fingers and use a cotton bud dipped in vinegar to clean away the mould and debris that has become caught in between.
Be prepared before you start – you will most likely need a good few cotton buds to clean the entire seal.
The mould and debris can build up anywhere, so make sure that you clean the inside of the seal the whole way around.
The build-up might be worse at the bottom of the seal, but that does not mean that the top is hygienic and can be left to its own devices.
Once you have cleaned the entire seal, you need to rinse the vinegar and debris away. The easiest way to do this is to run an empty cycle on the washing machine at a hot temperature.
Preventing Mould Buildup
Prevention is often better than a cure, and that is certainly true with washing machine mould.
Fortunately, there are a few simple steps that you can take to prevent mould and mildew from building up on the inside of the seal.
- Leave the machine door open when it is not in use. After a cycle has finished, leave the door open to allow air to circulate and the surfaces to naturally dry.
- Remove the laundry as soon as the cycle has finished. If water is allowed to accumulate in the machine and become stagnant, it creates the perfect environment for bacteria to flourish. To prevent this, simply remove the washing as soon as possible!
- After a cycle, use a clean cloth to dry the surfaces around the door, rubber seal and glass to clear away any debris or detergent that has been left behind.
One reason that many washing machines experience a build-up of mould is due to washing temperature.
Many people find themselves running most washing machine cycles at 40 degrees or lower, which might be more eco-friendly, but it does not clean the inside of the machine very well.
Washing at temperatures below 40 degrees regularly can leave behind some detergent residue, which facilitates the growth of mould and dirt.
To get around this, try to wash the odd cycle at a higher temperature. As an example, my household washes clothes on 30 degrees Celsius, but we wash towels or bedding at a higher temperature to clean the insides of the machine.

In The Wash is your guide to the best laundry and cleaning products, tips and tricks. Our mission is to solve the UK’s cleaning and laundry dilemmas!


")
