If your shower grout is looking dirty or discoloured, it’s time to get cleaning!
Used to fill gaps in tiles, grout is a light-coloured, porous material that can easily absorb dirt and soap scum, leading to staining.
Another common grout problem is mould build-up, due to the moisture created by regular baths or showers.
Luckily, there are several easy ways to rectify these issues. Read on as we reveal how to clean grout in the shower in three different ways, to help you get your bathroom looking like new again, while preventing damage to the grout.
When it comes to cleaning grout in your shower, there are three main methods that you can try. It’s always worth starting with the mildest products first to protect the longevity of your grout.
You can then work up to harsher alternatives if needed. Let’s start by looking at how to prep the grout prior to cleaning. We’ll then cover each method from mildest to toughest.
How to Prepare the Grout for Cleaning
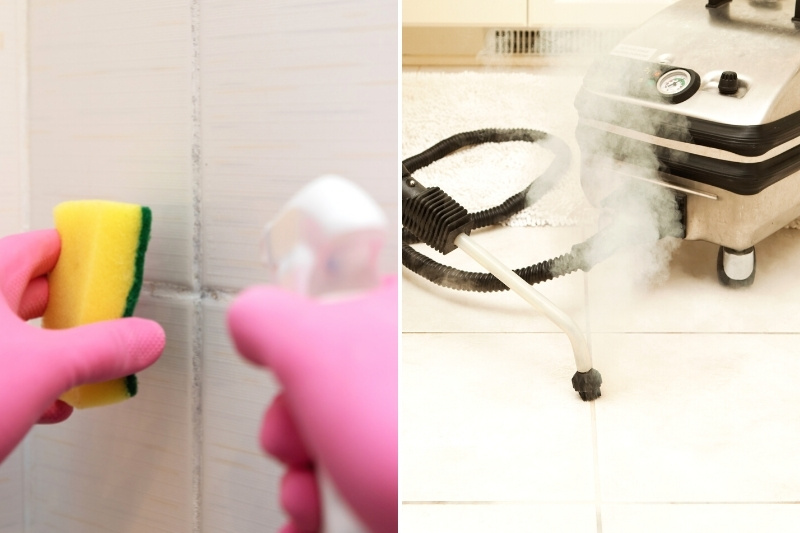
Before tackling the grout discolouration, it’s a good idea to clean any excess dirt off first. You can do this in one of two ways.
The first option is to use a product like Viakal’s Limescale Remover Spray and a sponge to loosen any dirt or soap scum on the surface. Then rinse it off with hot water, leaving the grout damp and ready for the next stage of cleaning.
Alternatively, to minimise effort, you can use a steam cleaner with a precision nozzle to clean grime from the grout lines. In some cases, this may be enough to brighten the grout and you can leave it at that. But more often than not, it just makes the next stage easier.
Cleaning Method 1 – Diluted White Vinegar and Bicarbonate of Soda
1. Make a bicarbonate of soda paste
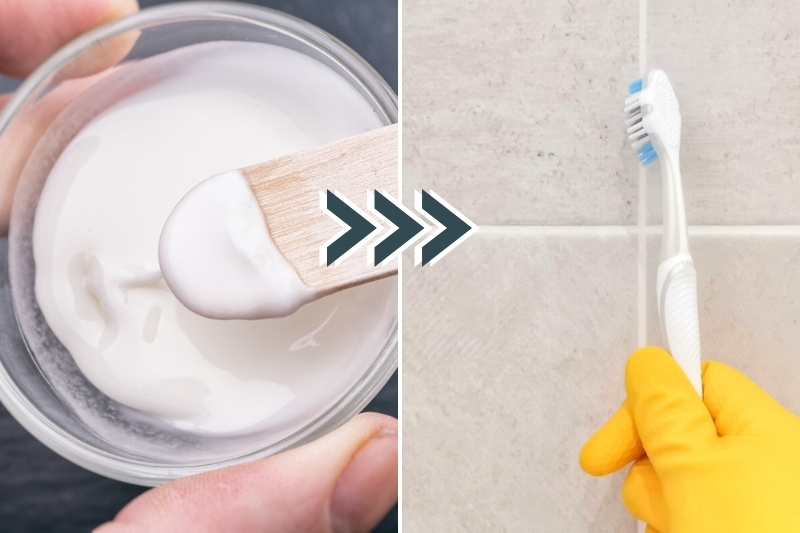
Start by mixing two tablespoons of bicarbonate of soda with water to make a paste. The grittiness of the bicarb will aid the scrubbing process when working off grime.
2. Scrub the grout
Then, dip an old toothbrush into the paste and apply it to the damp grout. Working on one small area at a time, use circular motions to scrub the grout with the brush.
3. Make a vinegar solution
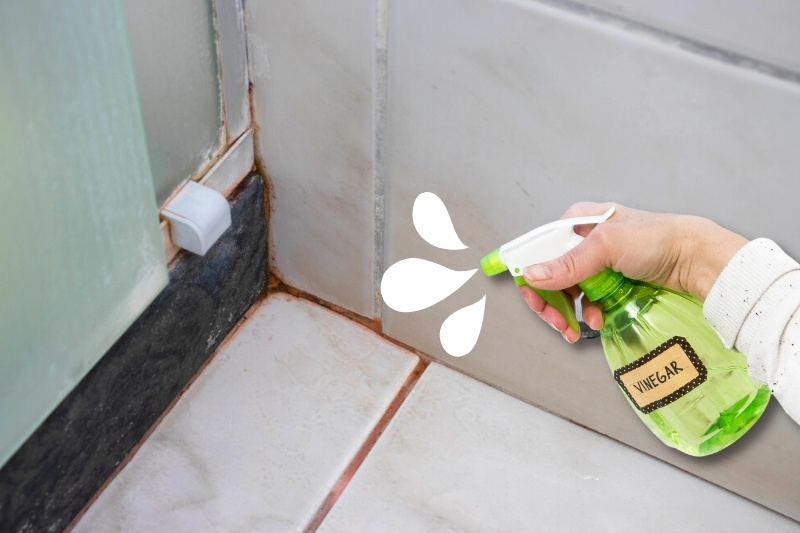
Next, combine one half water and one half white vinegar into a clean spray bottle. Remember, white vinegar is a powerful natural cleaner that can remove mould, but it needs to be diluted as acidic cleaners can corrode grout over time given its porous nature.
4. Apply the vinegar
Spray the vinegar solution directly over the paste that you just applied the grout. When the vinegar and bicarb combine, the mixture will start to fizz and break down any remaining mould or stains. Leave it to absorb into the grout for 15-20 minutes.
5. Scrub the grout again
When time’s up, scrub the grout one last time with your toothbrush to lift off the loosened dirt, then rinse the tiles and grout down with hot water and a clean sponge.
6. Dry the surface
Finally, dry the surface with an old towel or lint-free cloth to prevent mildew forming.
You can also clean your shower tray with bicarbonate of soda.
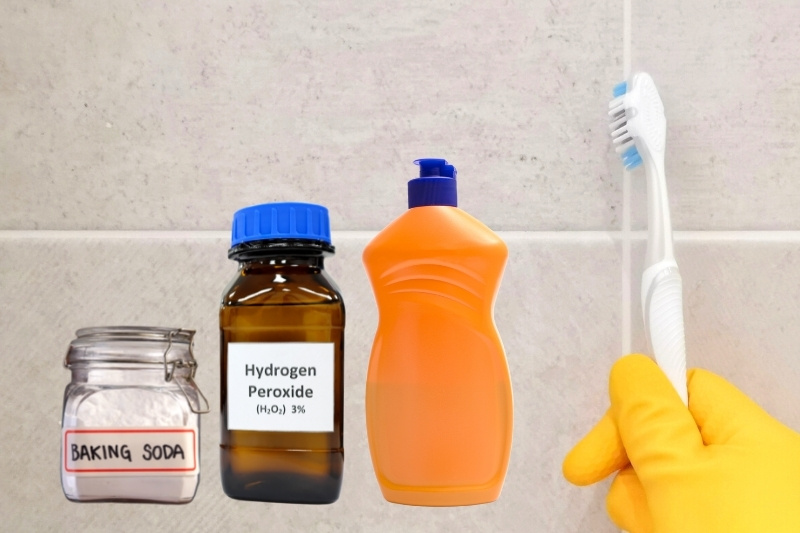
Cleaning Method 2 – Bicarbonate of Soda, Hydrogen Peroxide and Washing Up Liquid
If the grout still looks discoloured, which is often caused by a grey residue leftover from black mould, then the next step is to try hydrogen peroxide.
However, it’s worth mentioning that if you’ve already tried the vinegar solution, you’ll need to thoroughly rinse the grout and wait a few days before applying any further chemicals to avoid a potential reaction between the two.
Also, as a bleaching agent, hydrogen peroxide should only be used on white grout, as it may permanently lighten coloured grout. Here’s how to clean grout in the shower with it:
1. Make a paste
Again, start by making a paste, but this time mix ½ cup of bicarbonate of soda with ¼ cup of hydrogen peroxide and 1 teaspoon of washing up liquid.
This combination offers a three-pronged attack for cleaning dirty shower grout as it contains a mild abrasive, a brightening solution and a degreaser.
Make sure you wear rubber gloves and safety goggles and open a window when working with hydrogen peroxide.
2. Apply the paste
Apply the mixture onto dampened grout using an old toothbrush and leave to sit for 10 minutes to give it chance to seep into the pores. In tight corners of your shower, you may want to apply the solution using a cotton bud to gain better access.
3. Scrub the grout
Then, use the brush to scrub off any mould or grime that has lifted out of the grout, wiping the walls down as you go with a damp cloth.
This will help to prevent any drips from running down the tiles and coating the grout lower down with the dirty mixture.
4. Clean with a sponge, then rinse and dry
Complete the process by cleaning the grout and tiles with a sponge dipped in warm soapy water to remove any residue. Then rinse with clean water and dry as above.
Cleaning Method 3 – Oxygen Bleach Solution
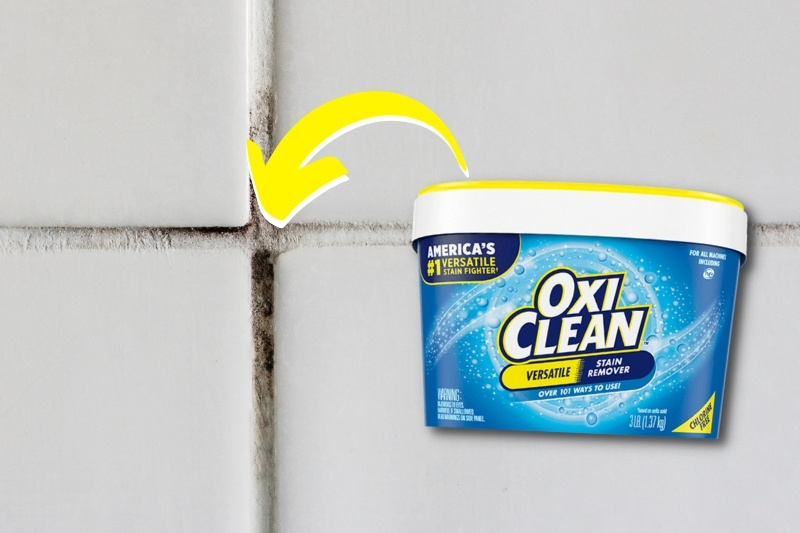
If you don’t feel like making a homemade shower grout cleaner, you could try an oxygen bleach like OxiClean Stain Remover.
Available in a powder that you mix with water, this gentler alternative to chlorine bleach combines hydrogen peroxide and soda crystals.
All you need to do is follow the instructions on the packet, then apply the solution to the grout using a spray bottle.
Leave it to work for around half an hour, then scrub and rinse as in method 2. The grout underneath should be considerably lighter than it was before treatment.
How to Keep Shower Grout Clean
Now you know how to clean grout in the shower, you should only have to do so every two or three months, provided you wipe down the walls with a squeegee or old towel after each use.
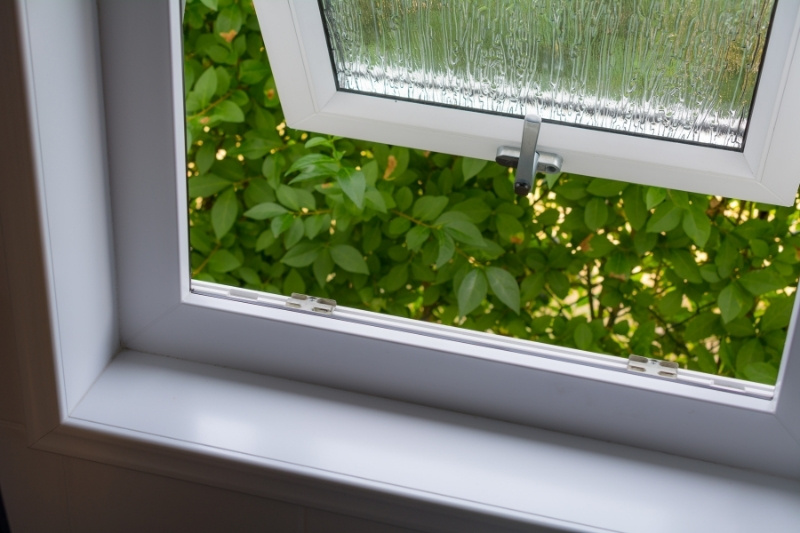
You should also ventilate your bathroom by opening a window or turning on the fan when you’re showering to prevent mildew.
Lastly, consider resealing your grout to stop dirt and moisture penetrating the surface – this will reduce the need for frequent deep cleaning.
We hope you found this post helpful! Want to learn more? From how to clean a fixed shower head to tips for cleaning mould off walls, explore lots more useful cleaning tips on our blog.

A proud Yorkshire lass with a love for movies, music and cosy nights in! Once a self-confessed avoider of cleaning, she’s always on the lookout for new ways to make household chores as quick and simple as possible.


")
")
")