Linoleum floors are a popular choice for many homes due to their durability, affordability, and attractive appearance.
However, like any flooring material, linoleum can accumulate ground-in dirt over time, which can be a challenge to clean.
Whether it’s foot traffic, pet paws, or general daily use, ground-in dirt can make your linoleum floors lose their shine.
But fear not. This article will guide you through effective methods to clean linoleum floors with ground-in dirt, helping you restore their beauty and extend their lifespan.
Tools and Materials You’ll Need
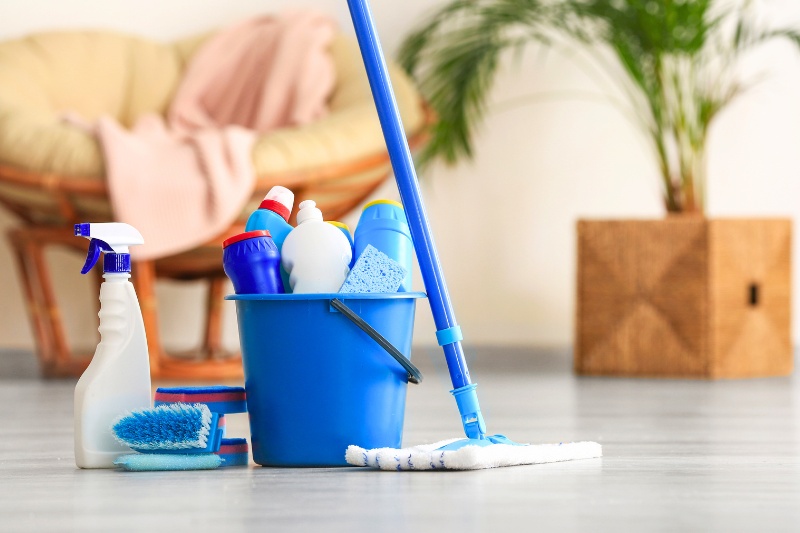
Before you begin cleaning, gather the necessary tools and materials.
You’ll need:
- A soft-bristle broom or vacuum to remove loose dirt and debris.
- Microfibre mop or cloth for gentle cleaning without scratching the linoleum surface.
- Bucket for the cleaning solutions.
- Warm water for loosening dirt and grime.
- Mild pH-neutral cleaner. A cleaner specifically designed for linoleum floors will work best
Step-by-Step Cleaning Process
1. Remove loose dirt
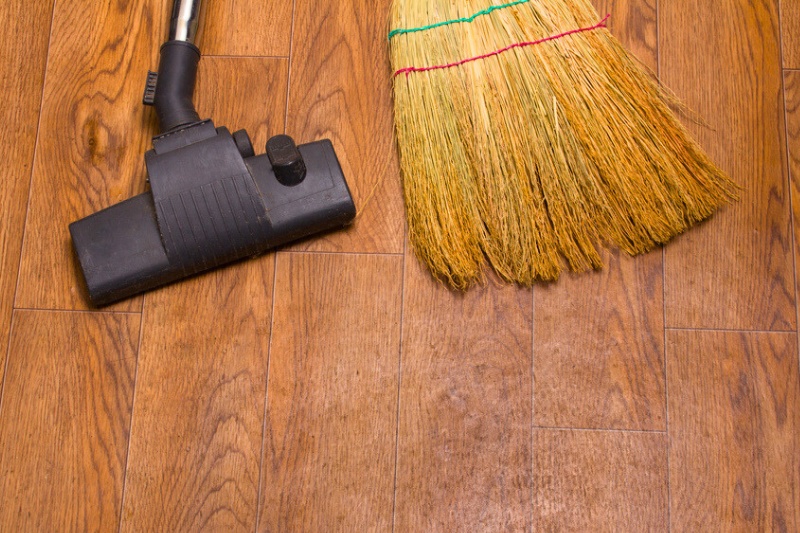
Start by using a soft-bristle broom or your hoover with a soft brush attachment to remove loose dirt and debris from the linoleum surface.
This initial step prevents the loose dirt from scratching the floor during the cleaning process.
There’s no need to work too hard in this step. You are simply hoovering up anything loose. If you find any stubborn, stuck-on dirt, we’ll take care of that later.
2. Prepare the cleaning solution
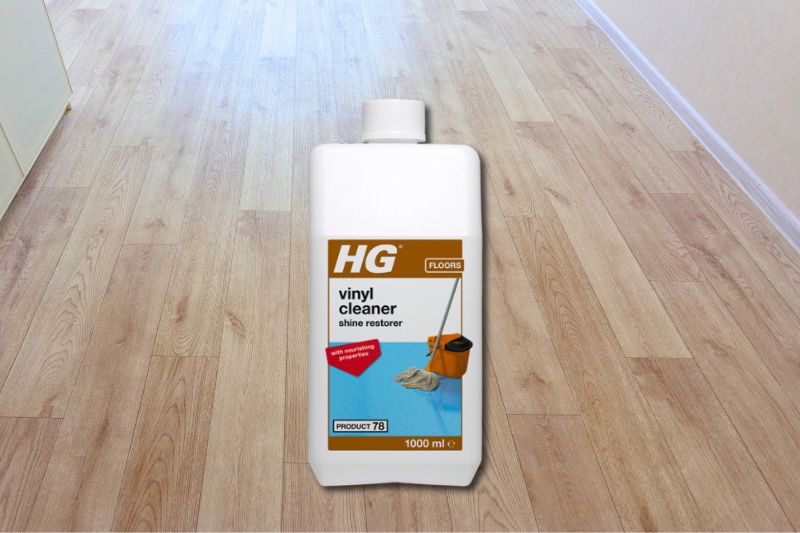
In a bucket, mix warm water with a mild pH-neutral cleaner according to the manufacturer’s instructions. Avoid using harsh chemicals, as they can damage the linoleum.
We’d recommend using something like HG’s Vinyl Floor Cleaner. Although it’s marketed as a vinyl floor cleaner, it is suitable for linoleum as well. It will get rid of the dirt and leave a restored, natural sheen to the floor.
This one-litre bottle will go a long way, too, so you’ll have plenty left over to keep the floors looking brilliant for ages.
3. Mop the floor
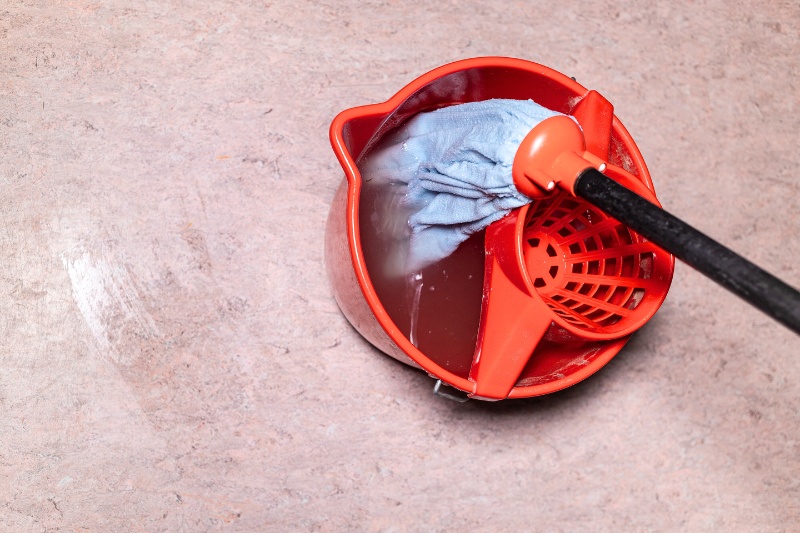
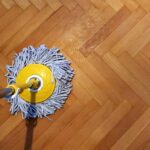
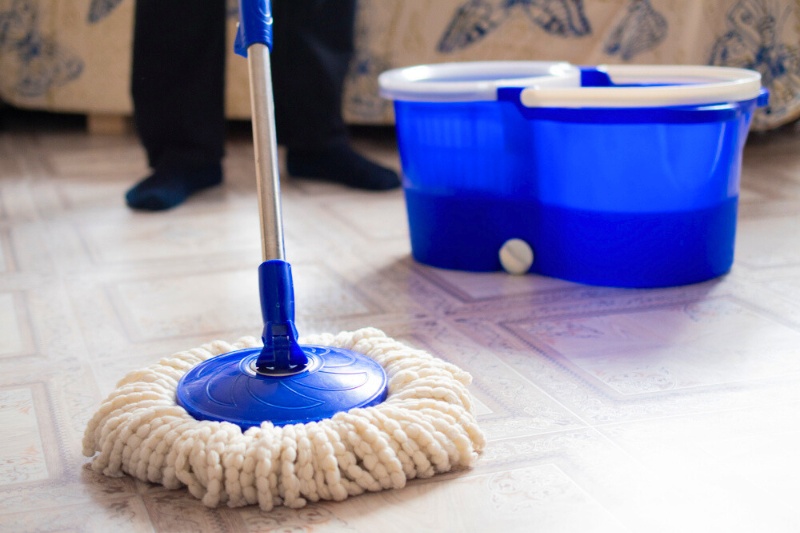
Dip a microfibre mop into the cleaning solution and wring out any excess liquid.
Mop the linoleum floor using gentle, circular motions. Avoid using excessive water, as linoleum is susceptible to water damage.
While you can use a regular cloth mop for this step, the microfibre mop will grab hold of a lot more dirt, so using one can speed up the cleaning process.
If you don’t own a mop, you can use a cloth instead. Just be prepared to be on your knees for a while.
4. Focus on ground-in dirt
For areas with ground-in dirt, allow the damp mop or cloth to sit on the affected area for a few minutes. This helps loosen the dirt and makes it easier to remove.
It can help to have a second cloth here. Soak the cloth in the cleaning solution and leave this on the area to soak.
You can then use another cloth to continue cleaning the floor.
Once a few minutes have passed, go over the stubborn dirt again, and it should start lifting. If it doesn’t, repeat the soaking stage.
5. Scrub
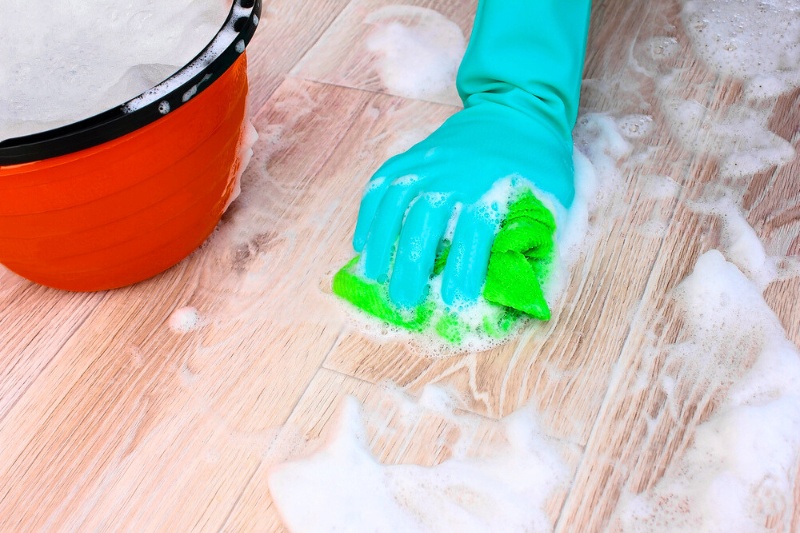
For stubborn spots of ground-in dirt, you may need a bit of gentle scrubbing. Use a soft-bristle brush or an old toothbrush to scrub the area gently.
Make sure not to use excessive force that could damage the linoleum. We wouldn’t recommend using a stiff-bristled brush for this step as this is likely to damage the flooring.
If you don’t have an old toothbrush or soft-bristled brush, you can use a dry microfibre cloth. This will be a bit more aggressive than a wet cloth but not aggressive enough to damage the floor.
6. Rinse
Empty the bucket of the dirty water and refill it with clean, warm water. Rinse the mop or cloth thoroughly and go over the floor again to remove any soap residue. This is when your floor will start to come alive again.
Make sure you wash every inch of the floor with the clean warm water. If you don’t, you may find some soap residue when the floor dries.
7. Drying
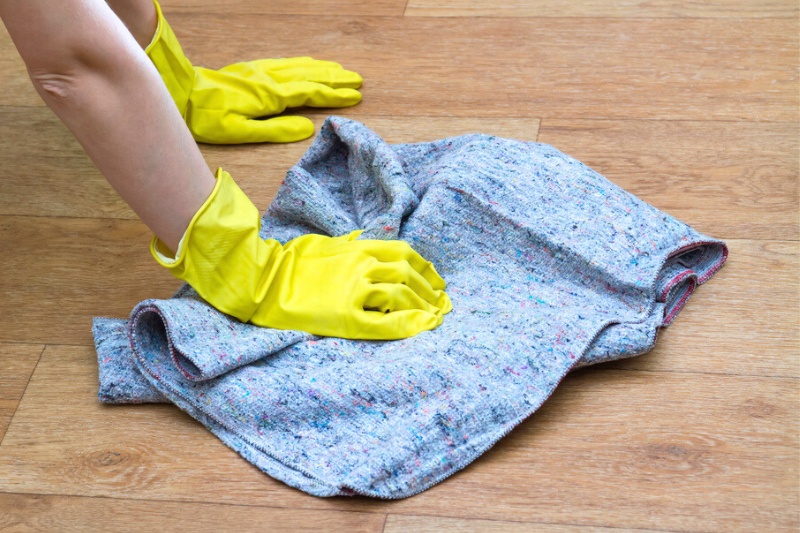
After cleaning, use a dry, clean microfibre mop or cloth to dry the linoleum floor. Ensure that no water is left standing on the surface, as prolonged exposure to moisture can damage linoleum.
Open a couple of windows to create a through draft and speed up the drying process. If you have a fan, you can place it in the room, too.
A dehumidifier can also be used to speed up the drying process if you have one.
8. Finishing touches
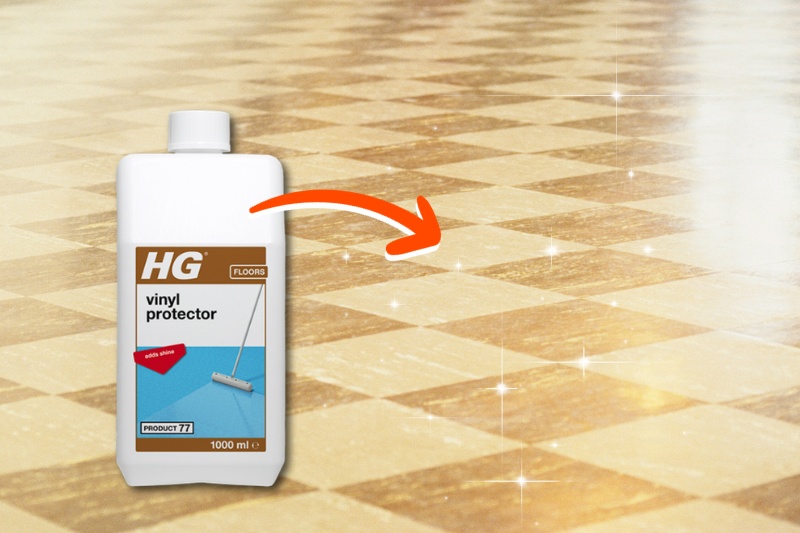
Once the floor is dry, you can apply a linoleum floor polish or conditioner such as HG Vinyl Protector according to the manufacturer’s instructions.
This step helps restore the floor’s shine and provides additional protection against dirt and wear.
Preventing Ground-In Dirt
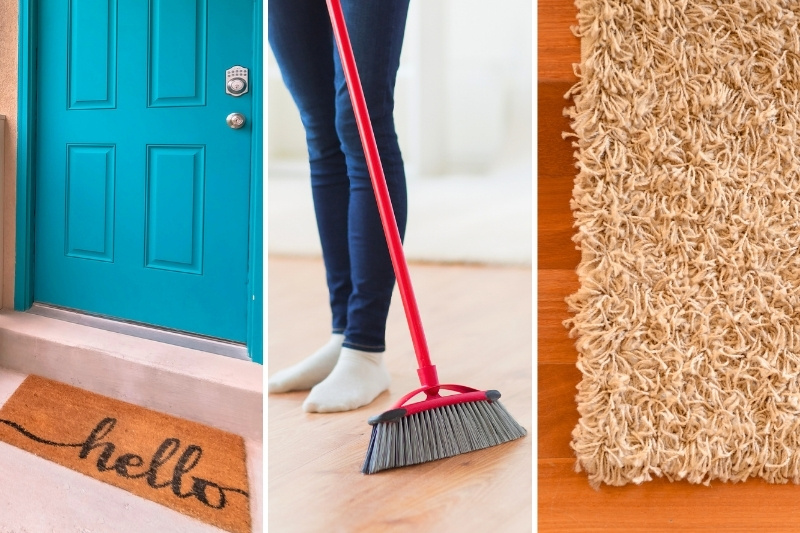
While knowing the best cleaning techniques to clean your lino flooring is great, knowing good ways of preventing the ground-in dirt in the first place can save you a lot of hard work.
Regular maintenance and preventive measures can significantly extend the life of your linoleum floors and reduce the need for deep cleaning.
Here’s how you can prevent dirt buildup on your lino flooring:
- Doormats: Place doormats at entrances to trap dirt and debris before they reach your linoleum floors.
- Sweep regularly: Use a soft-bristle broom to sweep your linoleum floors regularly. Regular sweeping prevents dirt from getting ground into the surface. You can also use a hoover with a soft-bristle brush attachment.
- Clean up spills quickly: Quickly clean up spills to prevent staining and dirt from settling into the linoleum.
- Rugs and runners: Consider using area rugs or runners in high-traffic areas. These can help protect your linoleum from excessive wear and tear.
In Conclusion
Cleaning linoleum floors with ground-in dirt might require a bit of effort, but the results are well worth it.
By following these steps and adopting preventive measures, you can maintain the beauty and longevity of your lino floors and make them look brand new again, even after years of dirt buildup.
Regular maintenance and proper cleaning will not only remove ground-in dirt but also keep your linoleum looking pristine for years to come.
Remember, a little care goes a long way in preserving the charm of your home’s linoleum flooring.

In The Wash is your guide to the best laundry and cleaning products, tips and tricks. Our mission is to solve the UK’s cleaning and laundry dilemmas!
