Perfectly pressed clothes can make a significant difference in our appearance and confidence.
But what if you find yourself without the conventional tools of the trade, the trusty iron and ironing board?
Fear not—we’ll teach you how to iron without an ironing board right here.
Whether you’re a seasoned traveller facing hotel room limitations, a student in a cramped dormitory with no space for an ironing board, or simply looking for creative alternatives to the traditional ironing process, this article is your go-to resource for wrinkle-free clothes, even in the absence of that classic ironing board setup.
What Can You Use If You Don’t Have an Ironing Board?
Several options are available if you need to iron without an ironing board. In fact, almost any hard and flat surface in your home can double as an ironing board as long as it’s clean and stable.
Try one of these alternatives to press your clothes effectively:
- Kitchen countertop: Place a clean towel or cloth on your kitchen countertop, ensuring it is free from dirt and food residue before you begin. Place a clean towel or ironing mat on the surface, then iron your clothes on top to protect your countertop.
- Bathroom counter: If you have a spacious bathroom, you can lay a towel or cloth on your bathroom counter and iron your clothes there rather than in the kitchen. Ensure the counter is clean and dry before pressing your clothes or sheets.
- Dining table: A dining table with a clean and smooth surface can also serve as a makeshift ironing board when covered with a towel or cloth. This is an excellent option if you need to iron larger items too big to lay flat on your kitchen or bathroom counters.
- Tiled floor: If your dining table still doesn’t provide a large enough surface for example, if you’re ironing items like bedsheets, you can lay your sheets flat on a clean tiled floor and use the floor as an ironing surface.
- Carpet or rug: You can use a low-pile carpet or rug as a final resort. Make sure it’s clean and debris-free—we recommend vacuuming immediately before ironing. Avoid using this method with delicate fabrics, as the heat can damage the carpet fibres.
Remember to use caution when ironing on alternative surfaces to avoid damaging them or your clothing.
Make sure the surface is clean, dry, and free of any obstructions. Additionally, be mindful of the heat generated by the iron and take safety precautions to prevent accidents and burns.
What Can You Use to Iron on a Table?
Traditional ironing boards have slight padding and a heat-resistant surface. When ironing on a table or any other surface listed above, you should always layer something on the surface before ironing to replicate this setup. This protects the surface from burns caused by the heat and steam.
Purchasing a portable ironing pad like this one from Minky is the best solution. These are designed for use on various surfaces, are often heat-resistant, and provide a stable ironing surface.
They don’t take up space like an ironing board, as you lay them on top of a surface already there. Plus, they’re a fantastic option for travellers and can easily fit inside your luggage.
If you don’t want to purchase an ironing pad, create a DIY mat using any of the following household items. Make sure they’re laid out smoothly for effective ironing:
- Thick cotton towels – preferably white, to prevent colour transfer.
- Several thinner towels stacked in layers to create a thicker barrier.
- An old blanket, avoiding chunky knits as these have an uneven surface.
Can You Make Your Own Ironing Board?
Rather than using an alternative surface as an ironing board and potentially causing damage to the surface beneath, why not make your own DIY version?
Creating your makeshift ironing board isn’t too tricky and can be a fun DIY project. Here are the materials that you’ll need:
- A flat piece of plywood or a wooden board (120 cm x 40 cm is a typical ironing board size).
- A layer of heat-resistant padding (thick towel, foam padding, or even an old blanket).
- A heat-resistant and smooth fabric cover (cotton or muslin works well).
- Staple gun and staples or an alternative adhesive.
Once you’ve got these materials together, follow the steps below:
- Prepare the wooden base: Start by ensuring that the wooden board or plywood is clean and smooth. You can sand the edges and surface to prevent splinters if necessary.
- Add a padding layer: Place your chosen heat-resistant padding or insulation material (e.g., a towel or foam) over the wooden base. Cut it to size if needed to fit the board’s dimensions.
- Cover with fabric: Lay the heat-resistant and smooth fabric cover (cotton or muslin) over the padding, ensuring that it overlaps the edges of the board. This fabric will serve as the surface on which you’ll iron your clothes.
- Secure the fabric: Use a staple gun to attach the fabric to the wooden board, pulling it taut as you go. Start by stapling one edge, then move to the opposite side, and continue stapling along the edges. Leave the corners until last, folding and stapling neatly underneath.
- Trim excess fabric: Trim any excess fabric around the edges of the board to make it look neat and tidy. If you’re not fussed about aesthetics, feel free to skip this step entirely.
- Test your DIY ironing board: Place the DIY ironing board on a stable and flat surface, such as a table, countertop, a bed with a solid surface, or any other surface listed above as an ironing board alternative. Make sure it’s secure and doesn’t wobble.
How Do You Iron Without an Iron or Ironing Board?
If you don’t have access to an ironing board or an iron, alternative methods exist to remove wrinkles from your clothes.
These methods may not provide the same level of crispness as ironing, but they can help make your clothes look neater:
1. Use the steam shower method
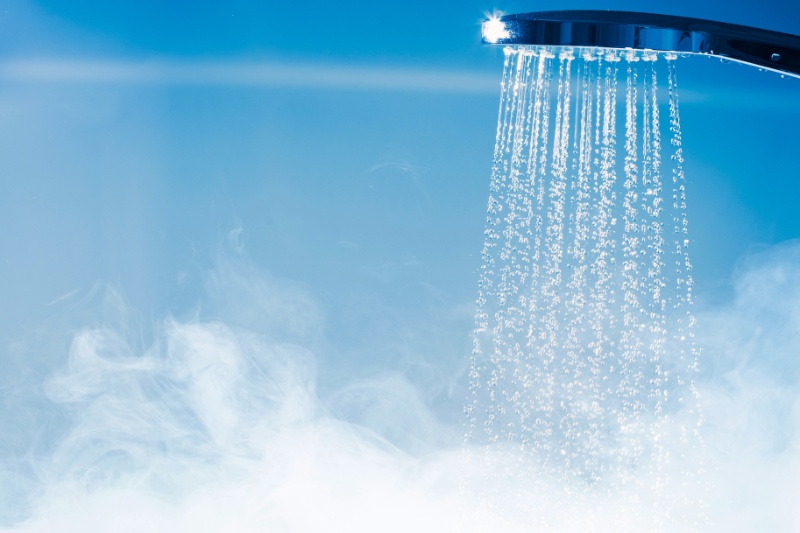
- Hang your wrinkled clothes on a hanger in the bathroom.
- Turn on the hot water in the shower, creating steam.
- Close the bathroom door and leave the clothes hanging for about 10 to 15 minutes.
- The steam will help relax the wrinkles by loosening bonds between the fabric molecules.
- Afterward, gently smooth the fabric to remove any remaining creases.
2. Use hair straighteners
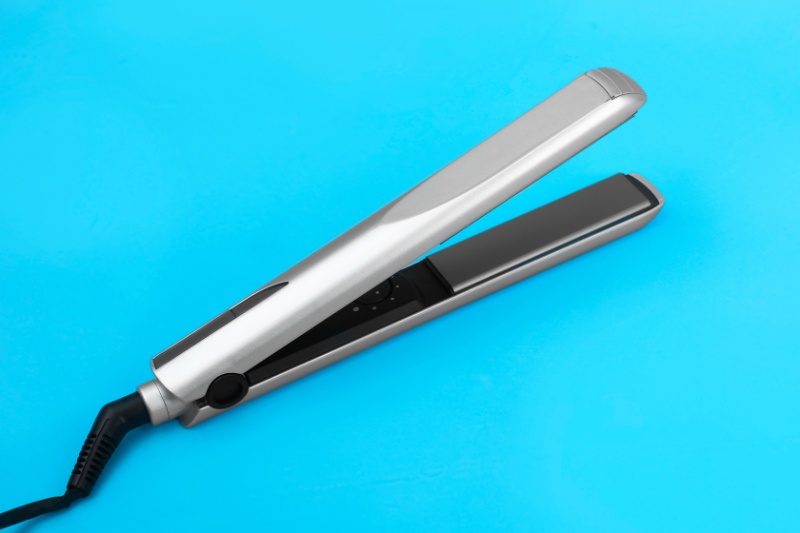
- Use a clean hair straightener to smooth out wrinkles on smaller areas (shirt collars or cuffs).
- Make sure the hair straightener is clean before using it on clothing.
- Be cautious with this method on delicate fabrics, as hair straighteners can get very hot.
- Turn the hair straighteners down to a lower heat setting if possible.
3. Use a pot of boiling water
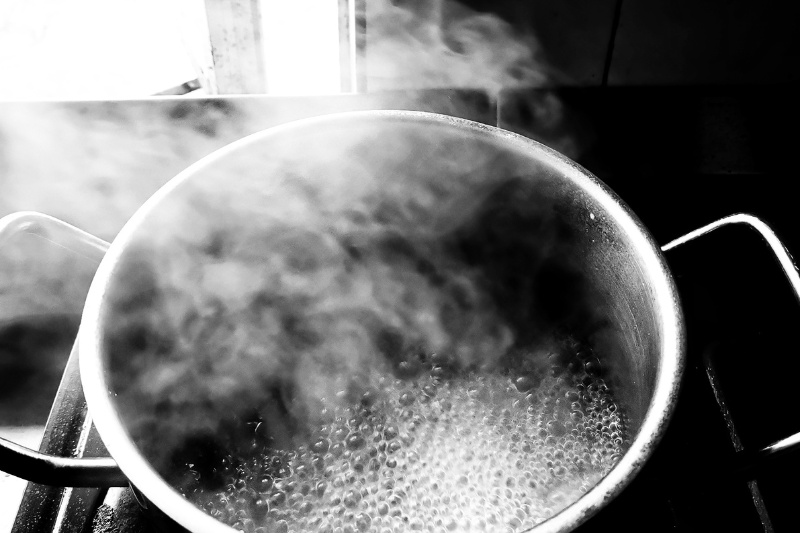
- Boil a pot of water and remove it from the heat source.
- Hold the wrinkled clothing item above the pot, being careful not to touch the hot water.
- Gently pull and smooth the fabric to release wrinkles as the steam rises.
- The steam will help to relax the creases in the fabric for a wrinkle-free finish.
4. Use a hair dryer and tug
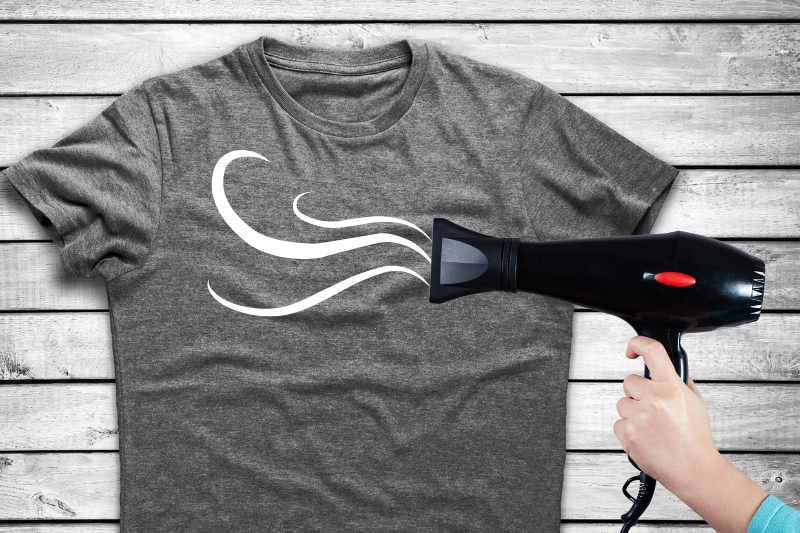
- Hang the wrinkled clothing on a hanger or a doorknob.
- Use a hair dryer on a high-heat setting to blow hot air onto the wrinkles.
- While blowing hot air, gently tug and smooth the fabric to remove the creases.
Remember that these ironing methods may not be as effective as using an actual iron, and the results may vary depending on the fabric and severity of wrinkles.
Always check the care label on your clothing to ensure the material can handle the chosen method, and proceed with caution to avoid damaging your garments.

Hannah has a passion for cleaning. She worked her way around Australia by cleaning hostels in exchange for free accommodation and used her cleaning skills to bag a job as a chalet host for a luxury ski company in France.


")


