Your fridge is one of the most important appliances in your kitchen, so it’s incredibly important to keep it clean.
Not only will the fridge look and smell more appealing when you open the door, but sanitising and decluttering a fridge also makes it more hygienic.
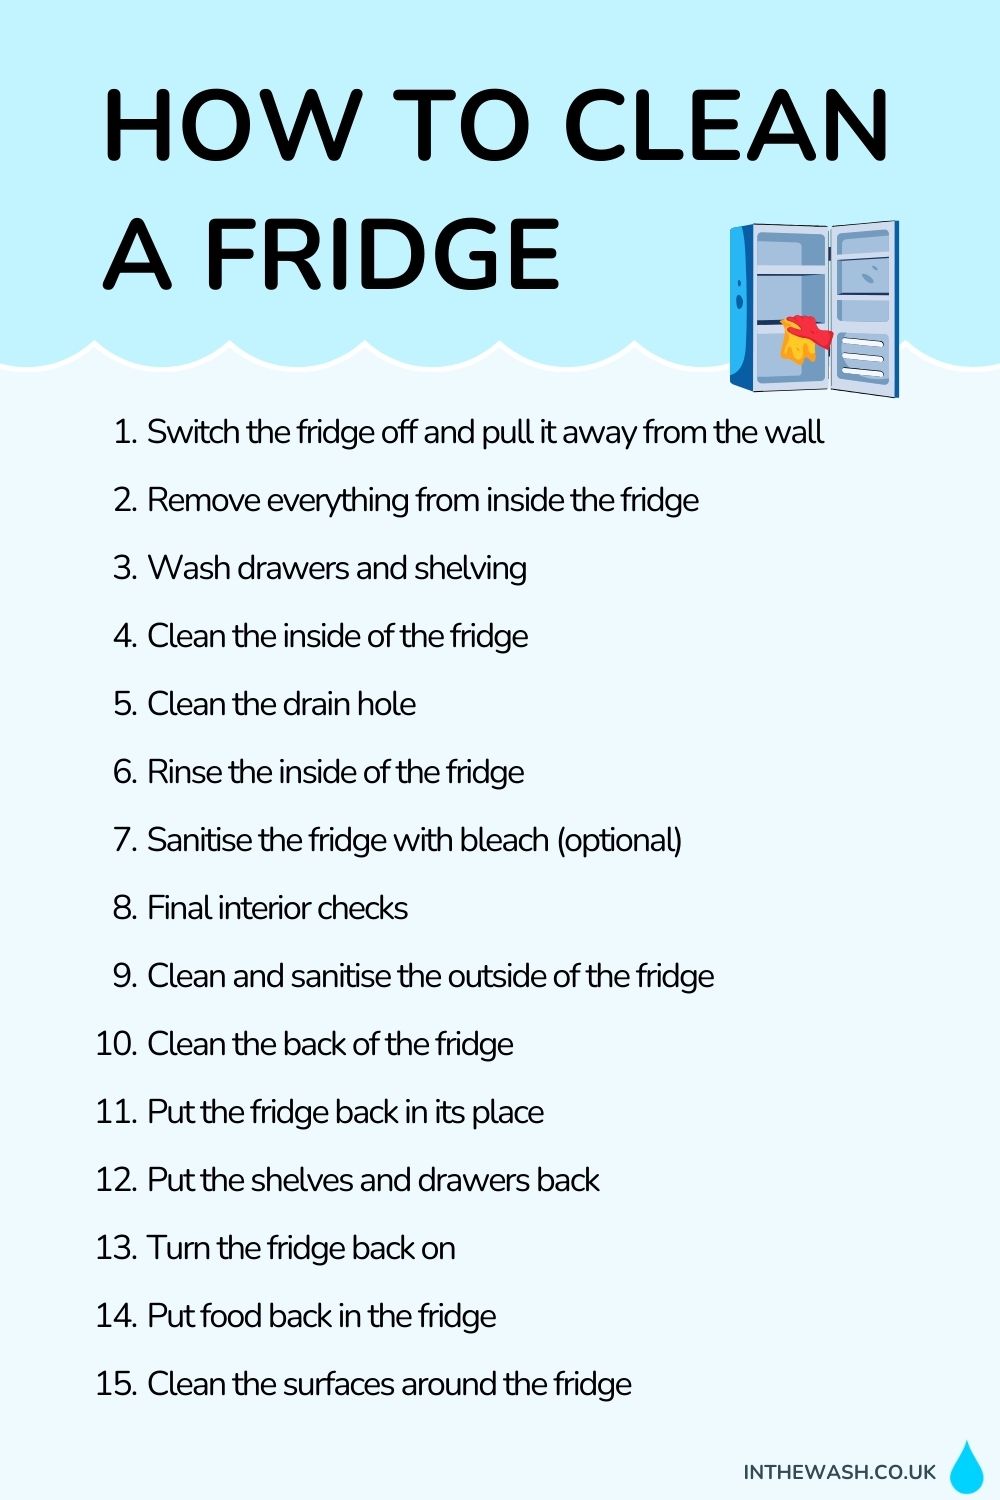
Find out how to clean a fridge by reading our step-by-step guide below.
Tip: When deep cleaning a fridge, try to carry out the cleaning when you don’t have mountains of food in the appliance. The more food you have, the more stuff you have to move around and keep cold. So, try and wash the fridge when you’re low on food supplies and before you go to the supermarket!
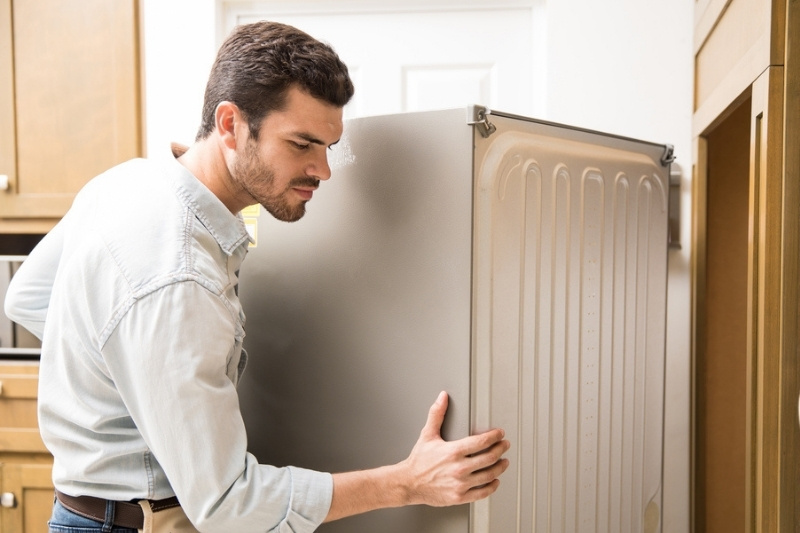
Step 1: Switch the Fridge Off and Pull It Away from the Wall
The first steps to take when cleaning a fridge are to switch the fridge off, and to remove it from the wall that it’s sitting flush with.
You need to pull the fridge out so you can get to the back of it later on.
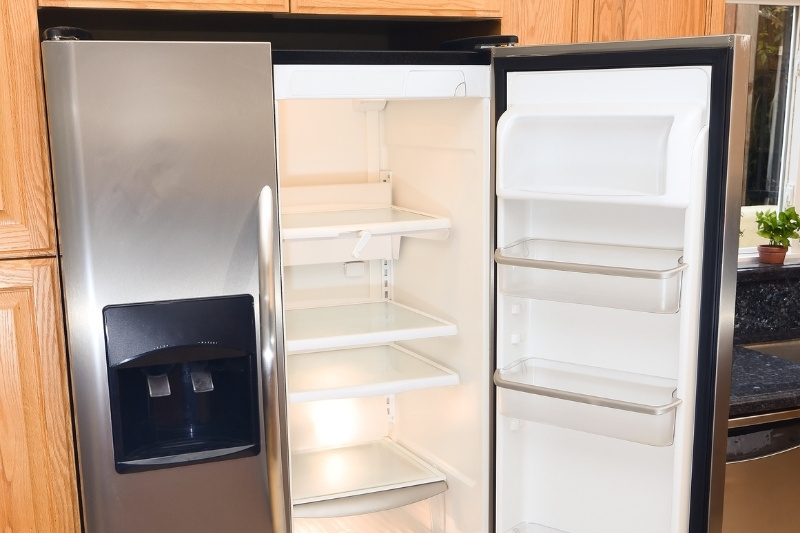
Step 2: Remove Everything from Inside the Fridge
Pop some cleaning gloves on, open up your fridge and remove all of the items that are inside. You can then go through all the food and bin what you don’t need.
Only keep the food that is in date and that you will actually eat. Leaving old food in your fridge after it has gone off will lead to unpleasant smells. Over-cluttering a fridge can also hinder how it works stop it from keeping food cold.
Once you’ve done this you can remove all the shelves, eggs trays and drawers from the fridge and pop them in the sink.
Tip: If you’ve got a lot of food that needs to be kept cold in your fridge, fill a cooler box/box with ice packs and put the food inside while you clean. This should keep the food cold enough as you work.
Step 3: Wash Drawers and Shelving
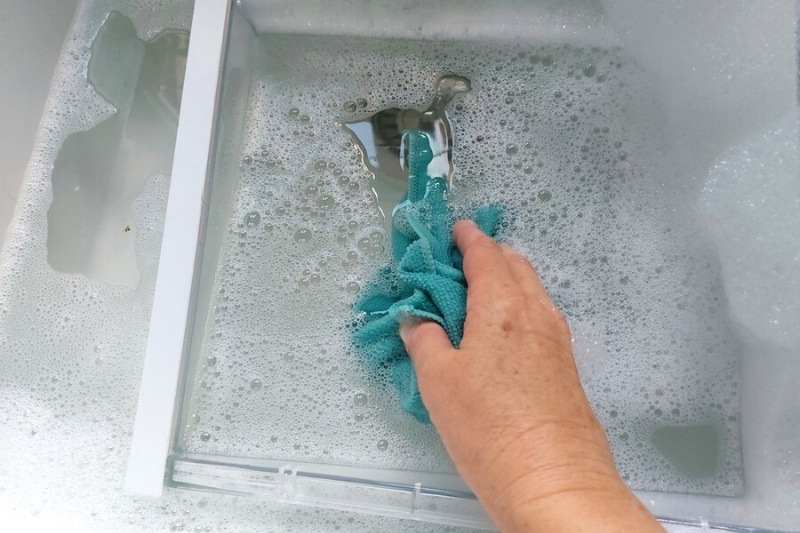
Fill a sink with some warm water (not boiling) and washing up liquid. Start cleaning the parts you’ve removed from the fridge with a soft cloth and soapy water.
If you notice some really dirty patches on the parts, it’s worth leaving these items to soak in the warm soapy water for a few extra minutes.
Rinse the shelves, eggs trays and drawers off and pop them to one side to dry.
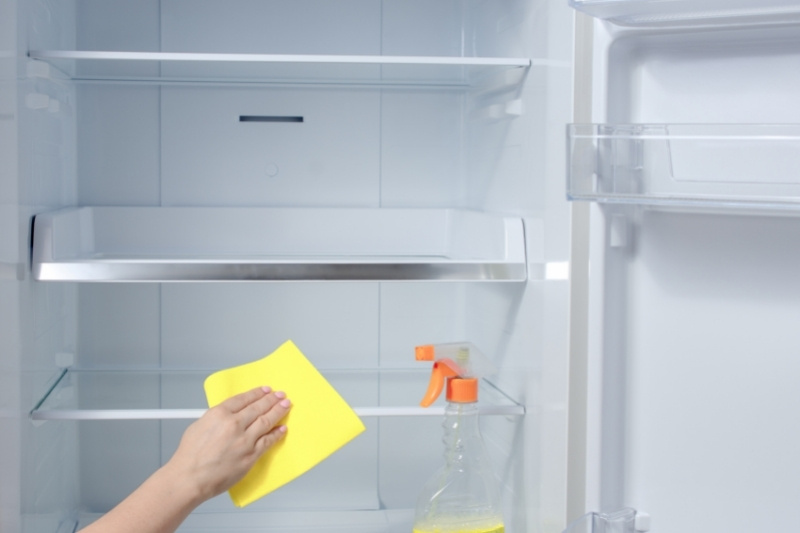
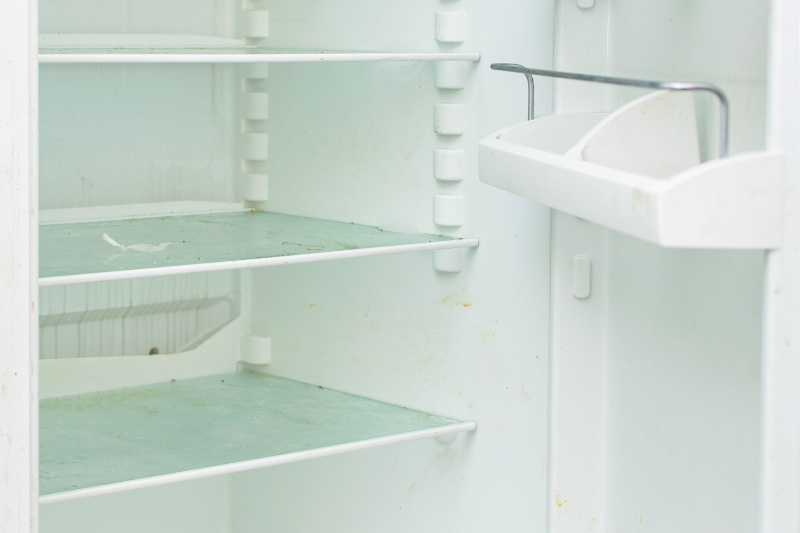
Step 4: Clean the Inside of the Fridge

Fill a bowl up with warm water and washing up liquid (the washing up bowl that you use in the sink is ideal).
Dip a soft clean cloth into the water, wring it out and start wiping the inside of the fridge with the cloth. Work top to bottom. Repeat this process until you’ve cleaned the entire fridge.
Remember to push the cloth into all the tight spots, under any rims and over the seals. You may have to tease out dirt with a toothpick/toothbrush, if it’s pretty wedged in.
Tip: You can swap out the washing up liquid for a sprayable white vinegar and water mix, and use this to clean the interior of your fridge.
If you’ve got a stubborn sticky mess to get rid of, mix a touch of bicarbonate of soda with water to make a paste, then spread this paste over the toughened dirt, wait, and then wipe the area clean.
See our article on what to clean a fridge with for some more suggestions.
Step 5: Clean the Drain Hole
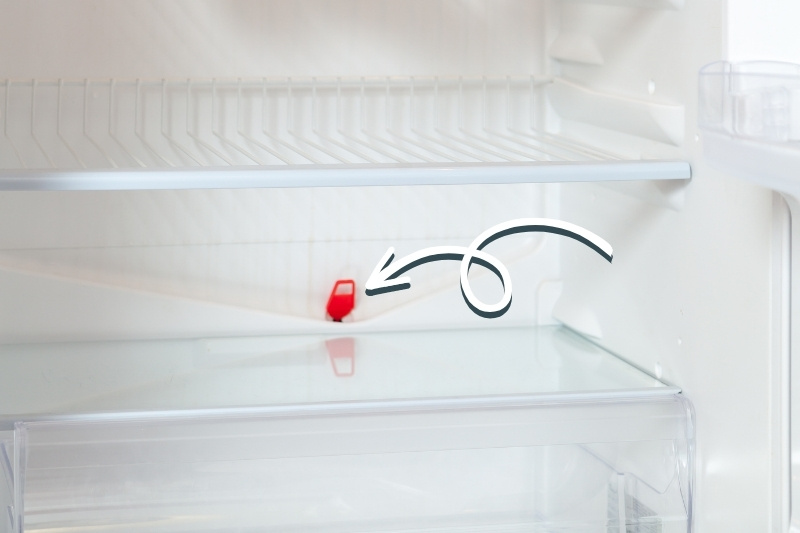
At this point you should also remove and clean the drain plug in your fridge.
To do this you’ll need to remove the plug, usually at the back of the fridge, and wipe it clean. Then you’ll need to dip a cotton bud in some white vinegar and water, and clean the hole that the plug came out of.
If you walk around to the back of the fridge you will see the drain tube. You’ll also need to clean this tube by flushing some water through it.
A tool like this refrigerator drain hole cleaning kit may come in handy when you’re pushing water through the system. The kit also comes with a long thin brush that you can pop into the hole to pull out any gunk.
When you’re done, remember to re-secure the plug and any pipework you may have dislodged properly.
Step 6: Rinse the Inside of the Fridge
You’ll need to rinse any remaining suds/grime off the walls of the fridge, and mop up any stagnant water that’s pooled at the bottom. Use a soft damp cloth to do this.
Step 7: Sanitise the Fridge with Bleach (Optional)
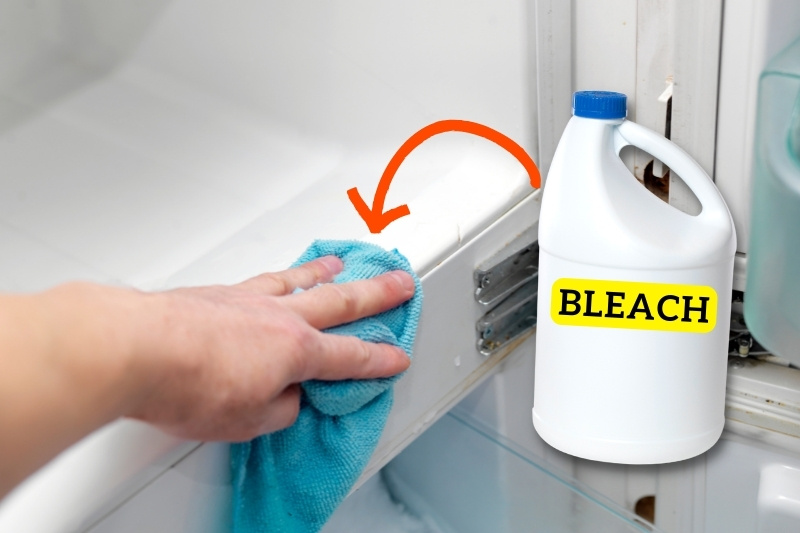
As an extra step you could pop a tablespoon of liquid bleach into a gallon of water and wipe the inside of the fridge down with this mixture. This’ll make your fridge more hygienic, but it’s not an essential step.
Step 8: Final Interior Checks
Inspect the fridge before you move on to cleaning the outside. Now is a good time to give the fridge another quick wipe down to remove excess water, and to make sure you’ve not missed any dirty spots.
When you’re happy, close the door and start cleaning the outside of the fridge.
Step 9: Clean and Sanitise the Outside of the Fridge

When everything is clean inside you can close the door and wash the outside of the fridge. One way to do this is to dip a clean, soft cloth in warm soapy water, wring it out and rub the surfaces down.
Alternatively, you can spray some multipurpose/antibacterial cleaner onto the fridge and wipe it down with a cloth.
Do not wet the back of the fridge. The coils should be dusted and hoovered instead.
Step 10: Clean the Back of the Fridge
Take a hoover around to the back of the fridge and clear away any cobwebs, dust and hair that you see around the coils.
Now is also a good time to clean your fridge’s drip tray. The tray is located at the back of your fridge and near the floor.
It sometimes gets filled up with liquid. All you need to do is mop this up with a cloth.
Step 11: Put the Fridge Back in Its Place
When you’re done cleaning the exterior of the fridge, you can quickly mop the floor around the appliance and pop it back into its usual space.
Step 12: Put the Shelves and Drawers Back
When the fridge is back in place, you can grab your shelves, eggs trays and drawers, dry them and pop them back inside the fridge.
Make sure they’re secure before you put your food back on them.
Step 13: Turn the Fridge Back On
Once the fridge is clean you can pop the power back on.
While it’s tempting to stick everything back into the fridge at this point, it’s worth waiting a few minutes for the fridge to cool back down in temperature.
Step 14: Put Food Back in the Fridge
Once the fridge is back at the right temperature you can put the food back inside the fridge. It’s worth having a damp cloth at the ready when you’re doing this, so you can wipe any packaged products before you store them in the appliance.
For example, you could wipe a milk bottle down to make sure there’s no milk running down its side. This’ll make the item safe to handle, hygienic and you won’t create a mess in your newly cleaned appliance.
Step 15: Clean the Surfaces Around the Fridge
It’s worth giving the countertops/boxes you’ve used to store your food on/in during this cleaning process a wipe clean when you’re done.
This is just to make sure that there’s no food left behind and that any leaks have been mopped up, like yoghourt explosions or juice spillages.
FAQs on Fridge Cleaning

How often should you clean your fridge?
Ideally you should deep clean your fridge at least two to four times per year. However, you should mop up spills, bin inedible food and clean general dirt you see as soon as possible.
The last thing you want to see in your fridge is a mouldy piece of fruit or a sticky mess being overrun with bacteria. Yuck!
How do you unblock a fridge’s drain?
If the drain at the back of your fridge looks a little mucky, you really need to clean it. Lucky for you, cleaning a fridge drain is quite straightforward.
All you need to do is remove the drawers and mop up any water. Then you’ll need to take out the drain’s plug and wash the area down.
Once this has been done, you’ll can unclog the drain tube at the back of the fridge by flushing some hot water through it.
When you’ve done this, wash the drip tray and replace all the parts.

Bethan has a passion for exploring, reading, cooking and gardening! When she’s not creating culinary delights for her family, she’s concocting potions to keep her house clean!


