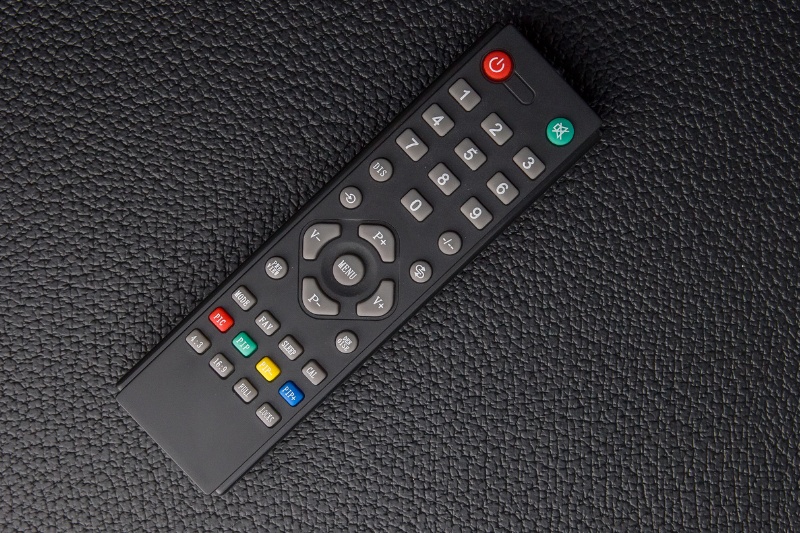
Remote controls get used every day by almost everyone in a home (even by visitors). Yet they’re usually completely forgotten about when it comes to cleaning! It’s ironic, really!
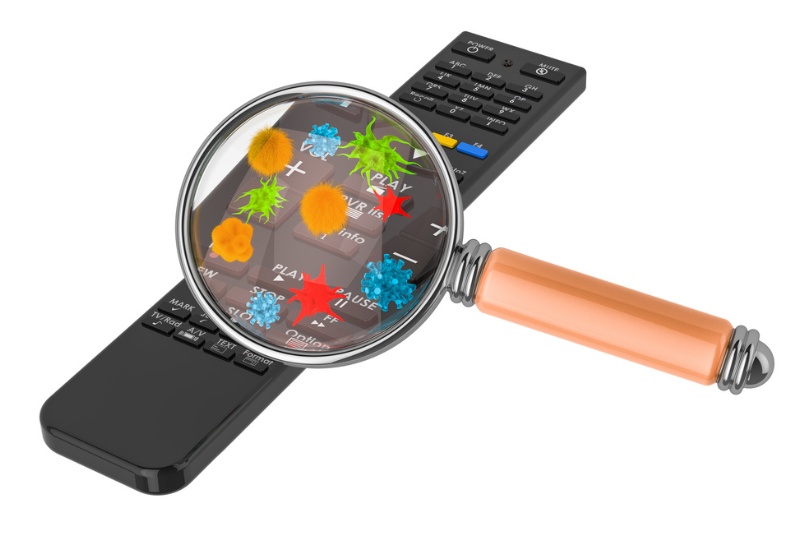
The trouble is various types of dirt and germs get smeared over the buttons and surface daily. It can be anything from sweat to food and from drink to mud.
Not to mention that remote controls have a habit of going walkabout, so you never know where they’ve been or what they’ve been through… yuck!
Given the fact that anyone in the house can touch the remote, it should really be cleaned more often!
Not only is it safer for everyone involved, but a clean remote control will function better. No more sticky buttons!
But how do you clean a remote control? Read on to find out what you need to do to keep your controller hygienic and working effectively!
A Step-By-Step Guide to Cleaning a Remote Control
Things to know before cleaning a remote control:
- Never spray a cleaning solution onto a remote control. This can damage it, and the liquid can cause it to malfunction.
- Don’t soak a remote control in liquid. Just use damp cloths or cotton buds to clean it.
- Compressed air (also known as ‘canned air’) will dislodge bits of grime that are wedged between the buttons for you, so don’t try forcing the buttons apart using your fingers.
- Don’t use harsh cleaning chemicals to clean the remote control.
- Make sure the controller is dry before you reassemble it.
- Don’t ram cleaning tools into the port(s) because you’ll destroy them. If there are ports on your remote control, use compressed air and toothpicks to gently tease the dirt out.
- Unless there’s something really wrong with your remote control, you don’t need to pull it apart to clean it properly. The method below is fine. If there is a major problem with your remote control and you do have to pull it apart to clean or fix it. Check your user manual before you do this so that you can carry out the task effectively. Also, remember that if you open up your controller, you may void your warranty.
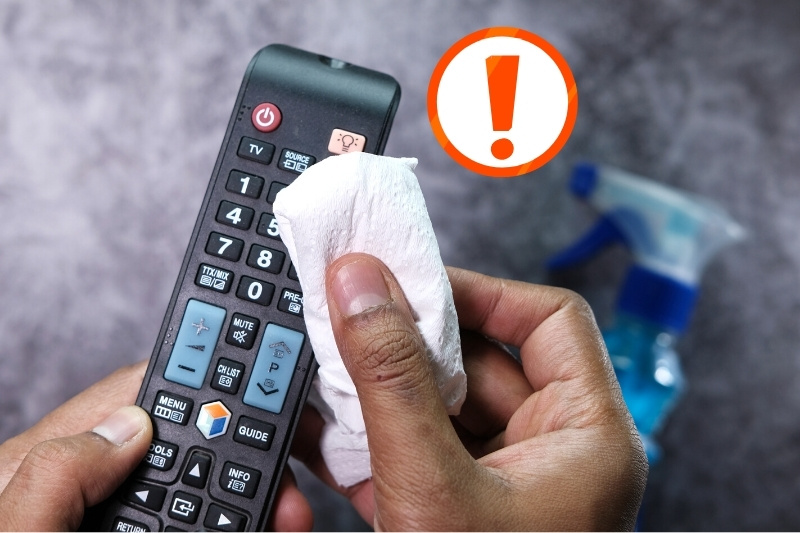
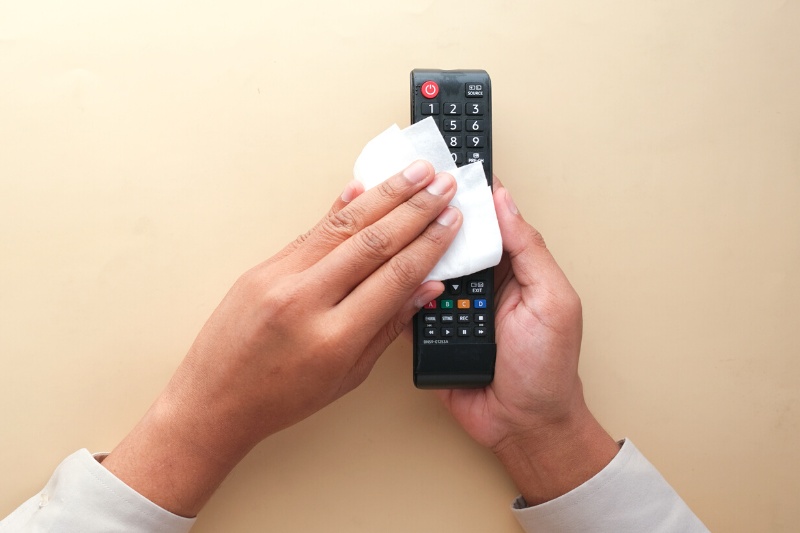
- If you don’t have time to complete the cleaning method below, wipe your remote control with some antibacterial wipes instead. Isopropyl alcohol wipes are ideal for this kind of job. They’re a one-time use sort of product, they won’t saturate your controller, and they can keep your remote free from everyday germs!
- If your remote control comes with some kind of touchpad, like the Apple TV remote, don’t press down too hard on the surface when you’re rubbing it because you could damage it.
- Always use lint-free cloths because you don’t want any fibres getting tangled and stuck between the buttons or crevices. From experience, microfibre cloths can clean remote controls very well.
Tools you’ll need:
- Toothbrush
- Compressed air
- Toothpicks
- Shallow bowl
- Water
- Rubbing alcohol
- Microfibre cloths
- Cotton buds
- Alcohol wipes (optional)
Follow the steps below to clean your remote control:
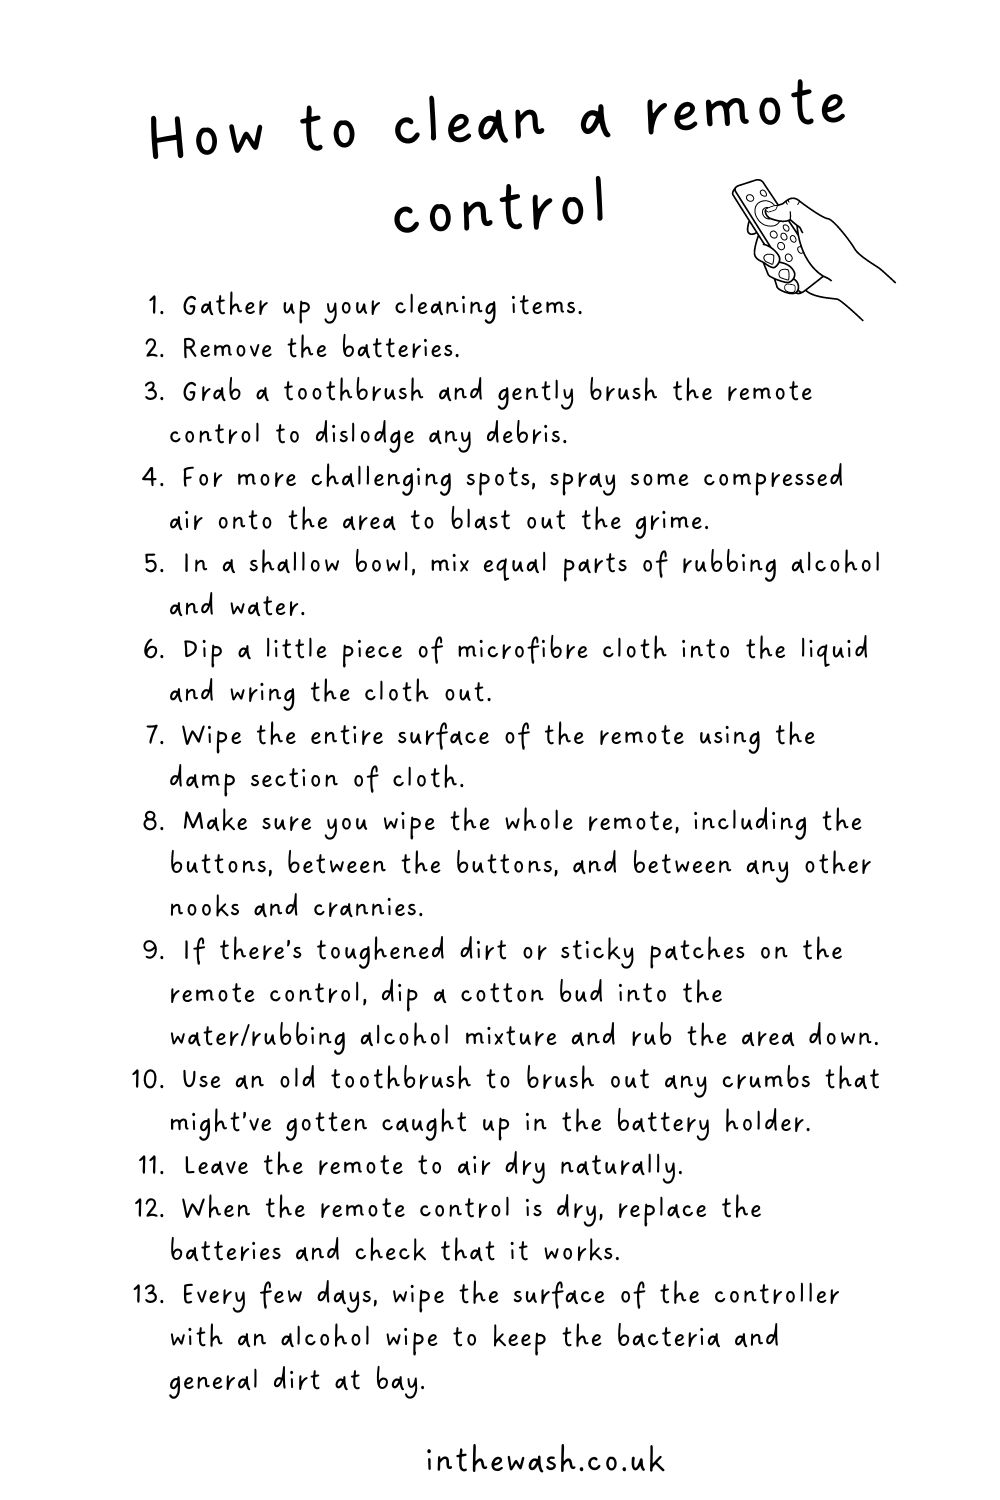
- Gather up your cleaning items.
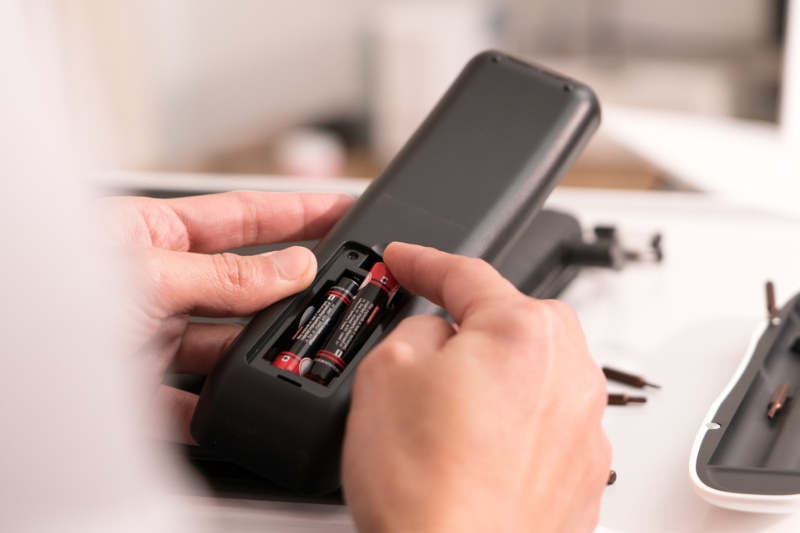
- Remove the batteries from your remote control and pop them to one side (you’ll be replacing them later on). If your remote doesn’t come with batteries, make sure you don’t get any liquid inside the charging port!
- Grab a toothbrush and gently brush the remote control to dislodge any debris.
- For more challenging spots, spray some compressed air onto the area to blast out the grime. Spray the air into any ports you see and use a toothpick to draw out the dust.
- In a shallow bowl, mix equal parts of rubbing alcohol and water.
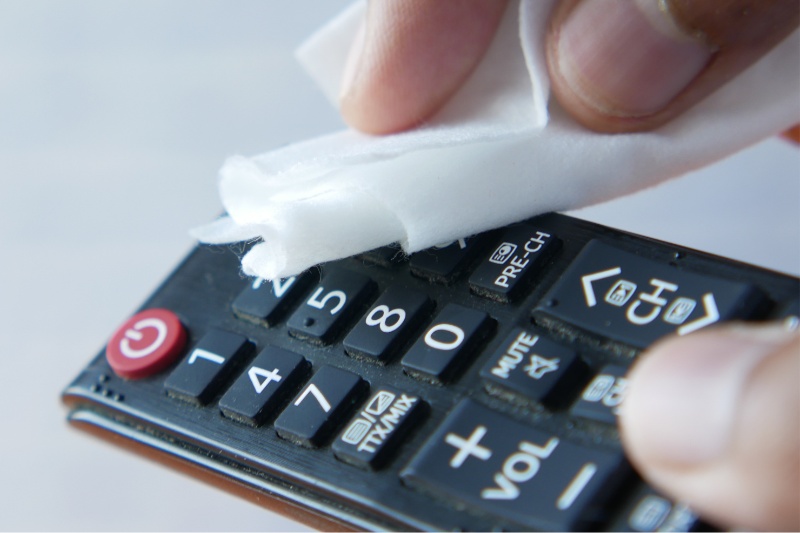
- Dip a little piece of microfibre cloth into the liquid and wring the cloth out. You must make sure that the cloth is only damp, not wet, because you cannot soak the remote!
- Wipe the entire surface of the remote using the damp section of cloth (it’s easier to go top to bottom). If you wet the controller too much, use a dry section of microfibre cloth to wipe away the excess moisture.
- Make sure you wipe the whole remote, including the buttons, between the buttons, and between any other nooks and crannies. Remember to do the front, back and sides of the remote.
- If there’s toughened dirt or sticky patches on the remote control, dip a cotton bud into the water/rubbing alcohol mixture and rub the area down.
- Use the toothbrush to brush out any crumbs that might’ve gotten caught up in the battery holder.
- Leave the remote to air dry naturally.
- When the remote control is dry, you can replace the batteries and check that the controller is working effectively.
- Once you’ve cleaned your remote, you’ll want it to stay in mint condition. So, every few days, wipe the surface of the controller with an alcohol wipe to keep the bacteria and general dirt at bay! These wipes are quick-drying, so they’re ideal for this task.
In general, you should be able to carry out this task yourself at home, and it won’t take you too long. However, if you’re having trouble, there are companies that specialise in cleaning remote controls and other devices that you could look into using.
Note: You may rub the print off the buttons if you rub them too hard or excessively.
How to Clean Sticky Remote Control Buttons
To clean sticky controller buttons, follow the steps below:
- Find out what is causing the sticky problem. Most likely a tiny chunk of food, some sticky solution or dust is stuck around a button(s).
- Start by treating one sticky button at a time.
- Grab a toothpick and gently tease the mess out from around the button.
- Once you’ve gathered the gunk out, spray some canned air into the area to dislodge even more dirt.
- Press the button at this point to check your progress.
- Next, dip a cotton bud in some rubbing alcohol and clean around the button.
- Press the button at this point again to check your progress.
- Continue to clean out the mess following the steps above.
- Once the button is clean, you can repeat the process above for the other sticky buttons.
- When you’re done, wipe the whole remote down with a damp microfibre cloth that’s been dipped in some watered-down rubbing alcohol to remove any sticky remnants and bacteria from the controller’s surface.
If your buttons are still sticking after you’ve followed the steps above, surface dirt may not be the cause of your problem.
In this case, there could be an issue with the inner workings of the remote that are making the buttons underperform, or lots of internal grime could be stopping the controller from working effectively.
It is possible to pull a remote control apart and clean it out thoroughly. However, this can be tricky, it doesn’t always work out for the best, and if you don’t know how to reassemble the controller correctly at the end of the process, you might end up without a remote control!
So, do your research, plan ahead, and only carry out this cleaning activity if you feel confident enough.
Of course, remember that if you’ve only just bought the remote control and it isn’t working properly, you can take it back to the shop and tell them about it. Your product should be under warranty, and the store’s employee should be able to help you further!
And if this still doesn’t work out, you can always send your remote control off to a company that can fix such devices! An online search will bring up companies that specialise in this for you – just choose a reputable company.
If all else fails and you really can’t find a solution to your sticky button problem, you should think about buying a new remote.

Bethan has a passion for exploring, reading, cooking and gardening! When she’s not creating culinary delights for her family, she’s concocting potions to keep her house clean!


