Although extractor fans are often overlooked, they are crucial in keeping your kitchen and bathroom well-ventilated and free from unwanted odours and moisture.
They easily draw any water vapour and smoke away from your room, ensuring the air quality remains high.
Unfortunately, these hardworking appliances accumulate dust and debris over time, hindering their efficiency. This can lead to various problems, so the fans must be regularly cleaned.
If you’re wondering how to clean an extractor fan, you’re in the right place! This article will provide all the information you need to care for your extractor fan and why regular cleaning is important.
What’s the Best Way to Clean an Extractor Fan?
Although cleaning an extractor fan may seem daunting, the process is actually straightforward, provided you know what you’re doing.
The exact steps needed to clean your fan will differ slightly based on whether it is located in the kitchen or bathroom, so detailed instructions for both scenarios are given below.
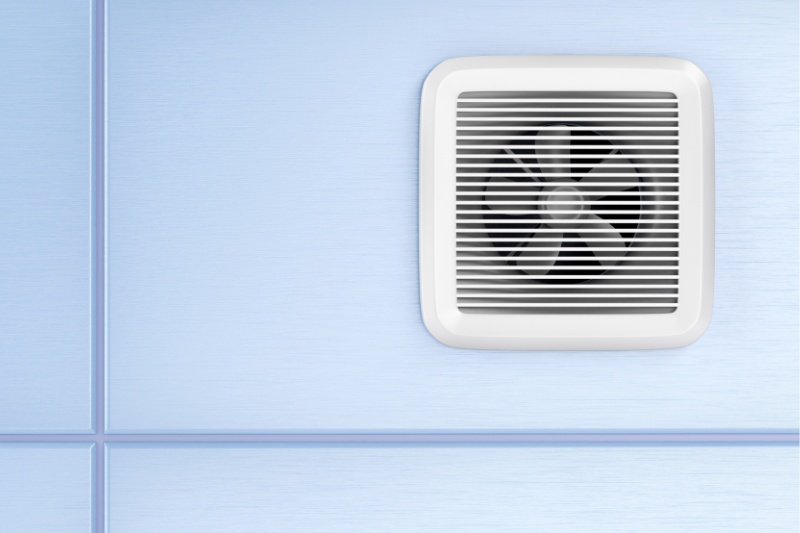
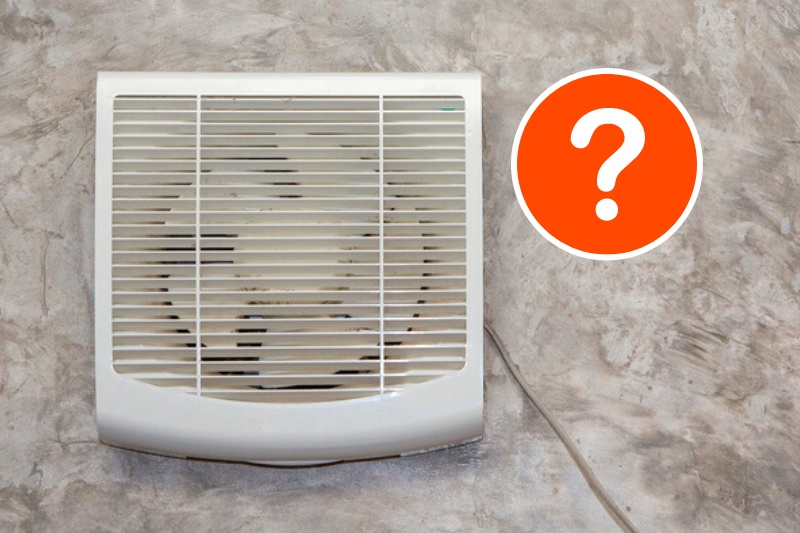
How to clean a bathroom extractor fan
Bathroom extractor fans are the easiest to clean as they don’t have to deal with many of the substances that are found in the kitchen.
Instead, their only role is to remove excess moisture from the air to help prevent condensation.
Although bathroom extractor fans will vary slightly from brand to brand, the basic guidelines for how to clean them will remain the same.
These can be found below, but more specific cleaning instructions will be provided by the manufacturer if needed.
- Prepare your bathroom by laying an old sheet on the floor below the extractor fan to catch any dust and debris that may escape during cleaning. You also need to disconnect the extractor fan from the power supply.
- Remove the extractor fan cover. These are typically held in place with clips or screws. If you are dealing with the latter, you will need to use a screwdriver to remove the screws before placing them in a safe place.
- Fill a bowl with warm water and add a few drops of washing up liquid. Fully submerge the fan cover in this soapy water solution and leave it to soak for a couple of minutes.
- Once the time has passed, use a soft sponge to gently remove any dirt from the fan cover before rinsing away any residue and leaving it to dry.
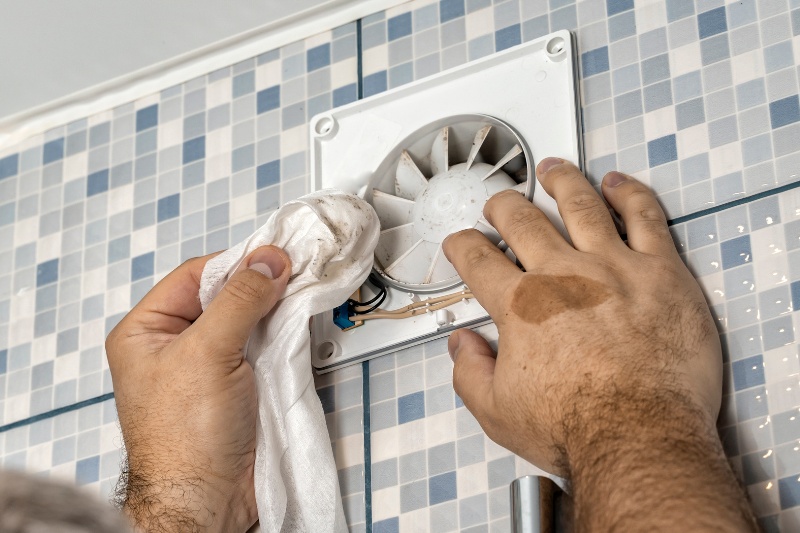
- Reach inside the extractor fan and use a soft hand brush to dislodge as much dust and fluff as possible. You can use a toothbrush or cotton wool bud for any difficult areas. Then, use a handheld vacuum cleaner to remove any remaining clumps of dirt from the vent.
- Dampen a soft sponge with warm, soapy water and carefully wipe down the inside of the extractor fan. It’s best to leave the motor alone at this stage, as the water could cause damage to the electrical component.
- Allow the extractor fan components to dry completely before replacing the cover. Ensure it is securely fastened before switching the power back on.
- Turn the extractor fan on to check that everything is working as it should.
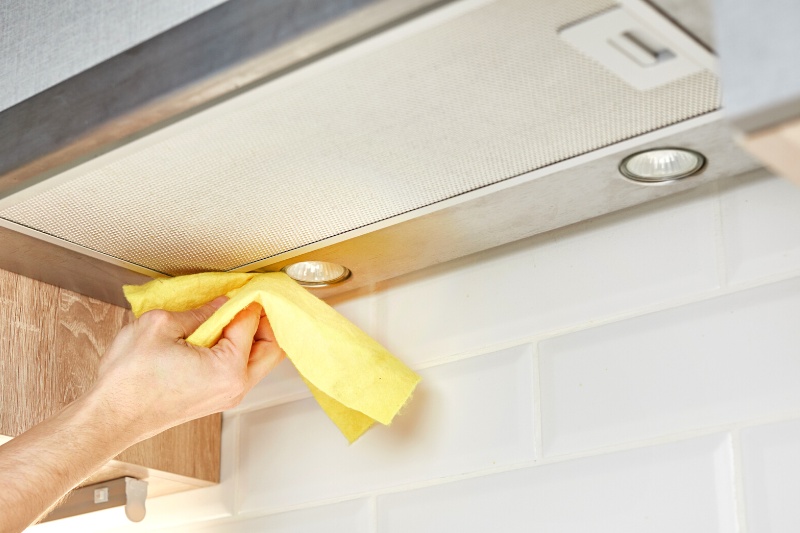
How to clean a kitchen extractor fan
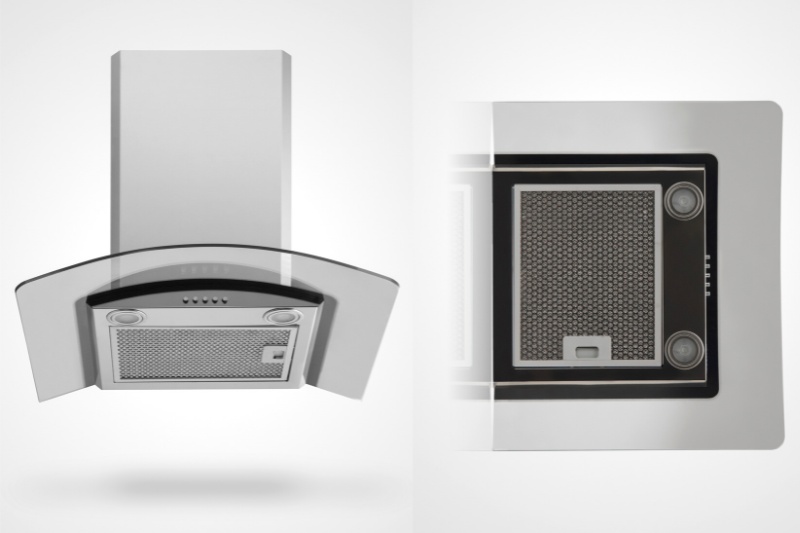
Extractor fans used in the kitchen contain various filters that help absorb grease and odours from the air as well as smoke and water vapour.
This makes the cleaning process lengthier and slightly more complicated, but the general cleaning method is the same as that described above:
- Disconnect the extractor fan from the power supply. If you have recently been cooking, also check that the hob and the hood of the extractor fan are cool. Then, lay an old sheet underneath the fan so that any loose dust and debris is caught during the cleaning process.
- Remove the mesh base of the extractor fan using the clips at the sides. Wash the mesh panel using a solution of warm water and washing up liquid until all the build-up is gone. In many cases, this panel will also act as the extractor fan’s grease filter, so you may have to let the panel soak if there is a considerable amount of greasy build-up.
- Dry the mesh panel using a clean tea towel and set it aside for later.
- If your extractor fan has an internal grease filter, remove it from the appliance. This type of grease filter will be made of a spongy material and must be replaced with a new filter later on rather than being cleaned.
- Some kitchen extractor fans will also have a carbon filter that looks like a round, black disc. Remove this from the fan by twisting it anticlockwise and either clean it or replace it according to the manufacturer’s instructions.
- Check your extractor fan’s user guide to see whether the motor blades can be removed. If possible, note which way the fan blades are pointing before removing them with a screwdriver.
- Wash the fan blades by soaking them in warm, soapy water or running them through the dishwasher. If the blades cannot be removed, simply use a damp toothbrush to clean them instead. Dry the fan blades using a clean tea towel.
- Use a handheld vacuum to remove any remaining debris from inside the extractor fan, then return all the extractor fan components to their usual places, remembering to replace the grease and carbon filters if necessary.
- Reconnect the fan to the power supply and turn it on to test that everything works as it should.
Why Do Extractor Fans Need Cleaning?
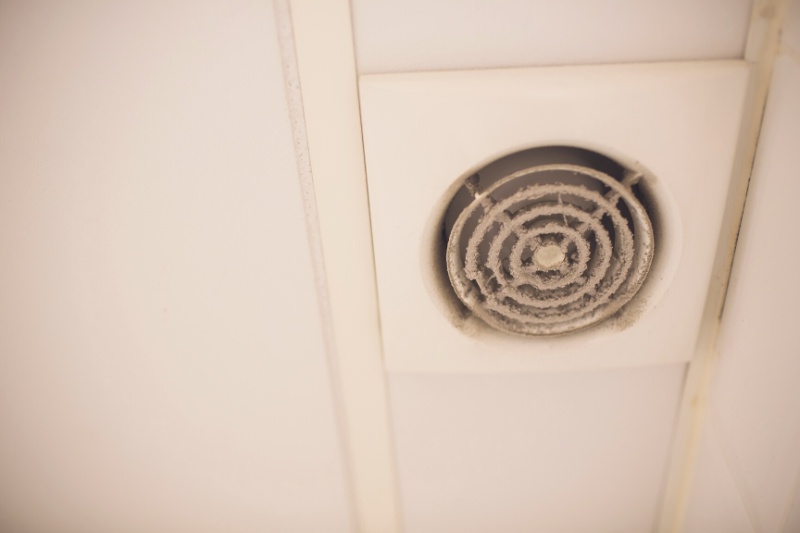
Extractor fans are designed to remove moisture and dirty air from your home. Unfortunately, this means they will suffer from a build-up of dust and grime if they’re not regularly cleaned.
This will cause a variety of issues, including:
- Reduced efficiency: If an extractor fan isn’t cleaned, the vent will eventually become blocked, reducing its efficiency. This could lead to increased condensation, heat levels, smoke, and noise, depending on whether the fan is in your kitchen or bathroom.
- Health issues: Allowing dust and debris to build up inside your extractor fan provides a perfect breeding ground for pests and bacteria. This increases your risk of disease and can lead to food contamination if the fan is located in your kitchen.
- Increased fire risk: Kitchen extractor fans will suffer from a build-up of grease if not regularly cleaned. If a fire were to start in this room, the grease would cause it to spread more rapidly as it can carry it through the vent system and into other parts of your home.
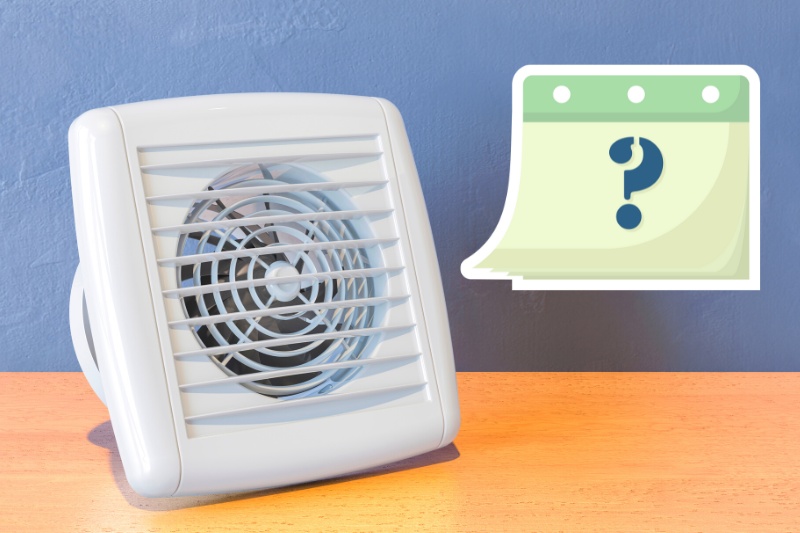
How Often Should You Clean an Extractor Fan?
How often you need to clean an extractor fan will vary based on:
- How often the fan is used and
- Which room the fan is located in.
The recommendations below are based on the average usage of an extractor fan, so bear in mind that you may need to clean yours slightly more or less frequently than advised.
If you ever notice that your extractor fan is working less efficiently or has started to smell, these are generally clear indicators that it is time for another clean.
Bathroom extractor fan
As a general rule, you need to try and deep clean a bathroom extractor fan once every 6 to 12 months.
That said, we suggest giving the inside a quick brush down or hoover at least every month. This will prevent large quantities of dust and dirt from accumulating in the vent and make deep cleaning the fan easier.
Depending on how often you use your bathroom extractor fan, these quick cleans may also help decrease the frequency with which the vent needs to be thoroughly cleaned, saving you time and money later on.
Kitchen extractor fan
When it comes to a kitchen extractor fan, the regularity with which it needs to be cleaned varies depending on the filters used in your specific model.
Below are some general guidelines for each of the different filters you may have to help you come up with an appropriate cleaning schedule:
- Mesh grease filters: According to experts, a mesh grease filter needs to be cleaned roughly every three months to keep it working efficiently and prevent foul odours from forming.
- Spongy grease filters: Spongy grease filters need to be replaced whenever they start to look dirty. This will typically take three to six months, but if the filter starts to look discoloured and saturated, this is a clear indicator to replace it sooner.
- Carbon filters: If your extractor fan has a carbon filter, it will need to be replaced every four months or so. When purchasing a new one, ensure that you check the model number on your cooker hood, as they are not one size fits all.

Hannah has a passion for cleaning. She worked her way around Australia by cleaning hostels in exchange for free accommodation and used her cleaning skills to bag a job as a chalet host for a luxury ski company in France.


