Whether you choose to grout your tiles or use a silicone caulking, no sealant is safe from the growth of mildew.
As grout is porous, it absorbs water easily and creates a breeding ground for mould. Caulking, whilst itself waterproof, can become detached from the surface allowing water to collect behind it. Again, creating an ideal environment for mould to breed.
Mould is a fungus that thrives in warm, humid conditions, making your bathroom the perfect home. Mould releases microscopic spores which then land on damp bathroom surfaces and grow.
It is particularly a problem for bathroom sealant as baths and showers tend to remain wet for long periods and are usually closed in.
In this article, we’re going to look at why you should remove black mould, how to clean mould off bathroom sealant and how to prevent it from returning.
Is Mould Really That Dangerous?
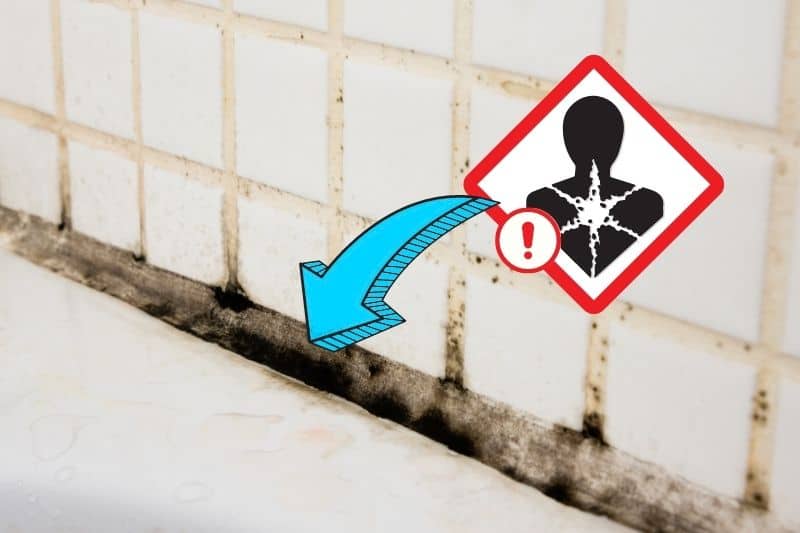
You may have noticed a few patches of mildew on your bathroom sealant, but you’ve used the bath or shower several times and you feel fine. However, it’s important to know that black mould doesn’t just look unsightly, it can have detrimental effects on our health.
Mould spores don’t just affect those with respiratory illnesses. As well as exacerbating allergies, skin conditions and breathing difficulties, they can cause these ailments to develop in people who haven’t previously suffered from them if they are susceptible.
Children and elderly people are most affected by mould. However, long-term exposure can weaken the immune system of healthy adults.
Left untreated, mould can start to penetrate deeper than the sealant and may present more serious issues later on. As soon as you see those black patches start to appear, get your rubber gloves on and start scrubbing!
Natural Cleaners or Specially Formulated Products: Which are Better?
There are tried and tested methods for removing mould from your bathroom sealants. You can either opt for natural ingredients or use a specially-formulated, industrial cleaner. Here are the advantages and disadvantages of both:
Natural products
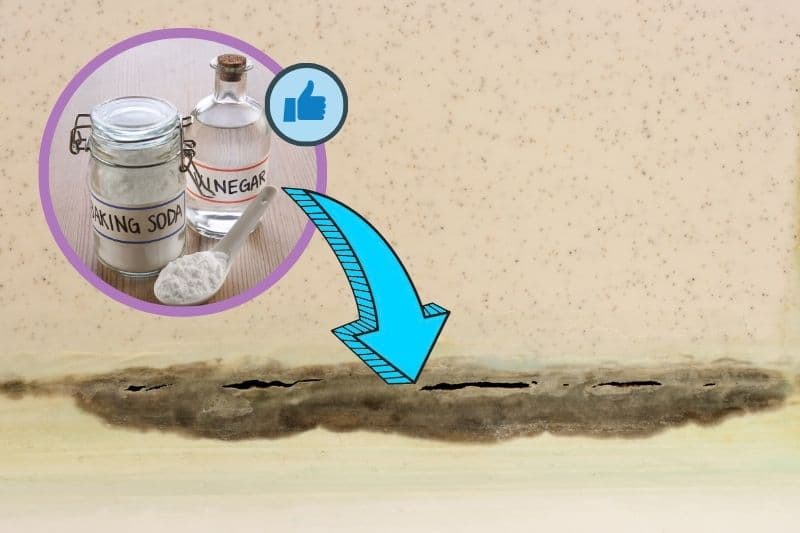
Vinegar, water, and bicarbonate of soda can be combined to form an effective cleaning product that removes mould from bathroom surfaces.
Pros
- Vinegar, water, and bicarbonate of soda are natural and therefore not dangerous to use, they are pet and child-friendly.
- These products are also environmentally friendly as they don’t pollute water systems.
- Vinegar and bicarbonate of soda can be used to clean just about anything, so you will be sure to use them again.
Cons
- These products are not as effective as chemically formulated products and thus they may not remove all mould.
- For this reason, it may also be necessary to use more products and put in more time and effort to completely remove the mould.
Chemically formulated products
You can find products that are specially formulated to kill mould which contain bleach or you can try a household bleach that should be just as effective.
Pros
- These products are designed to remove mould so they will remove most, if not all of it.
- This also means that they are fast-acting and will probably require less time and effort to remove the mould entirely.
- Some of these products contain perfumes that mask unpleasant odours.
Cons
- You will need to take extra precautions using these products as they can be toxic.
- These products are not child or pet-friendly so you will need to ensure that the area is well-rinsed before anyone uses the bathroom.
- Bleach can cause discolouration to surfaces so it’s important to check the instructions before using it.
- Bleach isn’t considered to be an environmentally friendly product due to its manufacturing process and the fact that it contains substances that take a long time to biodegrade.
For those who want maximum efficiency but still prefer to go green, there are environmentally-friendly and/or bleach-free mould cleaning products, which are worth trying out.
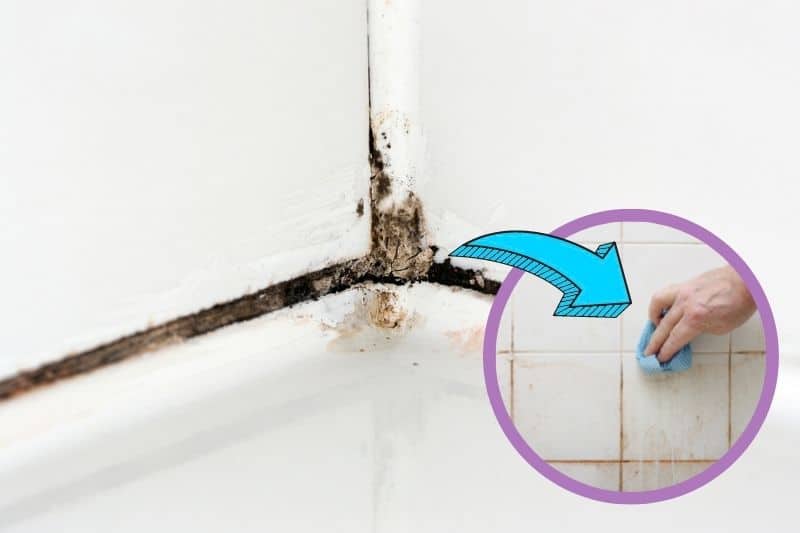
How To Clean Mould Off Bathroom Sealant
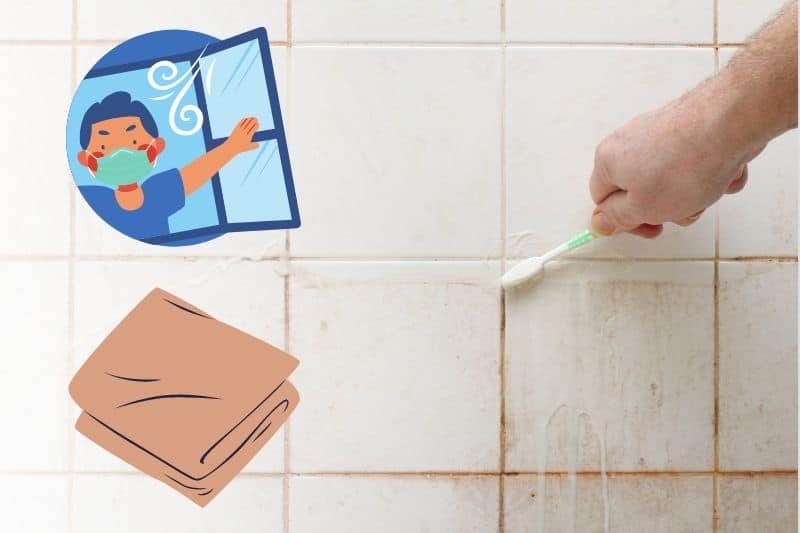
Depending on your chosen products, the cleaning techniques are more or less the same. In any case, be sure to open any windows when you’re tackling mould as being in close proximity to it with no ventilation can be harmful to your health.
Even if you use natural products, you will need gloves and protective gear for your face and hands as, again, you will be touching a mouldy surface. Hand and face protection is especially important when using bleach as the fumes can be irritating.
You will also need either a cloth or a soft bristle brush such as a toothbrush. Avoid using an abrasive tool such as a scouring pad as these can damage the sealant and allow more water in.
Whilst the cleaning techniques are similar, how to apply the products will depend on whether you opt for a natural cleaner or a specialty mould cleaner:
Natural products
- You can apply undiluted vinegar directly to the sealant or you can dilute it at a ratio of two parts vinegar to one part water.
- Leave the solution for around 30 minutes, or even overnight if there is a large build-up.
- Scrub the vinegar off using either a cloth or soft bristle brush.
- If the mould doesn’t come off readily, you can mix vinegar and bicarbonate of soda until it forms a thick paste and applies this to the area, again leaving it at least 30 minutes or overnight.
- Then scrub it off as above, using a cloth or brush.
Mould spray or bleach
- Follow the instructions on the packaging of your chosen product, the manufacturer will advise whether you need to dilute the product with water, how to apply it and how long to leave it
What can you do if the mould won’t budge?
- If you’re using a cloth to wipe away the solution, use a brush instead for a little extra scrubbing power, and use a toothbrush to get into any small crevices
- Seal in your cleaner by dousing toilet paper or cotton wool with the mixture and applying it to the affected area and leaving overnight. This stops the cleaner from dripping away.
- Alternatively, apply your solution directly to the sealant and cover it with clingfilm, leave overnight.
How to Keep Sealant Mould-Free?
Removing black mould from bathroom sealant can be costly, time-consuming, and expose you to potentially harmful substances such as mould itself and bleach.
With this in mind, you might be asking yourself how you can avoid going through this cleaning process regularly. Luckily, there are several preventative measures that you can implement that are relatively simple.
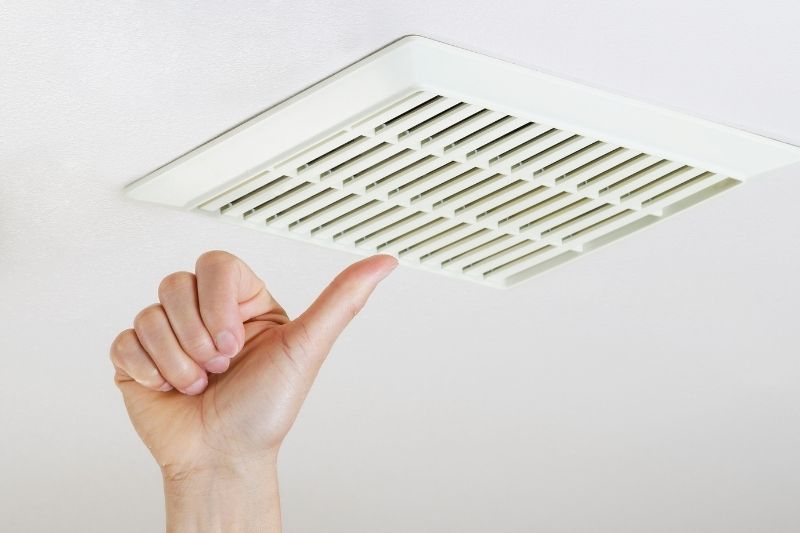
1. Ensure proper bathroom ventilation
All bathrooms should be fitted with an extractor fan, but if yours doesn’t have one, consider installing one. Don’t forget to turn it on every time you take a bath or shower.
If you do have an extractor fan, ensure that it’s clean as they are susceptible to dust buildup which can stop them from extracting as much steam.
In addition to this, keep your windows open either during or after bathing so that some of the humidity can escape.
2. Go one step further with dehumidifying
If your extractor fan and windows aren’t removing enough condensation, you can also invest in a dehumidifier. There are two main types of free-standing dehumidifiers: electric appliances and absorbent dehumidifiers.
Electrical appliances will need to be plugged in and you can choose to run them while you take a bath or shower. Absorbent dehumidifiers don’t need an electricity supply.
They work by using absorbent materials to remove humidity from the air and are effectively working all the time.
3. Remove moisture manually
Even if you use the above methods, you will likely still see condensation on your bathroom appliances, especially if you like your showers hot!
If you don’t want to take any chances, you can remove this moisture yourself using a squeegee on a shower door or a towel around your bath or shower curtain.
4. Anti-mould paint, sealant, or treatments
Take preventative measures one step further and invest in anti-mould products when renovating. You can buy anti-mould sealants that claim to prevent, or at least discourage, the growth of mould.
For the surrounding areas, there are anti-mould paints that make it difficult for mould to grow and are effective for a number of years.

In The Wash is your guide to the best laundry and cleaning products, tips and tricks. Our mission is to solve the UK’s cleaning and laundry dilemmas!


