Removing mould from bathrooms can feel like a constant battle. Just when you think you’ve removed all of the mould, it returns.
This is because the bathroom is the perfect breeding ground for mould. Mould loves moist air, so it is very difficult to stop mould from returning.
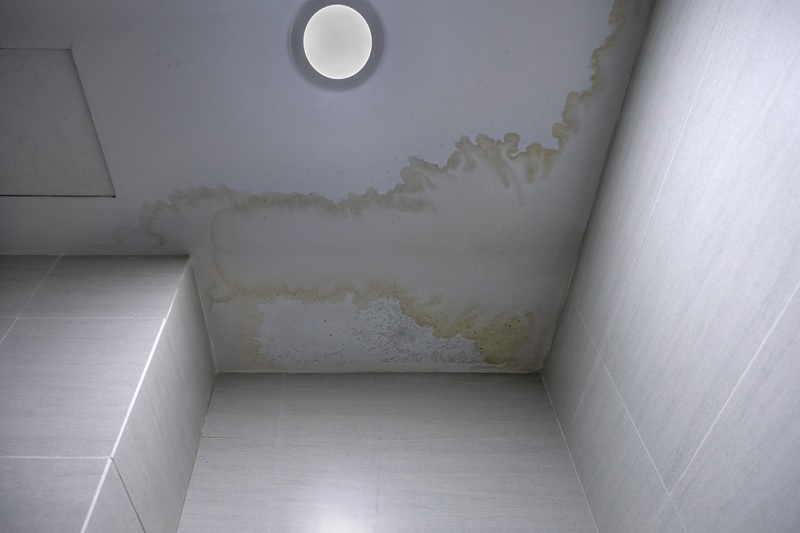
Removing mould from a bathroom ceiling is important not just for the aesthetics of your bathroom but also for maintaining a healthy environment.
Below, we have a step-by-step guide to removing mould from a bathroom ceiling, as well as advice on how to stop it from returning.
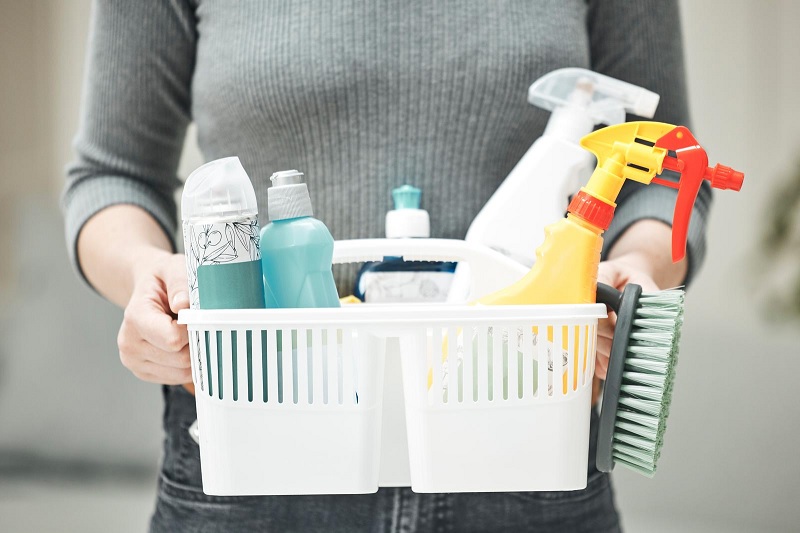
Materials You’ll Need
- Safety gear (gloves, mask, safety goggles)
- Plastic drop cloth or old towels
- Scrub brush with stiff bristles
- Mild detergent, washing up liquid, or a specialised mould cleaner
- White vinegar or hydrogen peroxide
- Water
- Bucket
- Spray bottle
- Bicarbonate of soda (optional)
- Bleach (only if your ceiling is made of a washable material or you used a washable paint on it).
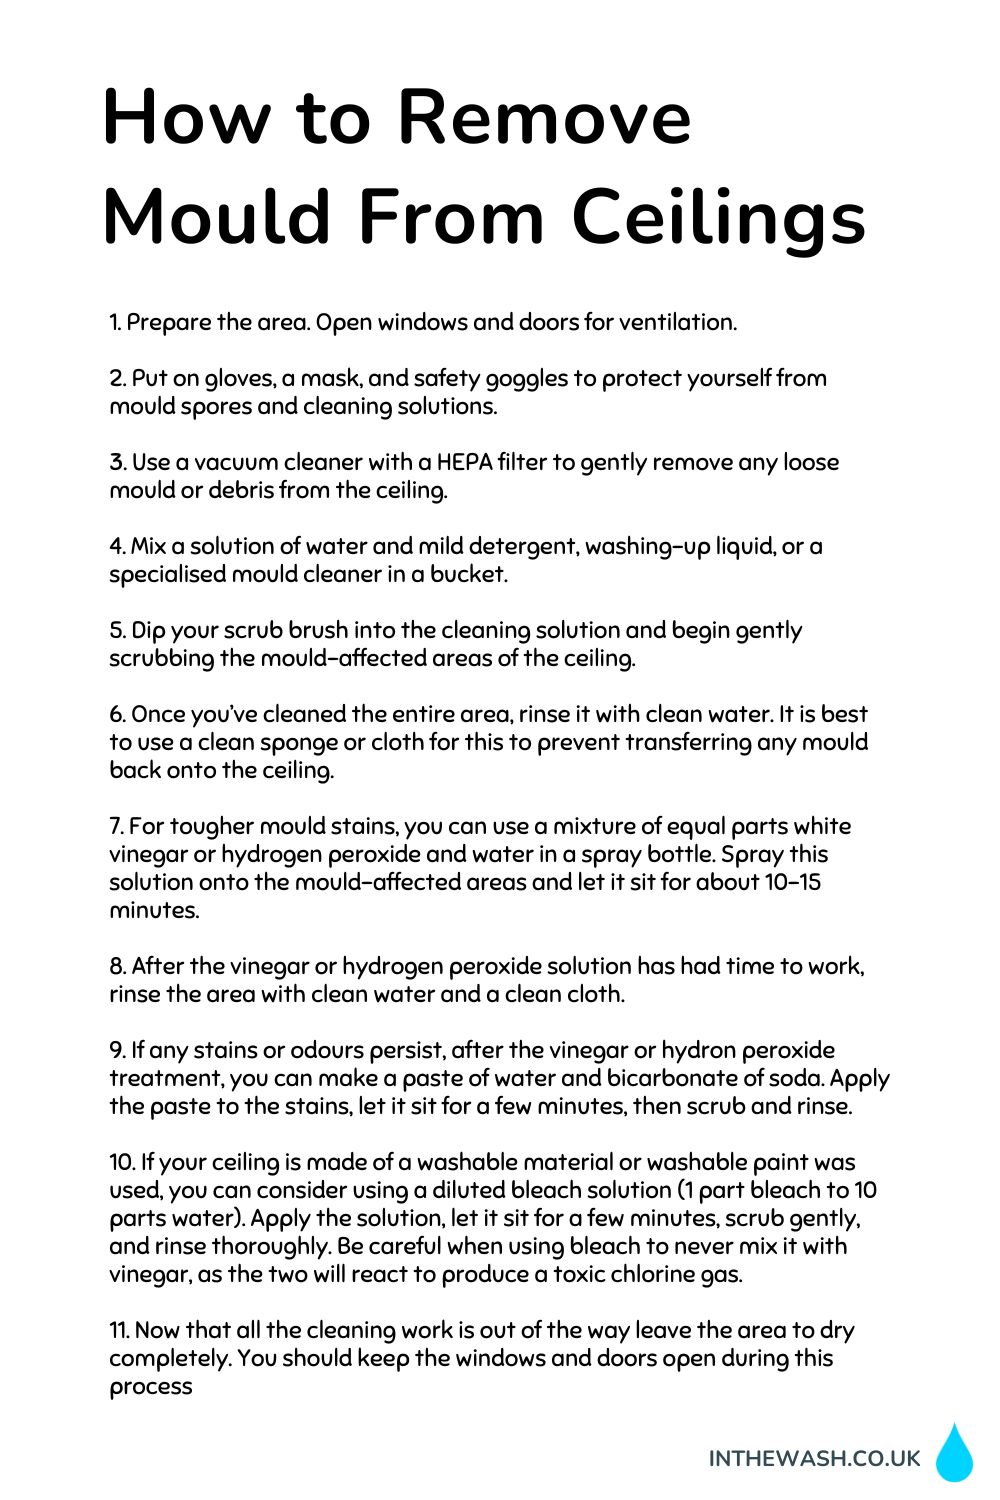
How to Remove Mould from a Bathroom Ceiling
1. Prepare the area
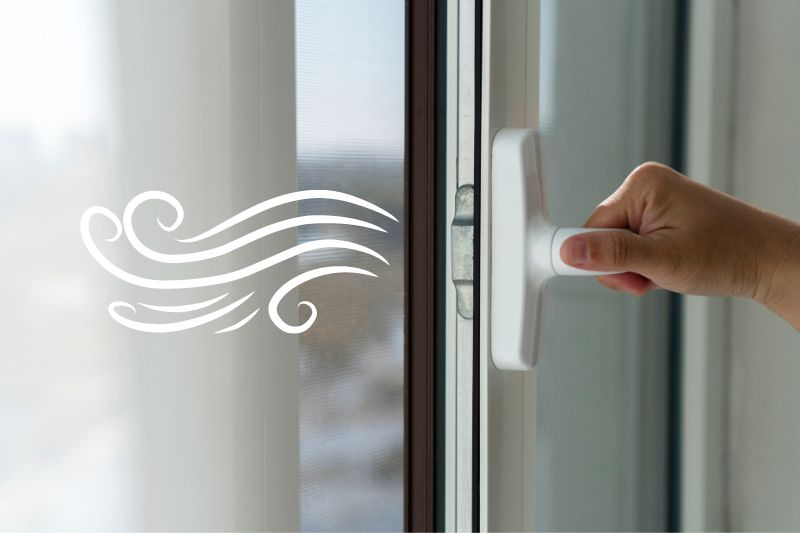
Open windows and doors for ventilation. If you can create a through-draft by opening a couple of windows, this is ideal. If not, you can use a fan to help with the airflow and ensure odours exit the window quickly.
Lay down a plastic drop cloth or old towels to protect the floor and fixtures from the cleaning solutions and debris.
You’ll want to remove all of your self-care products (toothbrushes, shampoo, shower gel, etc). This ensures that no debris sticks to this stuff during the cleaning process.
2. Safety precautions
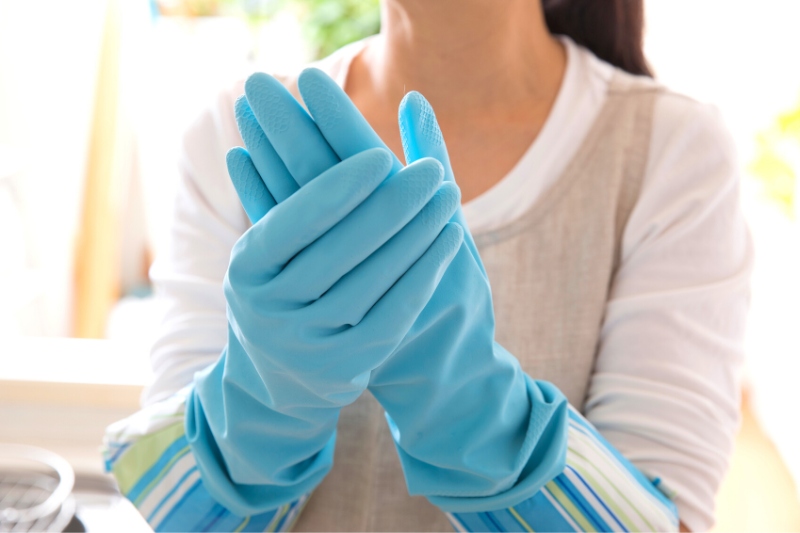
We’d highly recommend putting on gloves, a mask, and safety goggles to protect yourself from mould spores and cleaning solutions.
Mould spores can cause all sorts of long-term health issues, so please stay protected. It is also important to let other members of the household know that you’ll be removing mould from the bathroom.
If someone needs the loo during the process, make sure they wear a mask while they are in the toilet.
3. Remove loose debris
Use a vacuum cleaner with a HEPA filter to gently remove any loose mould or debris from the ceiling.
If your vacuum doesn’t have a HEPA filter, use a dry cloth instead. A cheap dry cloth will be best, as it will be safer to throw this cloth away after removing the debris.
4. Prepare the cleaning solution
Mix a solution of water and mild detergent, washing-up liquid, or a specialised mould cleaner in a bucket.
For the mild detergent and washing-up liquid, you don’t need much. A few drops for every litre of water is plenty.
Give the solution a good mix to create bubbles, and you’ll be ready to clean your ceiling. If you’re using a mould cleaner, follow the mixing instructions on the bottle.
5. Scrub the ceiling
Dip your scrub brush into the cleaning solution and begin gently scrubbing the mould-affected areas of the ceiling.
Avoid using excessive force, as it could damage the ceiling. Work in small sections and use circular motions.
Keep dipping the scrub brush into the cleaning solution to clean it, and to top up the cleaning solution on the brush.
6. Rinse with water
Once you’ve cleaned the entire area, rinse it with clean water. It is best to use a clean sponge or cloth for this to prevent transferring any mould back onto the ceiling.
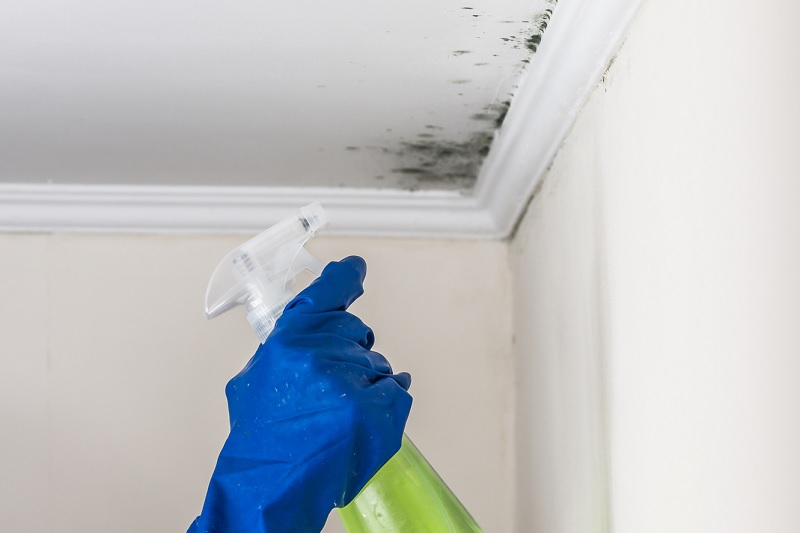
7. Vinegar or hydrogen peroxide solution (optional)
For tougher mould stains, you can use a mixture of equal parts white vinegar or hydrogen peroxide and water in a spray bottle.
Spray this solution onto the mould-affected areas and let it sit for about 10-15 minutes. This can help kill mould spores and remove stains.
8. Rinse again
After the vinegar or hydrogen peroxide solution has had time to work, rinse the area with clean water and a clean cloth.
9. Bicarbonate of soda paste (optional)
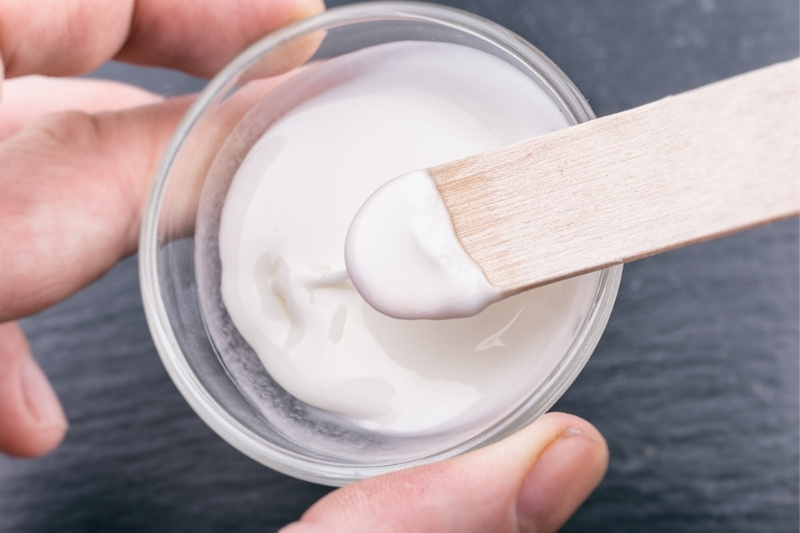
If any stains or odours persist, after the vinegar or hydron peroxide treatment, you can make a paste of water and bicarbonate of soda. Apply the paste to the stains, let it sit for a few minutes, then scrub and rinse.
10. Bleach (only for washable surfaces)
If your bathroom ceiling is made of a washable material or washable paint was used, you can consider using a diluted bleach solution (1 part bleach to 10 parts water).
Apply the solution, let it sit for a few minutes, scrub gently, and rinse thoroughly.
Be careful when using bleach to never mix it with vinegar, as the two will react to produce a toxic chlorine gas.
11. Leave the area to dry
Now that all the cleaning work is out of the way leave the area to dry completely.
You should keep the windows and doors open during this process. The airflow will help to dry the area quickly and also prevent any moisture from sticking around.
Preventive Measures
To prevent future mould growth, make sure your bathroom is properly ventilated by using extractor fans during and after showers and keeping windows open when possible.
Fix any leaks or water damage promptly to prevent mould from finding a damp environment to grow.
A dehumidifier can also be used. Turn the dehumidifier on after you shower and leave it running for an hour or so.
This will ensure that the moisture is taken out of the air and prevent further mould from growing.
In Conclusion
Remember, safety is crucial when dealing with mould. If the mould problem is extensive or you or a family member has a serious mould allergy, it might be best to consult a professional for removal.
If this guide to removing mould from a bathroom ceiling has been helpful, you’ll find loads of other step-by-step guides just like this one about other common household cleaning tasks on In The Wash.

In The Wash is your guide to the best laundry and cleaning products, tips and tricks. Our mission is to solve the UK’s cleaning and laundry dilemmas!


