A clean bathroom is essential for both hygiene and aesthetics. Toilets and showers aside, the bathroom floor cannot be overlooked when it comes to cleaning.
Often subjected to water, soap scum, and foot traffic, it requires regular attention to prevent the buildup of dirt and potential germs.
In this guide on how to clean a bathroom floor, we explore practical techniques and tips to help you confidently clean your floor tiles.
From routine maintenance to deep-cleaning methods, you can maintain a spotless bathroom floor with minimal effort using our tried-and-tested process.
How Do You Deep Clean a Dirty Bathroom Floor?
Deep cleaning a dirty bathroom floor involves several steps to ensure thorough and effective cleaning. Here is a step-by-step guide you can follow for brilliant results:
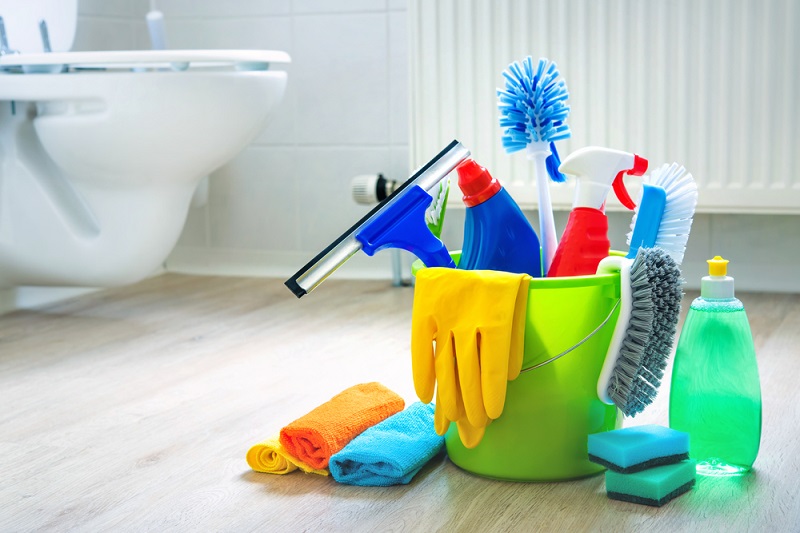
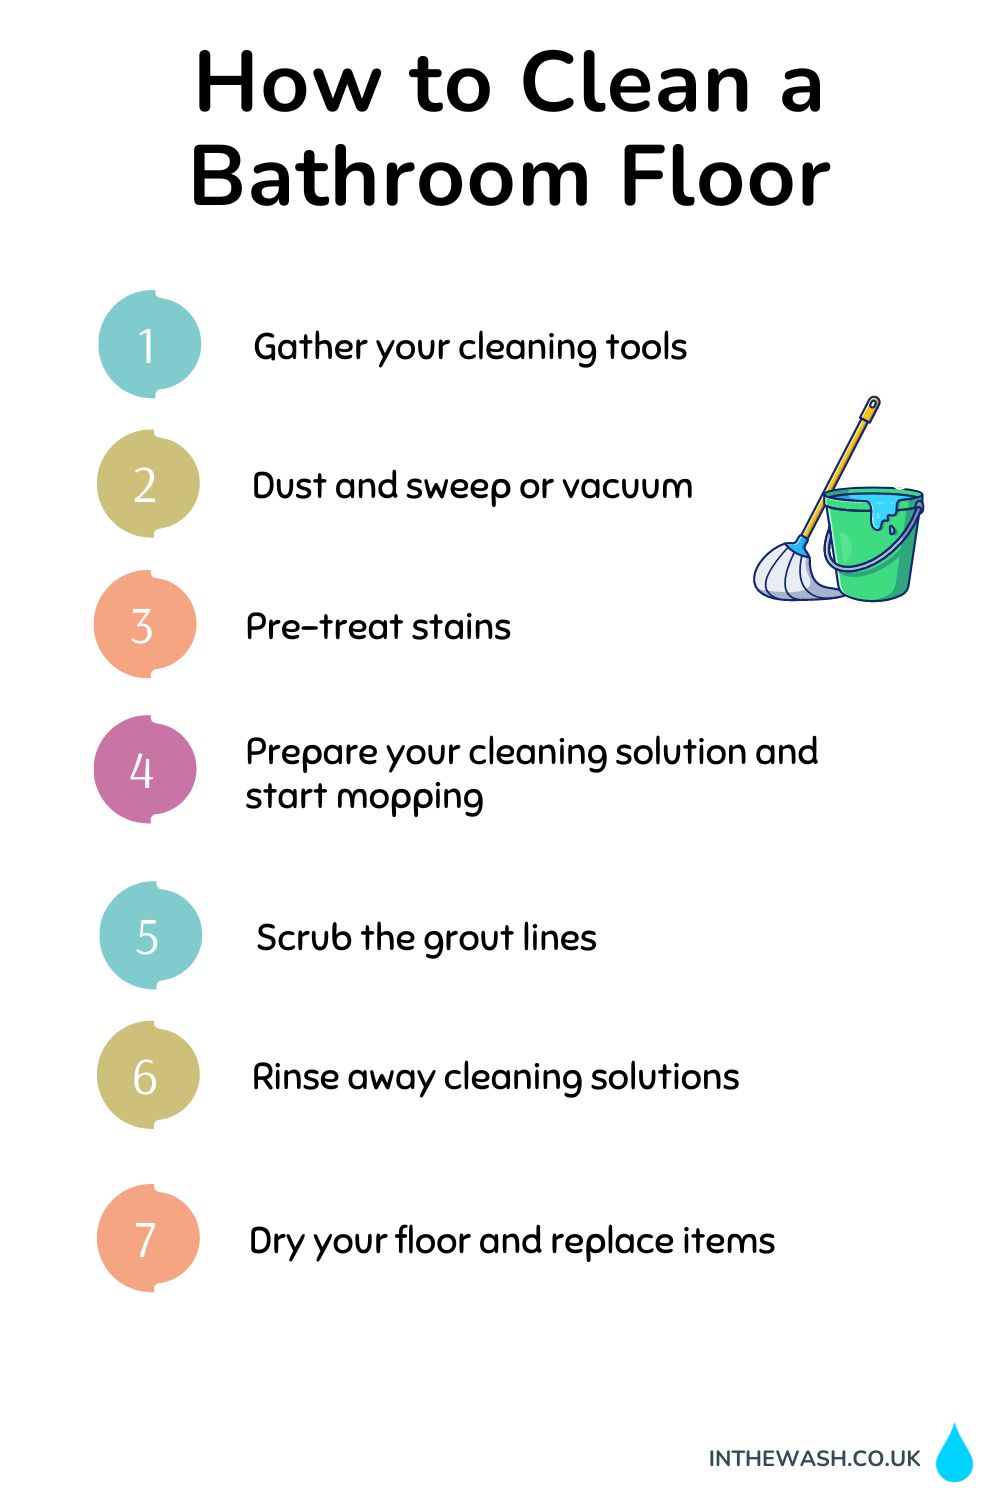
Step 1: Gather your bathroom floor cleaning tools
The first step is ensuring you have all the necessary tools and equipment. Here is a complete list of everything you need for our proven method:
- Broom or vacuum cleaner
- Bucket and mop
- Scrub brush or scrubbing pad
- All-purpose cleaner or bathroom cleaner
- White vinegar or hydrogen peroxide (optional)
- Bicarbonate of soda (optional)
- Rubber gloves
- Microfibre cloths or towels
You also want to prepare the floor for cleaning. Remove any items from the floor, such as rugs, bathmats, and bathroom bins, to have a clear workspace.
Place them outside the room for now and consider cleaning each item individually before returning them once the floor is sparkling clean.
Step 2: Dust and sweep or vacuum
Start by sweeping or vacuuming the floor to remove loose dirt, hair, and debris. Make sure to get into corners and around fixtures, including around the back of the toilet.
You’ll likely have to remove any vacuum attachment and use the nozzle for hard-to-reach areas.
If you have a free-standing bath, make sure you also get around the back. This can be an awkward place to reach, so you might need an extendable dusting tool or a long hoover attachment.
You can read our guide on cleaning around a free-standing bath for more tips and advice.
Step 3: Pre-treat stains
Once the floor is free from loose dirt and debris, it’s time to pre-treat any stains using an all-purpose or bathroom-specific cleaner.
Apply the cleaner directly to the stains and allow it to sit for a few minutes before moving on to the next step, ensuring you follow the instructions on the label.
For stubborn stains, you might need a bit of extra effort. Try using a mixture of equal parts water and white vinegar or water and hydrogen peroxide to treat stains.
Apply the mixture to the stain, let it sit for a few minutes, and then scrub gently in circular motions using your scrubbing pad.
Step 4: Prepare your cleaning solution and start mopping
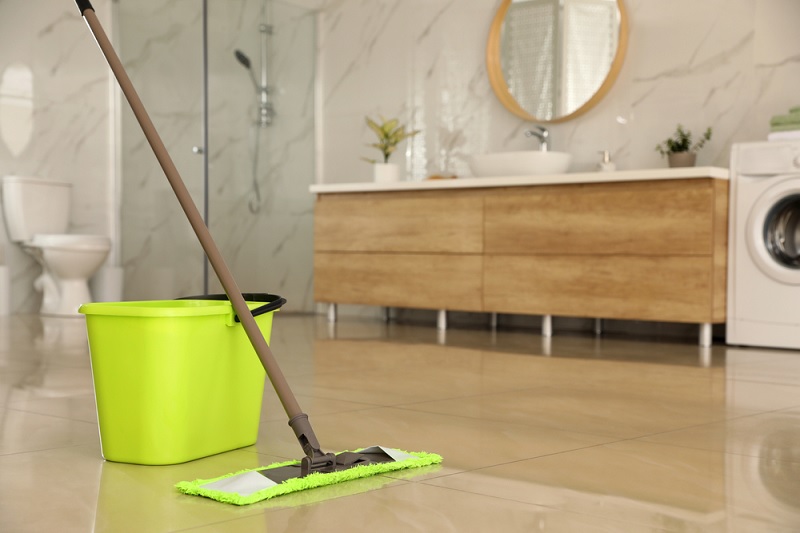
Fill your bucket with warm water and add an appropriate amount of an all-purpose or bathroom cleaner. Follow the product’s instructions for dilution.
If you prefer to make your own floor cleaner, our DIY cleaning products guide has a recipe you can try using vinegar, lemon, and water.
Next, dip your mop into the cleaning solution and wring out the excess water. Begin mopping the floor, starting from the farthest corner and working your way toward the bathroom exit.
Make sure to cover the entire floor surface, applying firm pressure to lift all dirt and grime from the tiles.
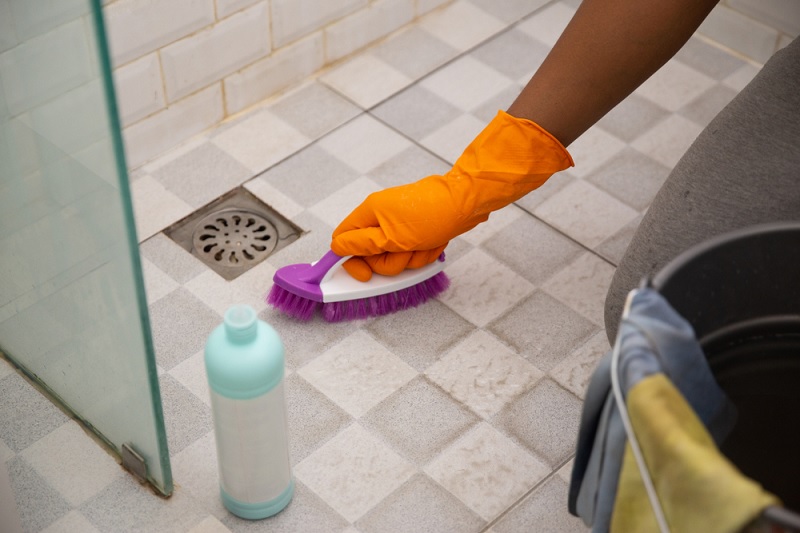
Step 5: Scrub the grout lines
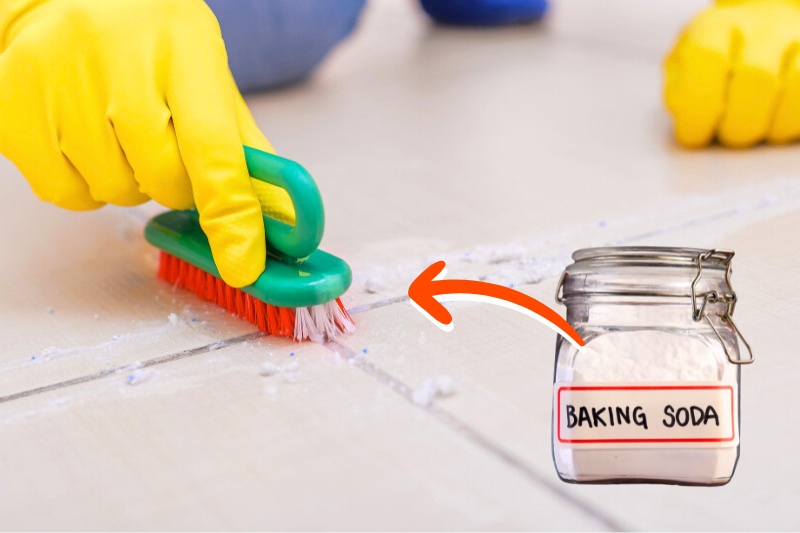
If your bathroom floor has grout, you may need to scrub these areas to give your tiled flooring that like-new finish.
You can first try scrubbing the grout using the same cleaning solution used for mopping the floors. Use a scrubbing brush or pad to gently scrub the grout lines while you mop.
If this doesn’t work, our favourite grout-cleaning hack is using bicarbonate of soda. Combine it with water to form a cleaning paste, then apply the paste to the grout lines.
Let it sit for several minutes before spraying vinegar over the top. Then, scrub the grout to help lift any grime.
Step 6: Rinse away cleaning solutions
If you’ve used a strong cleaning solution or cleaned the grout, you might want to do a second mopping with clean water to remove any residue.
Rinse the mop head thoroughly before dipping it in clean water (or consider changing mop heads if you have a spare) and mop everywhere.
Ensure to wring out the mop well to avoid excess water on the floor, which can cause streaking.
Also, remember to work from the far side of the room towards the bathroom door—this prevents you from leaving footprints all over your freshly cleaned tiles.
Step 7: Dry your floor and replace items
You can leave your bathroom floor to air dry if you’re short of time. Otherwise, use microfibre cloths or towels to dry the floor, working from the door towards the far corners of the room.
This also helps to prevent slips and falls and minimises the chances of water spots forming on the tiles.
Once the floor is completely dry, you can put back any items you removed at the beginning, such as rugs and bath mats (we suggest vacuuming these first).
You can also return any bins, but consider emptying the rubbish and giving the bin a wipe-down before putting it back in its place.
Should You Have a Separate Mop for the Bathroom?
Although not necessary, having a separate mop for the bathroom is a good idea. Using a different mop for the bathroom has several advantages:
- Hygiene: Bathrooms can harbour a higher concentration of germs and bacteria compared to other areas of your home. Using a separate mop helps prevent cross-contamination between different areas, reducing the spread of germs to other parts of your home.
- Chemical contamination: Bathroom floors often require stronger cleaning agents due to the presence of soap scum, mould, mildew, and other tough stains. Using a mop designated explicitly for bathroom use can prevent the transfer of these potentially harsh chemicals to other areas of your home.
- Odour control: Bathrooms can develop distinct odours, and a mop used solely in the bathroom can help contain and manage those smells. On the converse, using the same mop for the bathroom and other rooms could spread bathroom scents throughout your home.
If you decide to have a separate mop for the bathroom, clearly label or differentiate it from your other mops to avoid confusion.
Regularly clean and sanitise the bathroom mop after each use to prevent the buildup of bacteria and odours.
How Do You Clean a Bathroom Floor Without a Mop?
If you don’t have a separate mop for your bathroom (or don’t own a mop at all), you can still achieve a sparkling clean floor.
Unfortunately, it will require a little more elbow grease as you’ll need to scrub the floor by hand. Here is a quick breakdown of the process:
- Remove any items from the bathroom floor before beginning.
- Sweep or vacuum the floor to remove any loose dirt and debris.
- Fill a bucket with warm water and your chosen cleaning solution.
- Dip a scrubbing brush or scrub pad into the cleaning solution.
- Scrub the floor using circular motions, focusing on stained areas.
- Use a microfibre cloth to wipe away the cleaning solution and dirt.
- Dampen a clean cloth with water and wipe the floor again to rinse it.
- Use another dry cloth or towel to dry the floor thoroughly.
- Once the floor is dry, put back any items you removed earlier.
When scrubbing the floor by hand, we recommend dividing the floor into smaller sections to make the cleaning process more manageable—complete steps 5 to 7 for one area at a time before moving on to the next.
Rinse the scrubbing brush and cloth frequently to avoid spreading dirt around as you tackle future sections.
How Often Should I Clean My Bathroom Floor?
The frequency of cleaning your bathroom floor depends on factors such as the level of usage, the number of occupants in your household, and personal preferences.
However, a general guideline for cleaning bathroom floors is to do a regular cleaning at least once a week and more frequently if needed.
Here’s a breakdown:
Regular cleaning/maintenance: At least once a week
General maintenance should be performed at least once per week. This includes tasks such as:
- Sweeping or vacuuming the bathroom floor to remove loose dirt, hair, and debris.
- Wiping down the floor with a damp cloth or mop to remove surface dust and dirt.
- Addressing any spills or splatters promptly to prevent staining.
- Emptying rubbish bins and cleaning under them.
If your bathroom experiences heavy foot traffic or is used by multiple people, you might consider doing an additional quick sweep or wipe down mid-week.
Likewise, if you notice spills, stains, or messes, address them immediately to prevent them from becoming more difficult to clean later.
Deep cleaning: Monthly or every few months
A more thorough deep cleaning can be done monthly or every few months, depending on how many people use the bathroom.
Use our deep cleaning method listed above for the best results, which includes additional tasks like:
- Scrubbing grout lines between floor tiles.
- Addressing hard-to-reach areas (e.g. behind free-standing tubs).
- Paying particular attention to corners, crevices, and fixtures.
Bathroom Floor Cleaning Hacks Summarised
If you’re overwhelmed with the information in this article, here is a run-down of the key points:
- Aim to vacuum and mop your bathroom floor weekly as part of regular maintenance.
- Deep clean your bathroom floor (scrub grout, clean hard-to-reach areas, etc.) every month.
- Always remove any items on the floor (e.g. bathmats and bins) before beginning to clean.
- Work from the furthest corners of the room towards the door.
- Avoid walking over tiles you’ve just mopped to prevent footprints from forming.
- Consider using a different mop head for the bathroom floor and other areas of your home.
- Wring the mop thoroughly to prevent your floors from getting too wet, which can cause streaks.
- If you don’t have a mop, scrub the bathroom tiles using a scrubbing brush.
- Stubborn stains can be treated with white vinegar or hydrogen peroxide.
Dry and buff the floor with a clean microfibre cloth after washing for a streak-free.

Hannah has a passion for cleaning. She worked her way around Australia by cleaning hostels in exchange for free accommodation and used her cleaning skills to bag a job as a chalet host for a luxury ski company in France.


")
