Feather dusters are super-useful. No, not just as comedy props for long-gone comics and TV personalities such as Larry Grayson.
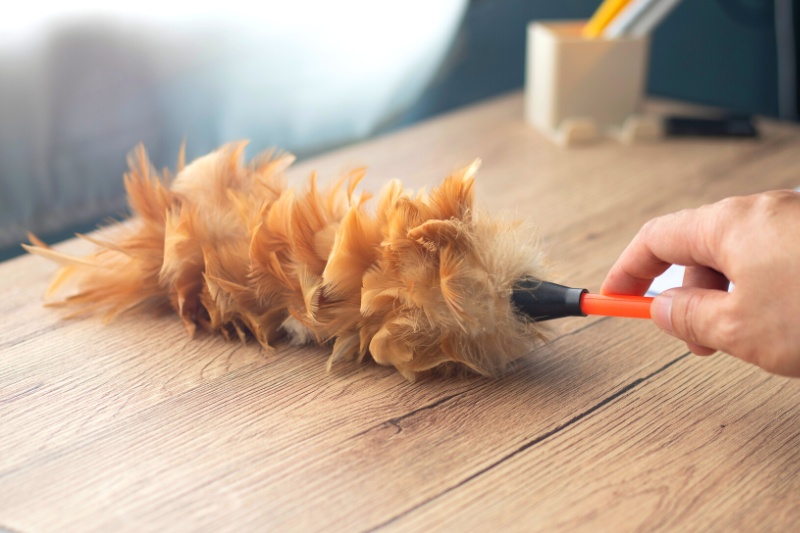
Feather dusters do the job very few other tools can do: they get rid of the dust that collects on valuables, without endangering the safety of the object itself.
Not just this, but feather dusters can reach inside nooks and crannies other dusters give up at, and you can reach higher with a telescopic handled feather duster than with a regular duster.
Feather dusters are so useful and have contributed such a lot to modern civilisation that there’s an argument that the Statue of Liberty should be holding one aloft instead of her torch. OK, it’s not a widely-heard argument, but it has a degree of worth so deserves an airing here.
But what happens when your feather duster has been so very useful around the house that it’s now clogged with dust? When this happens, you need a foolproof way to de-dust that duster. Read on.
When to Clean Your Feather Duster
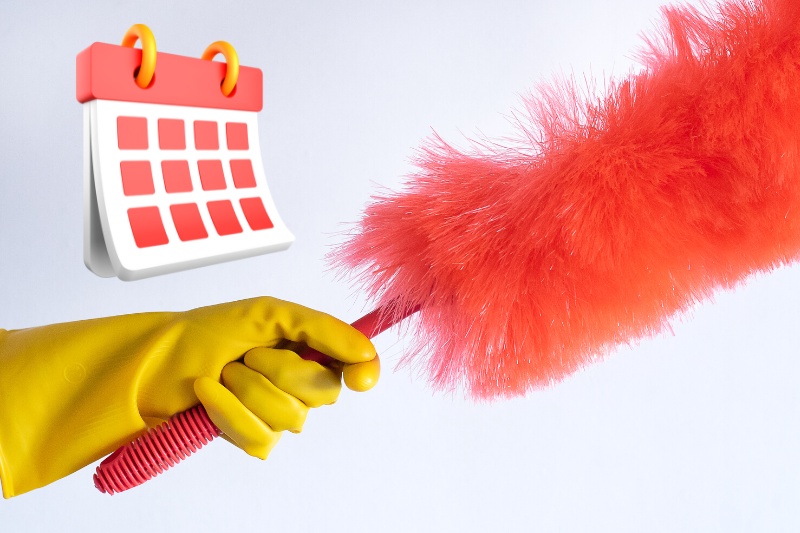
It’s impossible to say how often you’ll need to clean your feather duster. All depends on how often you dust and how dusty your house is. All we can say is that it’ll be pretty obvious when it’s needed.
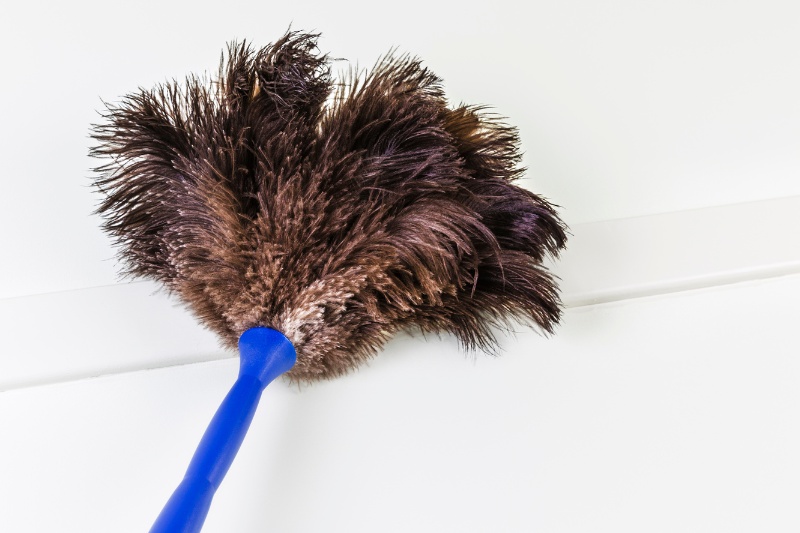
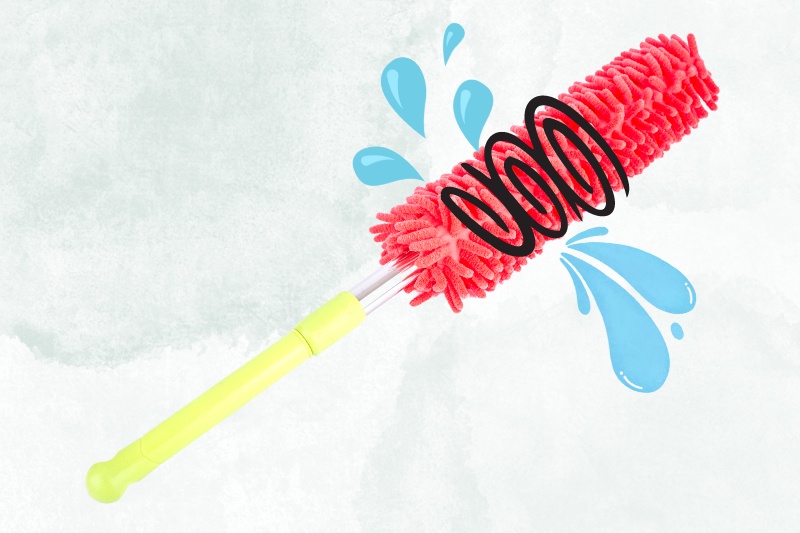
Whatever your feather duster is made of, whether it’s real feathers, microfibres, or something else, you’ll probably be continually delighted with its ability to shift and trap dust. Delighted, that is, until one day, when it just stops.
The best you can then get out of it is an ability to push dust around. This is because it’s become dust-clogged. That’s when you need to clean it.
How to Clean a Feather Duster Step by Step
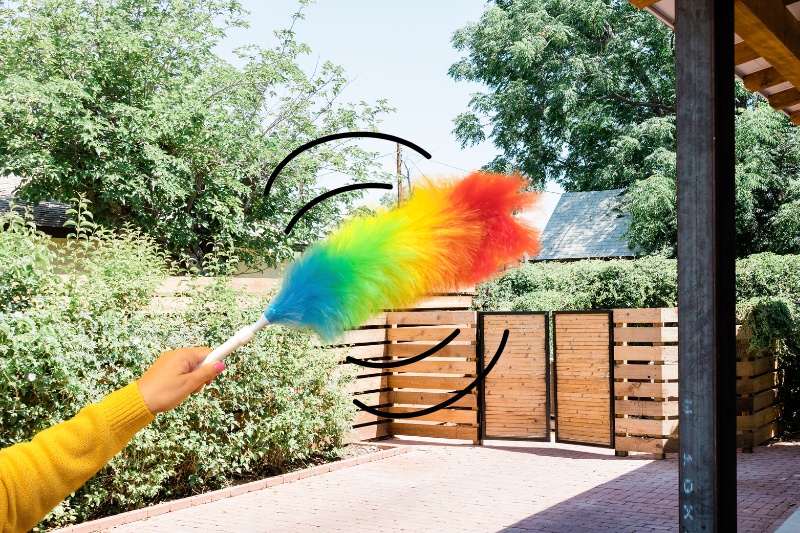
Step 1: Shake your feather duster outside
It’s truly amazing how much dust will come pouring out when you shake that feather duster or yours. The truth is, your feather duster is a dust hoarder. It can’t get enough of the stuff. It’s got a dust disorder.
The problem is, there comes a stage where saturation’s been reached, and you’re just pushing dust around with a clogged-up duster. When this happens, your duster is nothing less than a dust dump. So, you need to dislodge that stuff, and the best bet is to give it a jolly good shake.
Two tips here:
Do it outside
Dust will come pouring out of your duster when you shake it, so don’t shake it anywhere inside the house.
You’ll only have to break out the vacuum cleaner with all haste. Go outside, and shake where the horizons are vast and the air limitless. Your garden will do nicely.
Give it a tap
Shaking it will certainly get rid of some, but to get rid of even more dust, try tapping it against a fence or wall.
With both of these techniques, be careful to do it nowhere near where your neighbours are innocently drying their washing. And try not to coincide with any neighbourhood barbeques. Oh, and do it well away from any pets. You don’t want your rabbits turning into dust bunnies.
Step 2: Fill a bucket
First, clear all around your kitchen sink so that you have a nice empty space to work in. You really don’t want anything getting in the way, particularly anything with any food remnants on it, which might get on your freshly cleaned feathers.
Then get a bucket (1-2 gallons capacity), put in your sink and fill it to about 75% with hand hot water.
Step 3: Apply detergent
You can use a mild washing-up liquid (one decent squirt is sufficient) or a mild hand soap if you prefer.
If the latter, plunge the soap in and work it a little between your hands. It’s easier to use the former as the hand soap can get a bit messy, but it’s up to you.
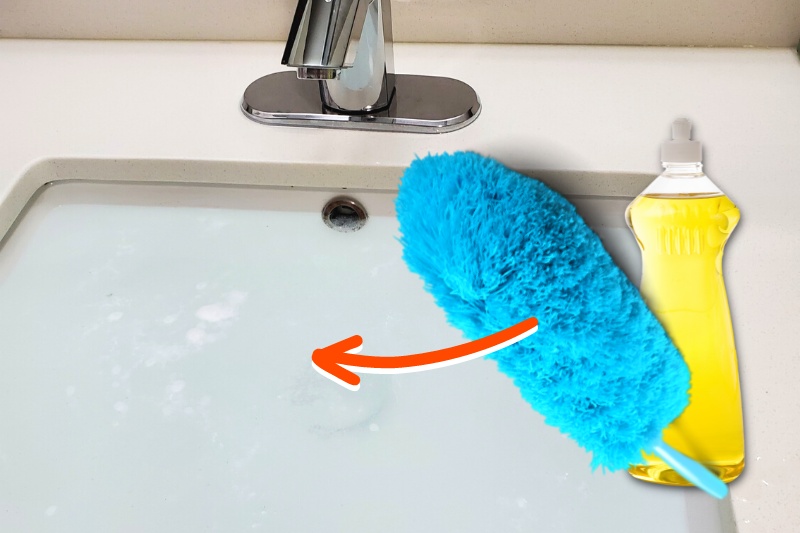
Step 4: Dip your duster
Hold your duster by the handle and plunge that plumage into the soapy water. Make sure all the feathers are well covered.
Rotate the handle a little so the water swishes about around and between the feathers, and gently rub the suds in where it looks like most dirt has accumulated.
Then let the duster soak in the bucket for 5-10 minutes.
Step 5: Douse your duster
Pour out the water from the bucket and set your bucket on one side. Now, using fresh warm water, rinse the duster thoroughly.
Work the feathers gently with your hand as the water rinses through them. The idea is to rid the duster of all trace of the soap, so carry on rinsing and rubbing until the water runs clear.
Step 6: Dry your duster
OK, this step’s multi-part. Here goes.
Towel dry
Get a clean dry hand towel, lay it flat on a kitchen surface, and lay your duster in the middle of the towel. Then wrap it by turning the edges over the duster, so it’s completely covered.
Leave like this for 10 minutes. The towel will absorb a fair amount of moisture and make the next steps quicker than they would otherwise be.
Give us a twirl
Funnily enough, ‘Give us a twirl’ was the slogan of Bruce Forsyth, who was Larry Grayson’s predecessor as Generation Game host. The world of the feather duster is a mysterious and complex one.
Leaving aside such matters for the moment, take the duster outside and give it a good old spin.
Do this by placing the duster handle between your outstretched hands and move your palms back and forth against each other, in a “cor, ain’t this weather perishing” kind of motion.
This will rid the feathers of a lot of the moisture that the towel didn’t soak up. Make sure you do this well away from your face and any clothes you don’t want getting wet.
Hang your duster out to dry

This step will finish off the drying process nicely. Choose a spot where any drips will not affect what’s underneath it. A shower rail is a great spot. Hung directly over a sleeping Mogwai? Not so much.
Similarly, don’t use a closed space like a cupboard – it may delay the drying process a little. You want plenty of air circulating. Given this, outside on a washing line is downright ideal. Best to leave all day and/or overnight if you can.
It should go without saying that a tumble dryer should not be used. Your feather duster will not cope at all well with the heat.
Plump up your plumage
The feathers that are now delightfully clean may still look a little flat or misshapen. You will probably now need to re-fashion them a little so that your duster resumes its prior shape.
You can do this by gently rubbing the feathers back and forth and giving the duster a couple of final shakes.
A Duster with Lustre (Almost)
Your feather duster should now be back to its best and raring to be doing its dust-defying thing once again.
Remember to keep an eye on it so that you clean it in good time, next time. In the meantime, you can keep your duster fairly clean by giving it a good old shake after use.
When a complete clean is called for, by using the above gentle but thorough method you’ll get your feather duster back to its best.
With that kind of care, you’ll get years of faithful service out of that trusty duster of yours, whether feather or fibre.
Anyway, must get on – dust never sleeps!

Martin’s life revolves around films, dogs and food, but rarely all at the same time. At least two out of these three like to give clothes and furniture a hard time, and Martin enjoys discovering and writing about new ways to stop them doing their worst.


