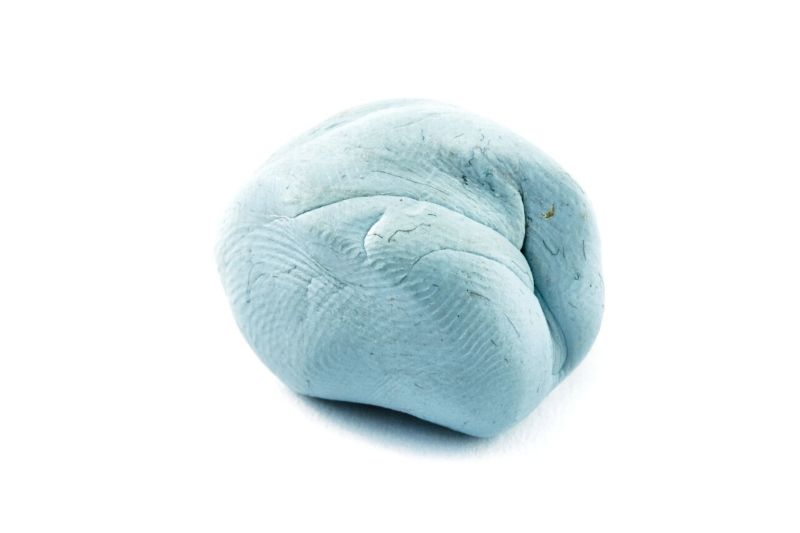
Blu-Tack might be an incredibly useful product since it completely negates the need to drill holes in walls to hang posters and decorations, but it still has its own pitfalls.
Removing Blu-Tack might sound simple at first, but if your paint is thin, it might peel away with the Blu-Tack and if the wall is porous, the oil might seep into it.
Fortunately, with care, it is possible to remove Blu-Tack and Blu-Tack marks without damaging a painted wall.
Removing Leftover Blu-Tack by Hand
If you need to remove Blu-Tack without damaging your wall, this can usually be done without needing to get any chemical cleaners involved.
The easiest way to remove stubborn Blu-Tack is to try to roll it from the edges. This way you can avoid pulling off any paint or wallpaper, and hopefully avoid leaving a sticky or oily residue behind.
Start from the top, and gently roll it down into a cylinder.
Sometimes Blu-Tack does not come away clean and leaves odd little blobs of Blu-Tack around the area. Fortunately, this can usually be easily rectified with more Blu-Tack.
Try blotting the area with the Blu-Tack that you have removed. If the Blu-Tack is quite warm and soft, it will be harder to remove these straggler blobs. Try putting the Blu-Tack in the freezer until it is hard, and then blot at the area again.
Make sure that you do not pull the Blu-Tack away too quickly, as you may end up pulling paint off the wall, which is something we’re definitely trying to avoid here.
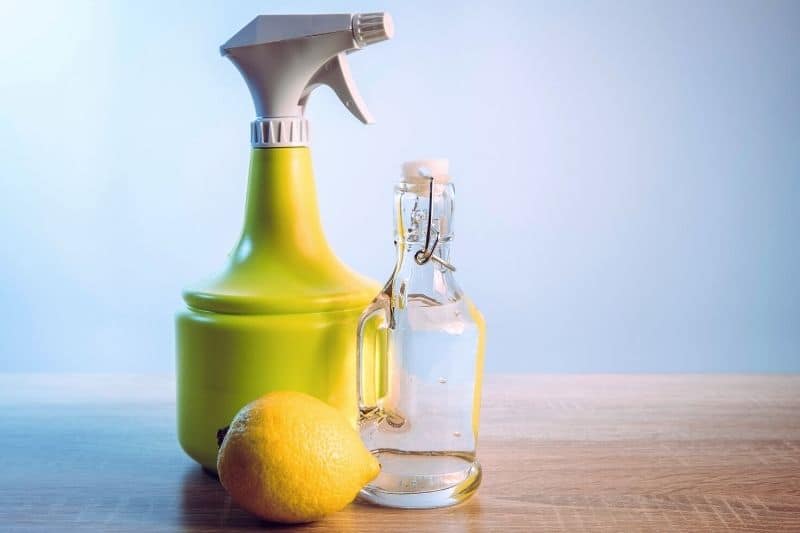
Citrus Stain Remover
Blu-Tack does have a nasty habit of leaving an oily stain behind, but this can be easily rectified with a citrus-based stain remover.
You can try either a commercially available citrus-based chemical cleaner, or if you do not have access to one, you can make a homemade alternative with white vinegar, washing up liquid, lemon juice and water.
Simply use a clean sponge (or cotton bud for smaller areas) to apply the solution to the stain, leave it to sit for a few minutes, and then wipe away with a clean cloth.
Regardless of the type of citrus stain remover you use, it is worth testing any cleaning solutions on a small, unnoticeable area of the wall first to make sure it will not cause any damage to your paint.
Magic Erasers
If you do not have access to any kind of citrus-based stain remover, you can just as easily deal with the problem if you have a Magic Eraser.
Dip the corner of the Magic Eraser in water, and gently rub at the stain in circular motions to remove the stain. Dry the area with a clean cloth or paper towel, and you are done!
Washing Up Liquid
Stubborn Blu-Tack staining can also be removed with a little bit of washing up liquid and an old toothbrush.
Simply add a little washing-up liquid to a dampened scrubbing brush or old toothbrush, and rub the liquid into the stain in small, circular motions.
Test the method on a small, hidden area of paint first to make sure this technique will not damage your paint.
After you have removed the stain, simply wipe the area with a clean, damp cloth. If you leave a cleaning product on paint for too long, it is possible that it will lighten the paintwork, so it is crucial that you wipe away all residue and moisture before leaving the area.
Last Resort: Repaint
If the stain has been allowed to sit for long periods of time, you might not be able to remove it using any of the methods mentioned here.
Blu-Tack staining tends to be very oily, and if this seeps too deep into the paint, it can result in a stain that just cannot be shifted. In this case, your best option may be to sand and repaint the affected area.
1. Sand the area
Before you paint, you need to sand back the area so that you do not end up with an uneven wall. Removing the oily staining and any leftover Blu-Tack will make it easier to prime and paint over the area.
When it comes to choosing your sandpaper, try to find one that is 120 grit or higher. This will give a smoother finish to the wall, making it easier to prime and paint.
If there is a lot of dust left behind, make sure that you wipe the area down with either a wet wipe or damp cloth before proceeding any further.
2. Primer
Use a small roller or a brush to apply a layer of primer over the area. Apply the primer in short, smooth strokes, and make sure that it covers an area that is both wider and taller than the stain itself.
If you do not already have a primer, a home improvement store will be able to advise on which one is right for you.
3. Sand down the primer
After the primer has fully dried, sand down the area with the same type of sandpaper that you used in the first step.
Different primers require different amounts of drying time, but this is usually stated on the packaging.
The primer is creating the final surface that you will be painting, so it needs to be as smooth and even as possible. Once again, make sure that you wipe away any dust that is clinging to the surface.
4. Paint the area
Pick out paint that matches the shade and finish of the one used on the wall. If your wall was painted using bathroom and kitchen paint, you will need to use the same type because otherwise, it will look out of place.
Since this is just a touch-up, you will not need a particularly large roller or paintbrush to complete the job. Certain brushes are designed for specific types of paint and using the best brush for your paint will help you achieve optimum results.
Oil-based paints should be used with brushes that have natural bristles, and water or latex-based paints work best when used with synthetic brushes.
If you don’t fancy painting the wall and you can’t shift the Blu-Tack stains, you could always hang a nice picture over the spot using wall-safe removable strips, like these Command Strips with strong velcro.
See our guide to Blu-Tack alternatives that don’t leave marks for some more ideas!

Lover of coffee, painting, and all things cute and fluffy. I’m always on the lookout for easier, more gentle ways to tackle awful household chores.


