Black-and-white garments have a unique charm, offering a perfect blend of contrast and style.
However, knowing how to wash black-and-white clothes poses a dilemma: Do you put them in your dark wash with other black items? Or should they be thrown in with other lighter garments?
This comprehensive guide will explore the art of washing black-and-white garments to ensure they stay crisp, fresh, and stylish. Not only do we teach you the best way to sort your laundry, but we also give you advice on choosing the best detergent and proper washing and drying techniques.
How Do You Wash Black-and-White Clothes?
Washing black-and-white clothes requires a delicate balance of preserving contrasting colours and preventing unwanted colour bleeding or fading.
There are a few general steps that you can take to help you maintain the vibrancy and crispness of your black-and-white wardrobe:
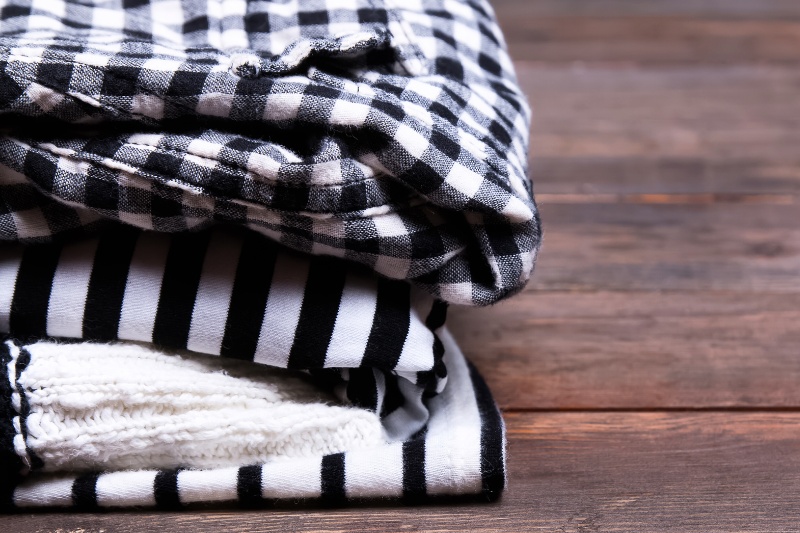
Tip 1: Sort your black-and-white laundry

Sorting your laundry is the crucial first step to ensure the longevity of your black-and-white garments.
It helps to minimise the risk of colour bleeding and ensure that your black-and-white items remain as captivating as ever.
Start by categorising your laundry into three distinct piles: whites, darks (blacks), and black-and-white garments.
We recommend keeping black-and-white clothes separate from coloured items to avoid colour bleeding. This is particularly important for the first few washes of new clothing items, as the dyes might not be completely set.
However, if you don’t have enough black and white clothes to create a whole load of laundry, you can put them in with whatever their dominant colour is.
If they are equal parts black and white, put them in a lights wash instead.
Tip 2: Choosing the right detergent

Selecting a suitable detergent is critical for preserving the condition of your black-and-white garments.
Here are some guidelines for choosing the right detergent:
- Opt for a mild detergent: Choose a mild and colour-safe detergent, as it is less likely to cause fading or colour bleeding. Harsh detergents with potent colour-removing agents should be avoided, as they can harm black-and-white clothing.
- Liquid vs. powder: In general, liquid laundry detergents are gentler on fabrics than powders, which may leave residue or clumps that affect the appearance of your clothes (especially the dark parts). Liquid detergents are usually a safer choice for black-and-white laundry.
- Read the care labels: Always read the care labels on your clothing to check for any specific detergent recommendations. Certain fabrics require specialised care, and using the wrong detergent could result in damage.
Tip 3: Using proper washing techniques
Once your black-and-white clothes are sorted and you have the right detergent, follow these steps to ensure that your dual-toned garments maintain their vibrancy:
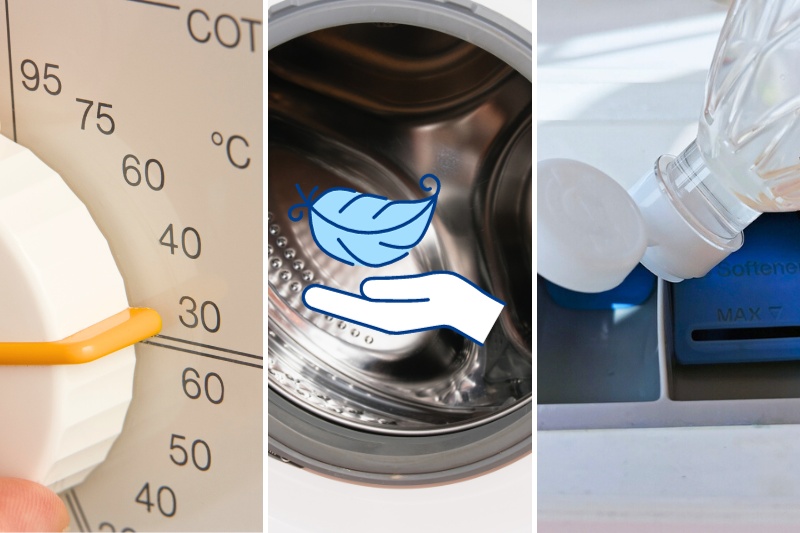
- Use cold water: Cold water is the safest option for washing black-and-white garments. It helps prevent colour bleeding and minimises the risk of fading, as dark clothes will fade faster in warm wash cycles. Set your washing machine to the “cold” water temperature setting.
- Gentle cycle: Select the gentle or delicate cycle on your washing machine to minimise agitation, which can lead to pilling and fading. These cycles are specifically designed to protect your clothes during the wash.
- Avoid overloading: Resist the temptation to overcrowd your washing machine with too many items. Overcrowding can lead to friction, which can damage your clothes. Ensure your garments have enough space to move freely during the cycle.
- Skip the bleach: Avoid using bleach when washing black-and-white clothing. It can cause white fabrics to yellow and weaken the overall fabric integrity. If you need to remove stains from the white areas, consider using a safe bleach alternative for coloured clothing.
- Add vinegar as a colour fixative: To help set the colours in your black-and-white clothing, add a half-cup of white vinegar to the rinse cycle. Vinegar acts as a natural colour fixative and can help prevent the dark dyes from fading or bleeding into the white parts of the clothes.
- Turn inside out: Before washing your black-and-white garments, turn them inside out. This safeguards the exterior fabric and minimises the risk of fading due to friction during the wash, reducing colour run.
Tip 4: Drying your black-and-white garments
Knowing how to wash back and white clothes is only half the laundering equation! Proper drying is as crucial as the washing process to maintain the appearance of your black-and-white clothing.
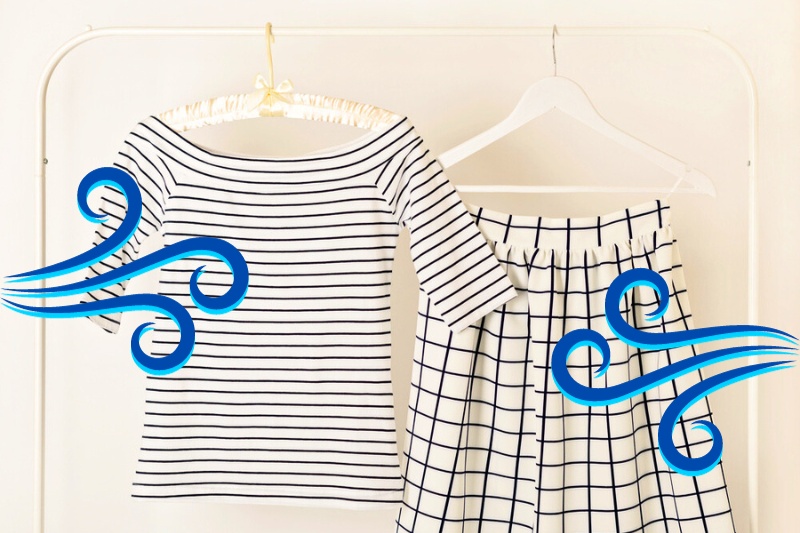
Whenever possible, opt for air drying or line drying over using a tumble dryer. The high heat used in a dryer can cause colours and fabrics to fade.
In comparison, naturally allowing your clothes to air dry preserves their vibrancy. If you do need to use a dryer, make sure you consider the following:
- Low heat in the dryer: If you must use a tumble dryer, for example, if you need your clothes to dry quickly, opt for the lowest heat setting to prevent fabric damage. High heat can lead to fading and weaken the fabric.
- Remove promptly: As soon as your black and white clothes are dry, promptly remove them from the tumble dryer to prevent wrinkles and over-drying. This helps to prevent fabric damage and fading while reducing the need to iron your clothes.
- Dryer sheets: Use dryer sheets sparingly, or consider using dryer balls as a gentler alternative. Some dryer sheets can leave a residue on your clothes that affects their appearance.
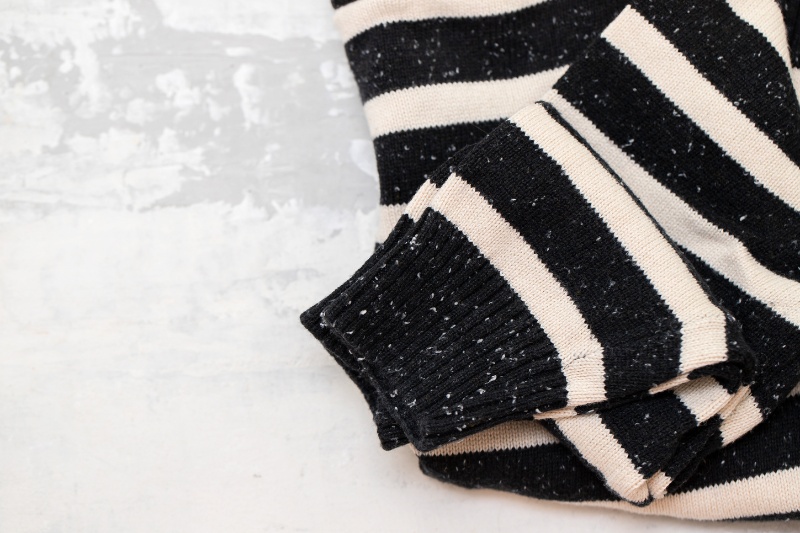
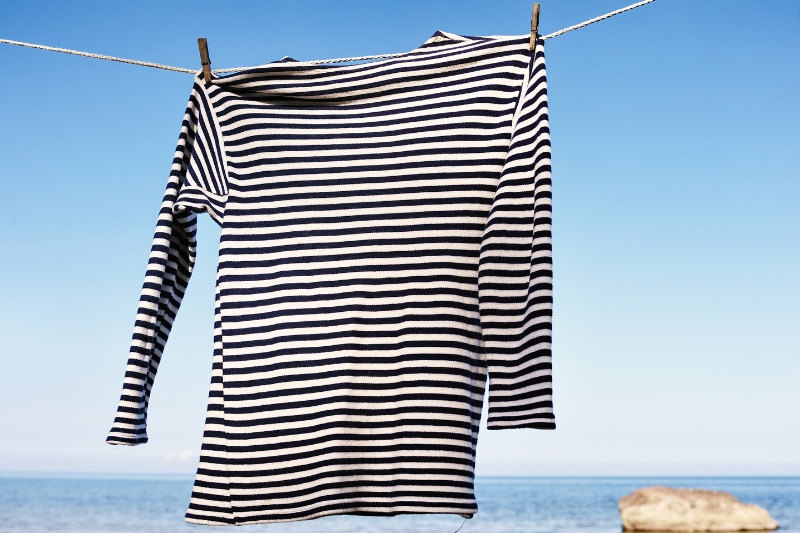
How Do You Wash Black-and-White Striped Clothes?
Washing black-and-white striped clothes requires a little extra care to maintain the crispness and contrast of the stripes. Follow these steps to keep your black-and-white stripes looking vibrant and well-preserved.
Materials you’ll need:
- Mild liquid detergent
- Cold water
- Laundry bag (optional)
- Hangers or a drying rack
- Stain remover (if needed)
- Soft cloth or sponge (if needed)
Step 1: Colour bleeding test
Before you start washing, perform a colour bleed test on your striped clothing. Do this by wetting a concealed area, like a seam or hem, or by spot-testing with a damp cloth.
If you notice any dye coming off into the water or onto the cloth (common with new items), wash the garment separately to prevent colour bleeding.
Step 2: Stain pre-treatment
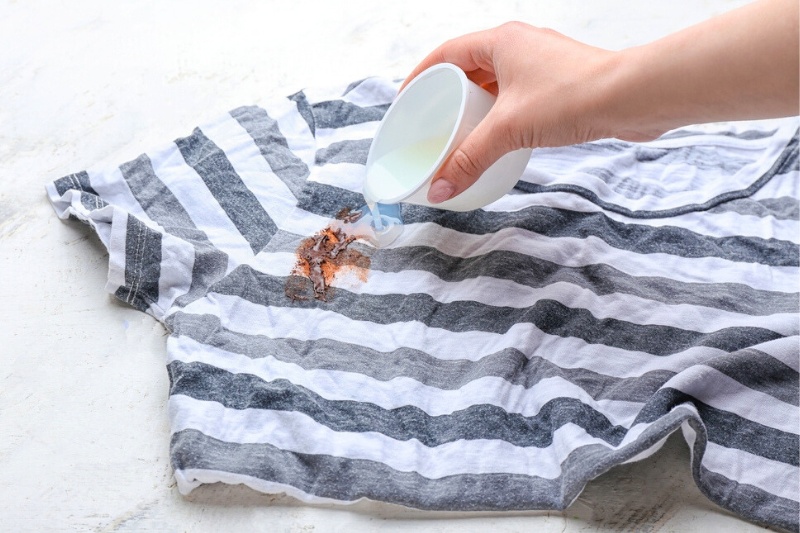
If you have stubborn marks on your black and white striped clothes, it’s important to treat the stain before commencing with the standard washing process:
- For minor stains: Use cold water and mild liquid detergent with a soft cloth or sponge. Gently blot and rub the stained area. Rinse with cold water.
- For stubborn stains: Follow stain remover instructions, but be cautious with coloured clothing. Spot-test an inconspicuous area first.
Treat the stain from the reverse side of the material for better removal, as treating it from the front can push it in further and make it more challenging to remove.
Step 3: Wash with other dual-coloured clothes
If there’s no evident colour bleeding, you can wash your striped clothing with other items, but ensure they have similar fabric and colour characteristics.
As a rule of thumb, black and white striped clothes should be washed with other dual-tone items.
However, there are some exceptions:
- One colour dominates: If one colour dominates, for example, a white top with black pinstripes or a black pair of trousers with white pinstripes, sort by the predominant hue. The former should be washed with lights and the latter with darks.
- Not enough dual-tone clothes: If you don’t have enough black-and-white clothes for a full load of laundry and no colour dominates, wash them with lights. The dark dye in black-and-white clothes should’ve been treated so that it doesn’t run and damage the white parts of the garment. Therefore, it should also be safe to wash with other light items.
Step 4: Machine or hand wash
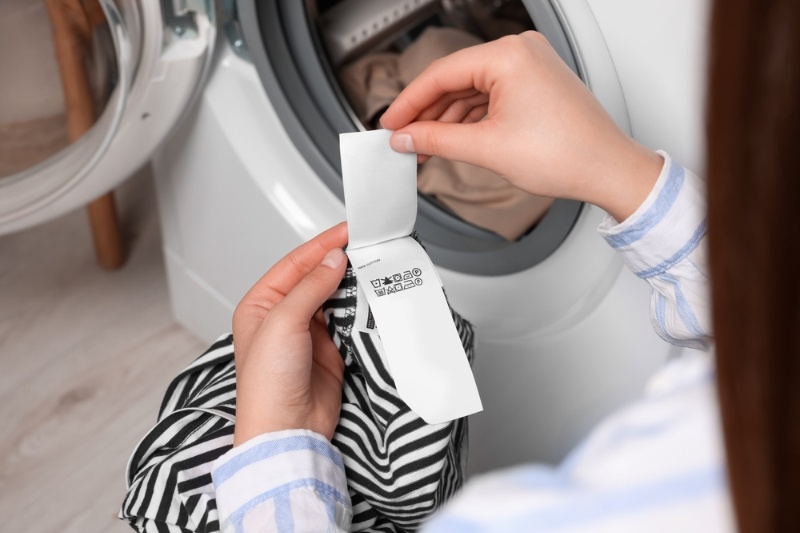
For machine-washing striped clothes, choose a cold-water setting (above 30°C) and, if available, add an extra rinse and spin cycle to protect the colours.
If washing a striped item for the first time or a smaller load, opt for efficient hand washing. Fill a sink or tub with cool water, add hand-washing detergent, gently agitate the garment, let it soak for up to 30 minutes, then rinse and gently press out excess water without wringing.
Step 5: Air dry your striped clothes
Most colour fading occurs as a result of using a tumble dryer rather than improper washing practices. Therefore, if machine drying is necessary, employ the lowest setting.
However, it is strongly recommended to consider air drying instead and eliminate heat sources such as radiators.
Line dry non-woollen items, while woollen garments should be dried flat or hung on coathangers to help preserve their natural shape.
How Do You Clean a White Collar on a Black Shirt?
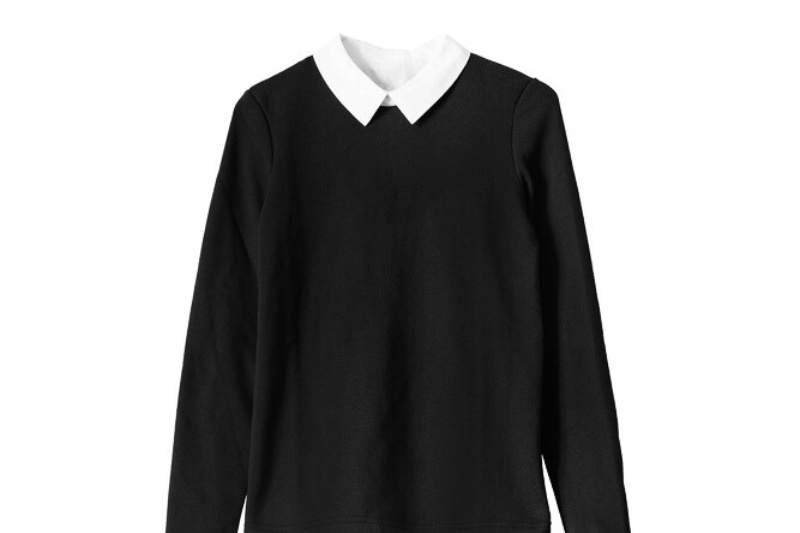
Cleaning a white collar on a black shirt requires some targeted care to remove dirt, oils, and stains without affecting the black fabric. Here are the steps to clean a white collar on a black shirt.
Materials you’ll need:
- Mild liquid detergent
- Stain remover (optional)
- Soft cloth or sponge
- Cold water
- Bicarbonate of soda (for stain removal)
- Toothbrush
- Laundry sink or basin
Step 1: Prep the shirt and identify any stains
Lay the shirt on a clean, flat surface, and ensure the collar is accessible. Examine the white collar for any visible stains.
Take note of the stains’ type and origin, if possible, as this will help you choose the right cleaning method.
Then, prepare the shirt for cleaning by doing an initial rinse with cold water to remove loose dirt and grime. Run cold water from the back of the collar to push any debris out of the fabric.
Step 2: Spot cleaning any stains
- For small stains or discolouration: Use a mixture of cold water and a mild liquid detergent to spot-treat the stains. Dip a soft cloth or sponge into the soapy water, then gently blot and rub the stained areas. Be cautious not to scrub too vigorously to avoid damaging the fabric. Rinse with cold water when you’ve removed the stain.
- For tougher stains: Especially if the collar is white and needs a deeper cleaning, you can create a paste using bicarbonate of soda and a small amount of water. Apply this paste to the stain and let it sit for 15 to 30 minutes. Use a soft toothbrush to gently scrub the stained area, working the paste into the fabric. Afterwards, rinse thoroughly with cold water.
- For specific stains: If you have a specific stain remover designed for clothing, you can use it according to the product’s instructions. Be cautious when using stain removers on coloured clothing, as they can potentially affect the black fabric. Always spot-test a small, inconspicuous area first.
Step 3: Machine wash your shirt
After spot cleaning and stain removal, turn the shirt inside out. Then, wash the entire shirt in the washing machine, following the care instructions on the label. Remember that to prevent colour bleeding, you should:
- Use cold water wash settings
- Use a mild liquid detergent
- Avoid adding bleach to the machine
- Don’t overload your washing machine
- Add vinegar to help fix the dark dyes
Step 4: Inspect after washing and dry
After the wash cycle is complete, inspect the collar to ensure the stain is completely gone. If the stain persists, avoid drying the shirt, as heat can set the stain. Instead, repeat the stain removal steps before re-washing.
Once the collar is clean and free of stains, consider air drying the shirt to prevent any further damage, such as shrinkage or fading, which can occur in a dryer. Lay the shirt flat or hang it to dry.
How Do You Wash a White Shirt with Black Sleeves?
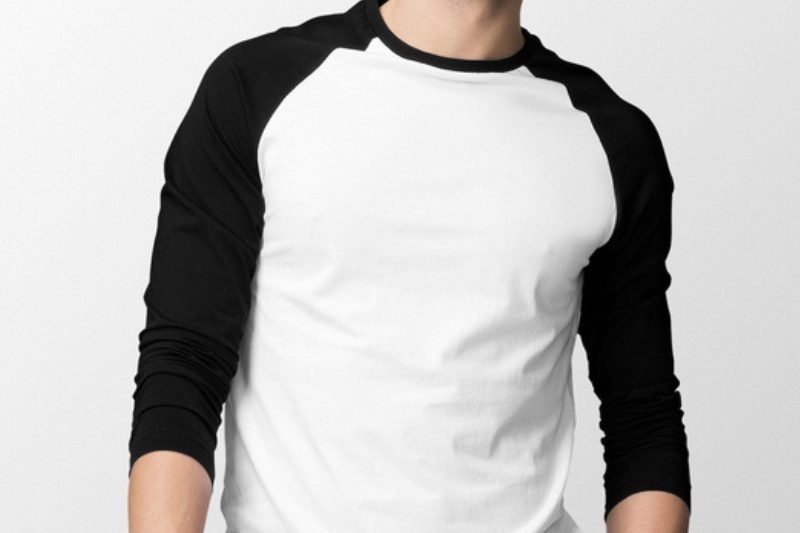
Washing a white shirt with black sleeves follows a similar process to washing a white collar on a black shirt. Here is a step-by-step breakdown of the process:
Materials you’ll need:
- Mild liquid detergent
- Stain remover (if needed)
- Cold water
- Soft cloth or sponge
- Laundry sink or basin
Step 1: Examine for stains and pre-treat
Before starting, carefully inspect the white fabric for any visible stains or spots. Make a note of the type of stains or their origins, if possible. Then, treat the stains using an appropriate method:
- For small stains: Use a mixture of cold water and a mild liquid detergent. Dip a sponge into the soapy water and gently blot the stained areas. Be cautious not to rub too vigorously, as this could damage the fabric. Rinse with cold water when you’ve removed the stain.
- For tougher stains: Apply a small amount of stain remover to the stained area, following the product’s instructions. Be cautious when using stain removers on coloured clothing, as they can potentially affect the black fabric. Always spot-test a small, inconspicuous area first.
Step 2: Machine wash your garment
After spot cleaning or stain removal, you can wash the entire shirt in the washing machine.
To further prevent colour bleeding, consider washing the white shirt with other dark or similar-coloured items. This helps reduce the risk of dye transfer from the black sleeves to the white fabric.
Additionally, it is best to wash the shirt inside out to prevent the dark dye from running and staining the body of the shirt.
Follow the care instructions on the label and use cold water and a mild liquid detergent to minimise the risk of colour bleeding.
Step 3: Air dry your black-and-white shirt
After the wash cycle is complete, hand the shirt on a hanger and allow it to naturally air-dry. This helps to prevent any further damage, such as shrinkage or fading, which can occur in a dryer. Avoid direct sunlight to prevent the black sleeves on the shirt from fading.
Once the shirt is dry, inspect the white fabric to ensure that it is completely clean. If any marks persist, repeat the stain removal steps before re-washing.

Hannah has a passion for cleaning. She worked her way around Australia by cleaning hostels in exchange for free accommodation and used her cleaning skills to bag a job as a chalet host for a luxury ski company in France.


")