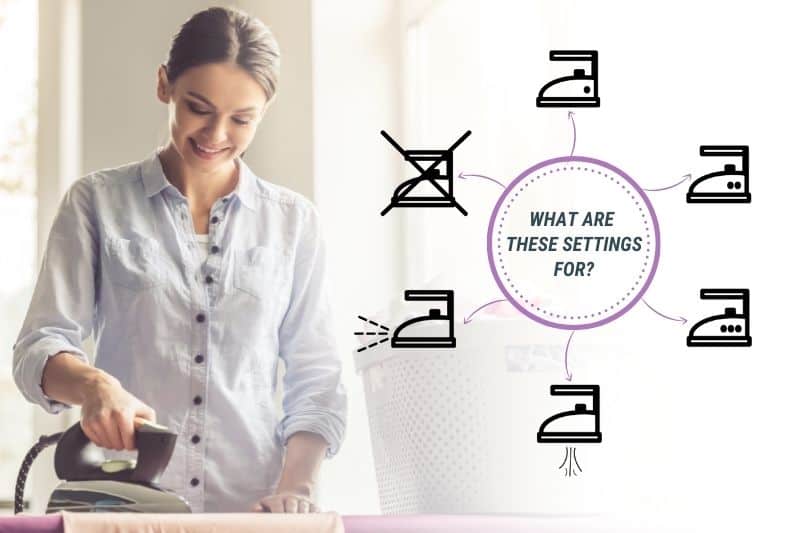
Ironing is one of those tasks that we all try to put off, or avoid entirely, until we really have to iron something!
It should be quite a simple task in theory, but when you’ve not popped the iron on for a while, you almost always get taken aback by all the settings and temperatures that greet you.
What does this setting or that feature do? What temperature should I iron my skirt on? Will I burn my lace top if I iron it at the wrong temperature?
Sound familiar? Lucky for you I’ve scorched and ruined enough clothes by miss-ironing them to last a lifetime, so you can learn from my mistakes! Here’s a guide to an iron’s settings and temperatures.
If you’ve just bought your very first iron, or if you’ve recently upgraded to an ultra-modern iron, it can sometimes be a tad confusing figuring out what all the various settings and temperatures really mean.
After all, nobody wants to ruin their favourite clothes on their first shot at ironing.
So, here’s a guide to an iron’s settings and temperatures!
Note: There may be some slight variation from one iron model to another, as well as, from a modern iron to an older one when it comes to settings and temperatures.
If it’s possible, you should read your user manual to make sure you understand each setting and temperature that appears on your particular iron. If you can’t find your user manual, you can usually download a copy off the manufacturer’s website.
On most irons there is a little wheel that you can spin and it allows you to change the temperature of the iron. An iron’s temperature gauge usually ranges from 110℃ to 230℃ in most cases, and the temperature may also appear in Fahrenheit (230℉ to 446℉).
In some cases, the actual temperature will show on the wheel, sometimes numbers appear and other times a list of materials will be presented.
If your iron shows temperatures on the wheel, all you need to do is turn the dial to the desired temperature and wait for the iron to heat up.
On the other hand, if you have numbers, you’ll typically see numbers going from one to seven listed on the dial. The numbers represent a temperature, for example, one = low heat and seven = high heat. You just have to pick a suitable number to iron your clothes.
Similarly, if your iron states the names of materials, you usually start off with a material that requires a low heat setting and you work your way around the wheel towards a material that needs a high heat, acrylic 110℃ to denim 230℃, for example.
This set-up is quite useful because you can check what you’re going to iron next and match it to the appropriate name, you might even be able to save some time by using an iron with this kind of wheel.
You should always assess the material you’re about to iron and amend the temperature on the iron accordingly. Not doing so may result in you burning the material you’re working with.
Avoid Ironing the Following Materials
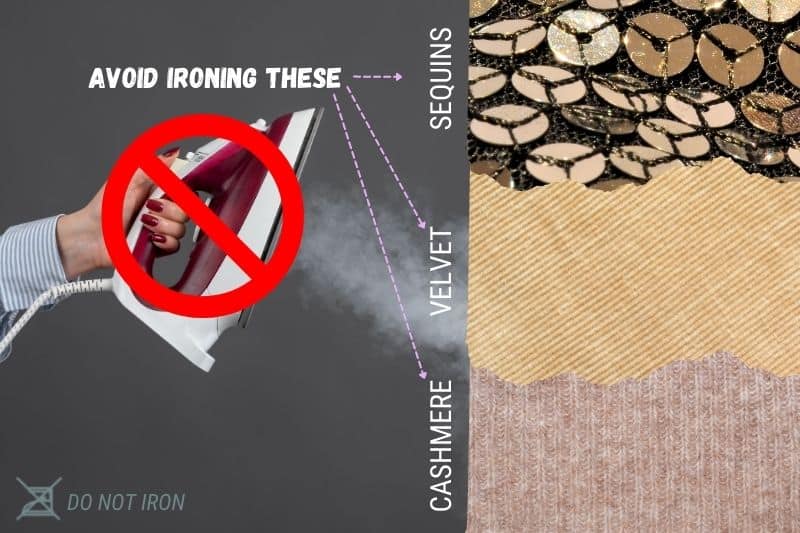
Any type of ironing will likely damage and burn these garments, regardless of temperature:
- Sequins
- Velvet
- Cashmere – although you may not cause extensive damage to garments made from this material, you don’t actually need to iron this material really. A good shake and laying the item out on a flat surface usually does the trick!
Low Temperature (110℃ or Below)
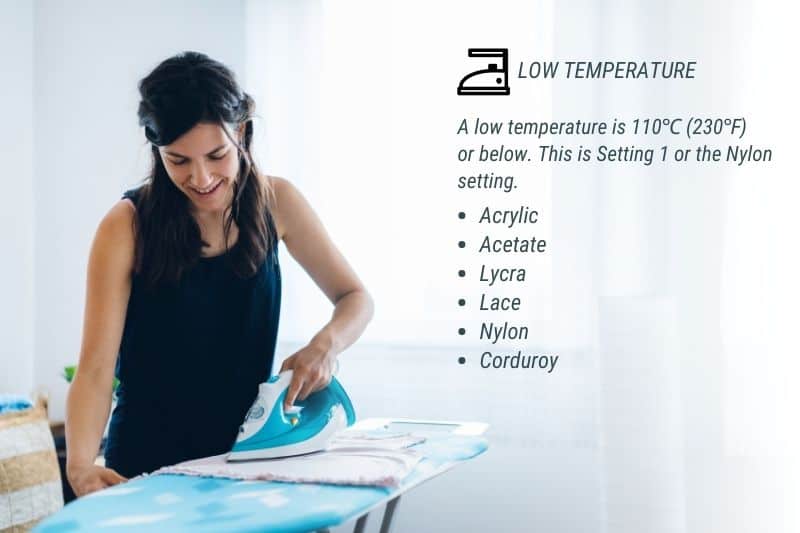
A low temperature is 110℃ (230℉) or below. This is Setting 1 or the Nylon setting.
Use this setting for the items listed below. Scorching may occur if you iron these materials on a high temperature.
You should also iron these types of clothes inside out, and you should use an ironing cloth to cover these items as you iron them to limit how much heat is transferred to the fabric (a tea towel is an alternative).
- Acrylic
- Acetate
- Lycra
- Lace
- Nylon
- Corduroy
Medium Temperature (110℃ to 150℃)
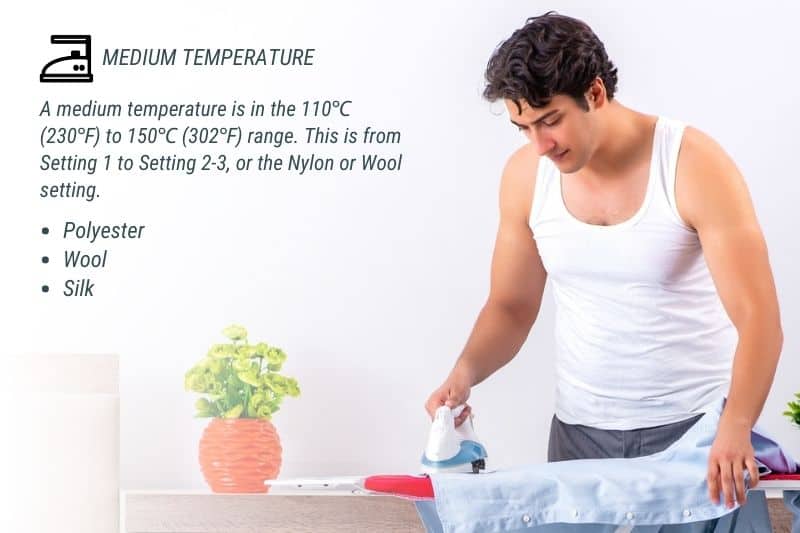
A medium temperature is in the 110℃ (230℉) to 150℃ (302℉) range. This is from Setting 1 to Setting 2-3, or the Nylon or Wool setting.
It is possible to use a medium temperature to iron items made from the materials listed below, but the iron’s temperature should never exceed 150℃. In addition to this, an ironing cloth should be used, and turning the clothes inside-out is useful.
- Polyester
- Wool
- Silk
High Temperature (150℃ to 230℃)
A high temperature is from 150℃ (302℉) to 230℃ (446℉). This could be Setting 1 to Setting 4 or above.
The hardy materials listed below often get creased fairly quickly, and they also love to hold onto their creases too. In order to iron these items you will need a high heat setting, and in most cases spraying the clothes with some water to dampen them a little is essential.
- Linen
- Cotton
- Denim
- Viscose/Rayon
The Steam Setting
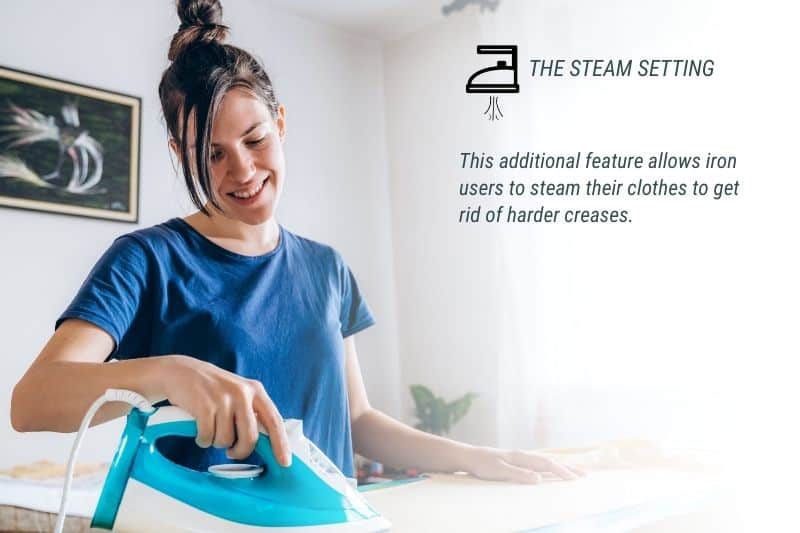
A lot of irons today come with a steam setting. This additional feature allows iron users to steam their clothes to get rid of harder creases.
This is a useful feature that can be activated by pressing the steam button on the iron. Although, before using the steam feature you must make sure that there is water in the iron, without water there will be no steam.
However, not all materials should be used with steam, so always check your clothing care labels before you do this.
The Water Sprayer
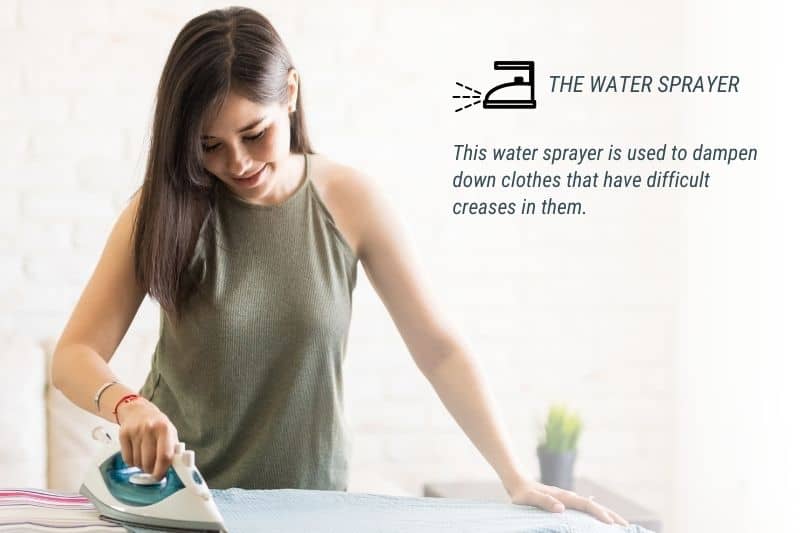
In addition to a steamer, most irons come with a water sprayer that shoots out water. This water sprayer is used to dampen down clothes that have difficult creases in them.
All you need to do to activate this feature is fill the iron’s tank with water and press the water sprayer button.
Of course, it is always worth making sure that the material you’re ironing can be sprayed with water beforehand.
A Few Tips to Help Your Ironing Sessions Run a Little Smoother
Here are a few ideas that you might like to think about before and when you’re ironing:
- Try not to overfill your washing machine when you’re washing the clothes to start off with. An overloaded washing machine means that the clothes can’t move around as freely, and as a result, items usually come out looking more creased than ever!
- Clothes that are slightly damp are usually easier to iron, but you should check what material you’re working with before trying this out.
- Put your clothes away when you’re done ironing them as this will prevent/limit further creasing from occurring.
- Don’t overfill your tumble dryer! Clothes need space to move around, and packing garments into machines as tight as you can is just wrong! Make your ironing session easier by limiting the number of creases you’ve got to handle to begin with.
- Consider what clothes you plan on ironing and try and purchase an iron that works well with that particular material.
- Try to iron clothes of the same material in one session. If you chop and change between various materials, you’ll end up wasting a lot of time changing back and forth between the different settings on your iron. Further to this, starting an ironing session with low iron temperature clothes and working up through the heat settings is also worth trying out.
- Keep in mind that not all clothes can be ironed anyway. So, before you jump right into an ironing session check the tags on your clothes to make sure you should be ironing your items. You may actually be able to save yourself a lot of time and grief by doing this. Not sure what all the different symbols mean? Check out our article that explains clothing care labels right now!
- If you’re going to be a serial setting’s changer you’ve got to allow your iron to cool down/warm up according to the setting you’ve picked. If you don’t do this you may ruin your top by using too hot a temperature, or take ages ironing some trousers that need a hot temperature.
- Pick a good ironing board that can be adjusted to suit you . Nobody wants to stand over an ironing board that is too small for them, this results in one thing… a bad back. And an ironing board that’s too high is just as bad, and may even be more dangerous. If you’re not sure what ironing board you should buy, check out our guide to ironing board sizes now!
- Iron in straight lines. Although it’s fun to iron around in funny patterns this isn’t actually the best way to iron. It might even be more time consuming.
- Ironing cloths should be used when ironing delicate materials.
- Ironing clothes inside out is also worth considering, particularly when the material your ironing is of a delicate nature.
- After completing an ironing session, and your iron has cooled down, you should clean your iron. You should do this to prevent the build-up of limescale, particularly if you live in a hard water area.
- Always drain your iron of any water. Stale and stagnant water can promote limescale development, this in turn can impact how the iron works. In some cases, not cleaning out the excess water may lead to your iron failing completely.

Bethan has a passion for exploring, reading, cooking and gardening! When she’s not creating culinary delights for her family, she’s concocting potions to keep her house clean!


