If you’ve been gifted a new jumper, but the sender bought you the wrong size, you might be thinking about shrinking the item so that you can still wear it!
It’s a pretty good idea in theory, but you may have stumbled across one little problem… you need a tumble dryer to shrink the item.
But, is a tumble dryer really that essential when it comes to shrinking clothes?
A tumble dryer is often a desirable appliance to have around when you’re trying to shrink clothes, because drying clothes at extremely hot temperatures helps clothes to shrink. However, you don’t actually have to have a tumble dryer to shrink clothes.
Follow the steps below and you’ll find out how to shrink clothes without using a dryer!
There are multiple different ways you can shrink clothes without using a tumble dryer, and you can read about these methods below!
Keep in mind that not everyone will achieve the desired end result, and you may need to repeat the method(s) that apply to your items multiple times. In addition to this, shrinking clothes doesn’t always work out for the best, regardless of whether you use a dryer or not, so be extra careful when attempting this exercise.
Method 1: Use a Washing Machine and a Washing Line
Follow the steps below to shrink your clothes without a dryer:
- Have a look at the clothing tag on the item that you plan on shrinking – this will tell you what material you’re going to be working with, how you should wash the item and if the item has been pre-shrunk.
- Based on the information you’ve just found out, you should choose the shrinking method that applies to the material you’re going to be working with – for example, you’re working with cotton – you can find out which shrinking method you need to use by reading our guide.
- Pop the item of clothing that will be shrunk into your washing machine.
- Start a cycle that is appropriate for your item of clothing – for example, if you were shrinking cotton, you would pick the hottest and longest cycle to shrink your clothing.
- A hot wash will allow the fibres in your clothes to relax and it means that they’re more likely to shrink.
- It’s not essential to pop detergent into the washing machine, but you can do so, if you wish.
- Once the wash cycle has ended, you just need to remove the item of clothing and hang it on a coat hanger on the line to dry – if you don’t have a clothes line you can use an indoor drying rack.
- Allow the item to dry fully before wearing it.
- If the item of clothing has not shrunk enough you will need to repeat the whole process again, or pick another method.
Method 2: Use an Iron
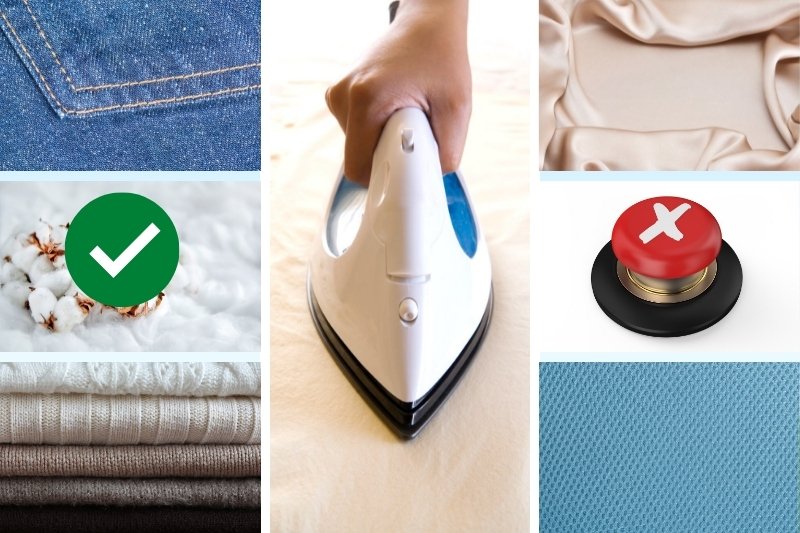
This method is suitable for:
- Denim
- Cotton
- Wool
This method is not as suitable for:
- Silk
- Polyester (in extreme circumstances you can try this method)
Follow the steps below to shrink your clothes without a dryer:
- Have a quick look at the clothing tag on the item that you intend to shrink to make sure there’s no advice about ironing the garment on there – most tags tell you how to iron a garment, but if you’re not sure what the laundry signs represent, you can find out what the symbols mean in our guide.
- Pull your ironing board out and set it up.
- Pop your item of clothing on the ironing board (the item typically needs to have been washed or soaked in hot water beforehand but it’s not absolutely essential) – spread it out so it’s flat.
- Fill a clean spray bottle with warm water from the tap – skip this step if your item of clothing is already damp.
- Grab your iron and choose the correct heat setting – not sure what setting you should choose? Check out our guide to iron settings, so you know what temperature you need to use based on what material you’re working with!
- Carefully start ironing the item – move the iron all over the item of clothing, so you get even shrinkage.
- Don’t hold the iron in one place for too long.
- Continue to do this until the item is dry – keep a close eye on how the shrinking process is going during this time.
Note: If the item of clothing dries too quickly, just squirt it with some more water to dampen it again. Also, if you’re concerned about burning the material you can always use an ironing cloth to protect the item. Just lay the cloth flat on the item, and place the iron directly onto the cloth and iron away!
Method 3: Use Boiling Water and a Washing Line
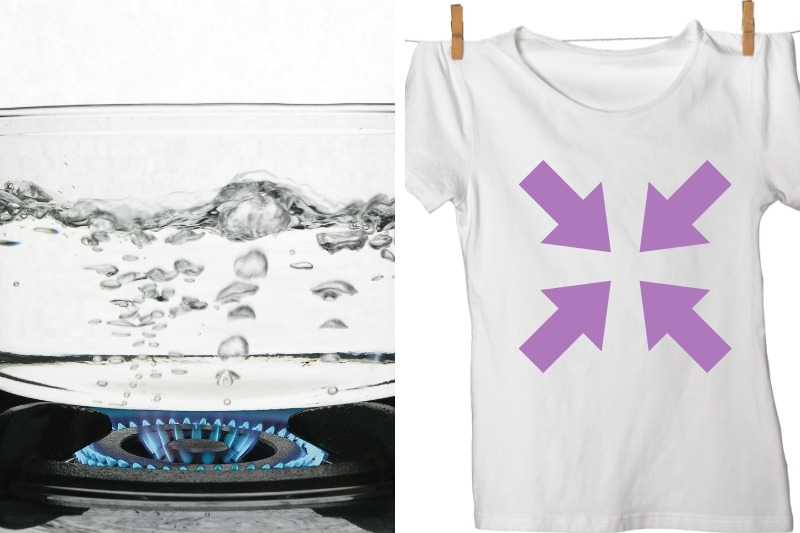
Follow the steps below to shrink your clothes without a dryer:
- Make sure that you read the item’s tag before you continue with this method – there may be some advice on what you should or shouldn’t do when you’re caring for the item of clothing.
- Grab a big saucepan and try putting the item of clothing you plan on shrinking inside the pan – if the item fits in and there’s enough room for water to be added, continue with this method, if not you’ll need to find a bigger pot/bucket.
- Fill the big saucepan with water and bring it to the boil on the stove.
- Once the pot of water is boiling, turn the power off.
- Carefully lower the item of clothing into the boiling water.
- You must use a spoon or some tongs to push the item under the water – the item needs to be completely submerged.
- You need to allow the garment to soak in the water for:
- For denim and synthetic clothes, leave them in the pan for 20-30 minutes (might be more difficult to shrink).
- For silk clothes, leave them in the pan for one-two minutes at a time (shrinks very quickly!).
- For wool clothes, leave them in the pan for five minutes at a time (will shrink quite quickly).
- For cotton clothes, leave them in the pan for 10-15 minutes (shrinks fairly quickly).
- Of course, you can adjust the times above to suit how much you need to shrink the clothing by.
- Keep an eye on the item and remove it from the water by using some tongs to check it over regularly.
- When you’re done, remove the item from the pan for a final time and pop it on a hanger.
- Put the item out on the line to dry or you can use an indoor drying rack.
- It’s likely that the drying process will take a lot longer than usual because the item will still be saturated in water.
- Additionally, for wool clothes, you can lay them flat out on a towel to dry.
Note: In the event that you don’t have a saucepan that is big enough, just fill a bucket up with boiling water from the kettle. Continue with the method above as usual.

Bethan has a passion for exploring, reading, cooking and gardening! When she’s not creating culinary delights for her family, she’s concocting potions to keep her house clean!


