Whether you’ve just bought a new freestanding vented tumble dryer or are considering buying one for the first time, there are several factors that you will need to consider.
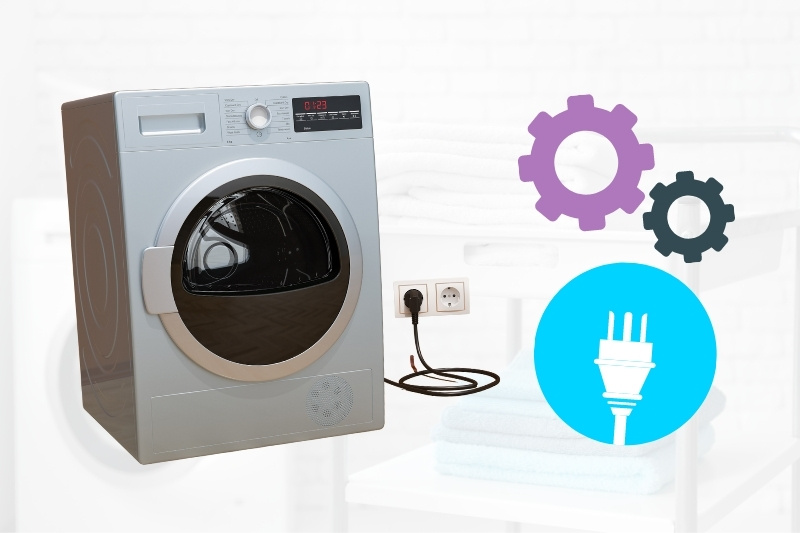
Vented tumble dryers have specific installation requirements, and so one of the most important factors is where the tumble dryer will be installed.
When it comes to installing a vented tumble dryer, it will be much more straightforward if you are simply replacing an existing one than if you are installing one for the first time.
If you are replacing an existing vented tumble dryer, you should already have a ventilation hole ready to go, or the appliance will be located close to a window. In this case, you can simply attach the hose, plug the appliance in, and you are ready to go.
Installing a new vented tumble dryer is much trickier. If you’re not confident in drilling the vent hole yourself, it might be worth consulting a professional for peace of mind.
If you are confident installing your own vented tumble dryer, you can do it yourself by following these steps. If you are replacing an existing vented tumble dryer, you can skip part one if you already have a vent.
Part 1: Wall Vent
The first step to installing a new vented tumble dryer is to put a wall vent in.
Step 1: Duct path
The first step is to determine the route that your duct will take. For best results, it needs to be as short as possible, whilst still being practical. Consider where you are going to place the tumble dryer, and what the best way to reach the outside is.
A straight hose path is always preferable, but there might be situations where you will need to make a turn.
Step 2: Open the hole
Putting the hole in the outside wall is the trickiest part of the process.
Generally speaking, the opening needs to be 4.25 inches wide, however this will vary depending on the ducting being used. When in doubt, check the manufacturer’s instructions.
First, drill a pilot hole. Once this is in place, you can double check that you are happy with the positioning of the vent.
If you are drilling through wood, you can then use a hole-saw attachment.
If you are drilling through concrete, brickwork, or stucco, you will need to use a masonry drill. In this case, many people find it easiest to drill multiple holes around the circumference of the desired opening before chiselling out the opening itself.
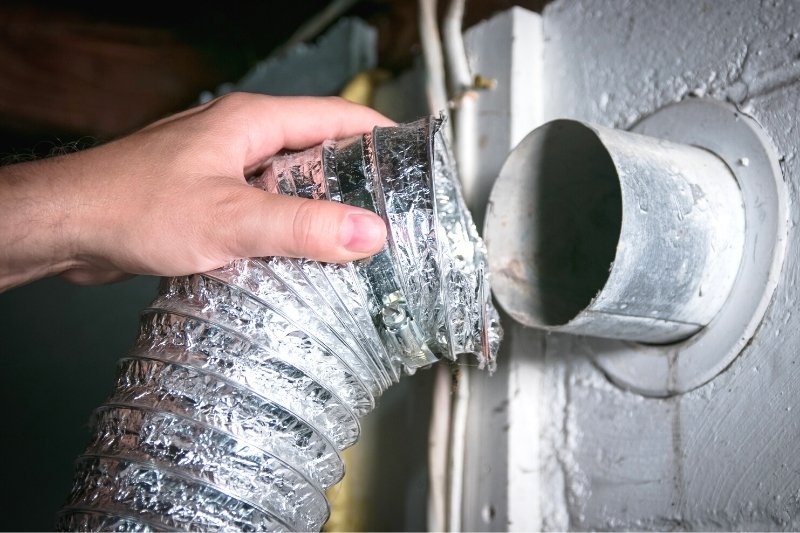
Step 3: Vent cap and pipe
Once you’ve opened the hole for the vent, you can install the dryer vent cap on the outside. Make sure that the pipe fits through the opening.
Secure the cap with the provided filings, and caulk around the edges of the cap for protection against the elements.
Once the outer cap is in place, you can connect the dryer duct hose to the pipe in the wall. Secure the connection well with a hose clamp.
After this, you can go ahead and move the tumble dryer into place.
Part 2: Tumble Dryer
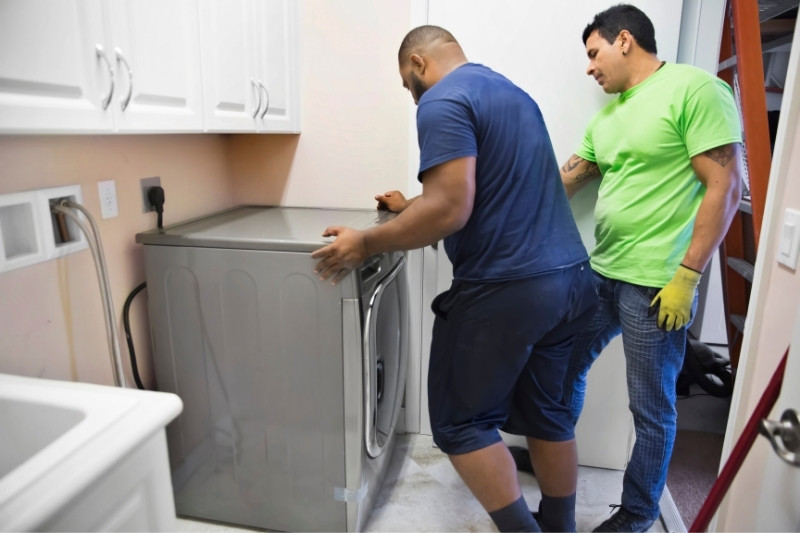
Once the vent is in place, you can move the tumble dryer into position.
Attach the flexible vent tube to the tumble dryer’s outlet, and fasten securely in place as per the manufacturer’s instructions.
Make sure everything is tightened well.
Push the tumble dryer into its final position, and make sure that there are no harsh bends in the flexible tube.
Plug the dryer in, and test it to make sure everything is working and that the hoses stay attached. Make sure the drum is clean and free from debris or dust before starting the cycle.
What Is a Vented Tumble Dryer?
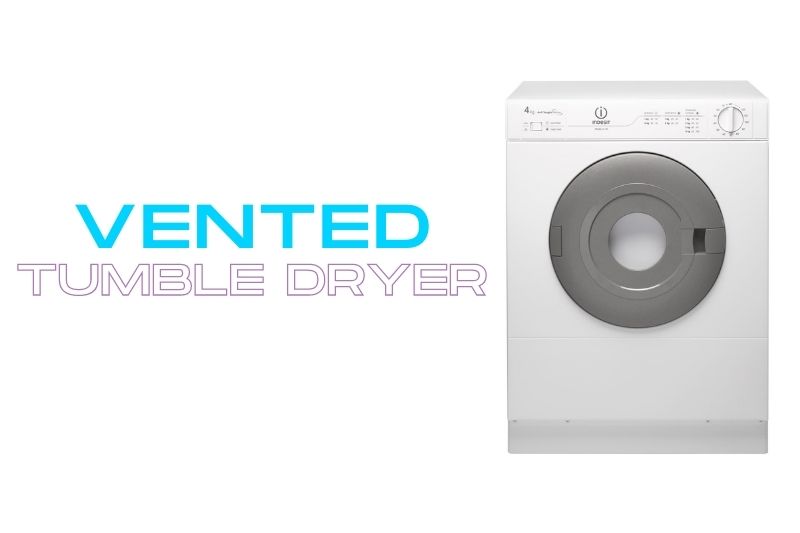
A vented tumble dryer is one that removes moisture through a vent that is fitted to an external wall, or through the hose and out of the window. Vented tumble dryers are one of the cheapest upfront as the moisture is simply expelled straight from your home.
The hose does mean that you are generally limited on where the tumble dryer can be installed as you will need to have access to either a vent or a window.
This type of tumble dryer is also low maintenance, as there is no water tank that you will need to empty on a regular basis.

Lover of coffee, painting, and all things cute and fluffy. I’m always on the lookout for easier, more gentle ways to tackle awful household chores.


")
