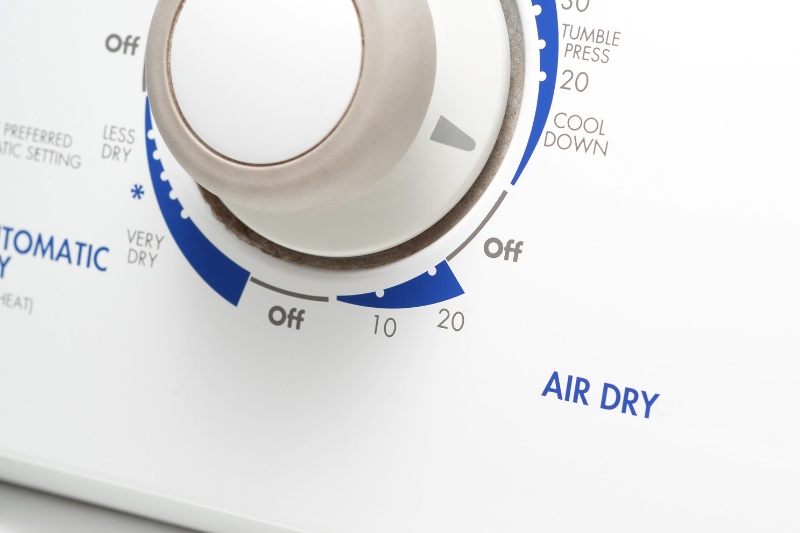
If your tumble dryer’s timer is faulty, it can cause problems with the whole dryer. Many of the components of your dryer are connected to the timer.
So, it needs to be functioning correctly for all of these components to work properly too.
However, these other components also play a role. So, if one of these are faulty, the timer may be not function correctly.
This may sound confusing, but basically, all of the components in the tumble dryer need to work in harmony for it to dry your clothes. If one is faulty, the tumble dryer may not work correctly.
Below, we have all the causes as to why your tumble dryer’s timer may not be working and how you can put these causes right.
We’re going to start with the easiest solutions and work towards the more complex ones.
Cause 1: The Timer Needs Resetting
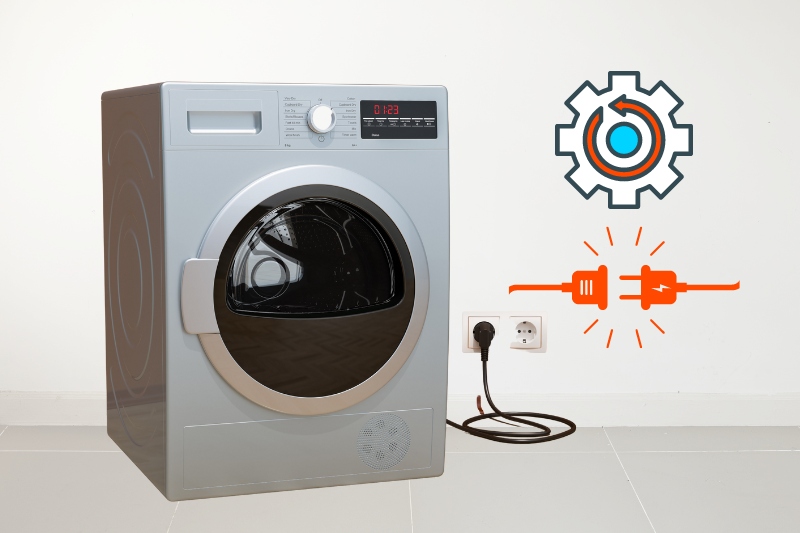
If the issues with your timer are intermittent, or they have only just started recently, it is always worth resetting the timer before you start taking panels off of your tumble dryer to explore the issues. In some cases, resetting the timer is all that is needed.
Solution: Reset the timer
Resetting your tumble dryer’s timer can be done in a few ways, and this depends on the model of tumble dryer that you have.
Some tumble dryer timers can be reset by unplugging the tumble dryer and leaving it for half an hour.
Others can be reset using a button on the control panel, while some require you to hold a couple of buttons on the control panel down for a few seconds.
If you have the manual for your tumble dryer handy, take a look at it. It will give you instructions about how to reset your timer.
If you don’t have the manual, have a look at the manufacturer’s website. They will likely have a manual you can view directly on the website or one you can download.
You’ll need the manual for most of the issues we’re going to explore, so it’s well downloading or finding now.
Cause 2: The Sensor Bars Are Blocked
A lot of modern tumble dryers use sensors to tell how damp the clothes are in the tumble dryer.
These keep track of how wet the clothes are during the drying process and can even change the timer to add more time or reduce the time if needed.
If the sensor bars are blocked or dirty, this can result in inaccurate timing calculations and often leads to shorter cycles.
If this is the case, cleaning the sensor bars should solve the issue.
Solution: Clean the sensor bars
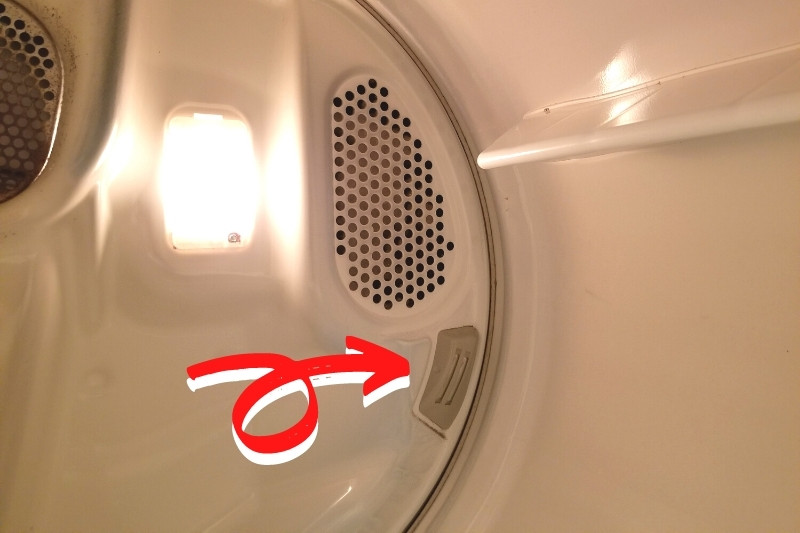
On most tumble dryers, the sensor bars are located behind the lint draw. It is a bent piece of metal.
To clean it, grab a paper towel or soft towel, add a small amount of vinegar and give it a wipe, ensuring you have removed all dirt and grime.
Once cleaned, give your tumble dryer a test. If the sensor bar was causing the issue with the timer, this simple cleaning should have solved the issue.
It’s best to stay on top of removing any dirt and dust from the sensor bar regularly to ensure this problem doesn’t occur again.
Cause 3: Broken Timer Motor
Now to slightly bigger problems. A broken timer motor can prevent the dryer from advancing to different stages of the drying process.
For example, the timer motor is responsible for sensing when the heating element is up to temperature and then turning the spin cycle on.
If you notice that your tumble dryer isn’t advancing through the cycle as normal, this could indicate an issue with the timer motor.
Solution: Test and replace the timer motor
Testing the timer motor
To test the timer motor, you’ll need to:
- Unplug your dryer and move it away from the wall to gain access.
- Remove the control console (your manual will help you here).
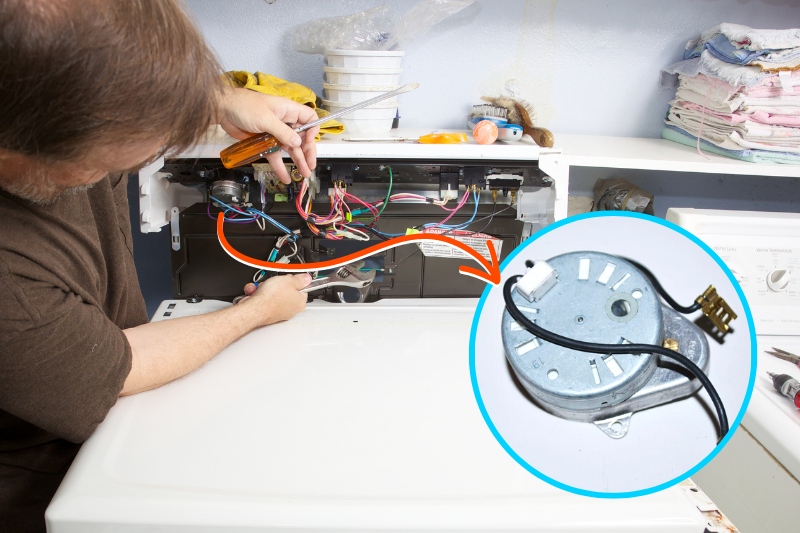
- Locate the timer. You may need to remove a panel on the rear of the control board to access this, depending on your model.
- Grab your multimeter and set it to Rx1. If yours doesn’t have this setting, set it to ohms instead and turn it up higher than your expected resistance.
- Now test the timer motor connections. Places the probes on the terminals of the timer motor and test for continuity. You’re looking for a reading between 2,000 and 3,000 ohms.
- If one of these tests fails to get a reading, or you don’t get a reading within this range, the timer motor is faulty and will need to be replaced.
Replacing the timer motor
Now that you have located the timer motor, you can find the correct part for your model of tumble dryer.
There are several different types of timer motors, and all of them are installed a bit differently. Sadly, this means we can’t help you install your timer motor.
However, take lots of photos before you remove the old timer motor. This ensures that everything will go back in place correctly on the new motor.
Most timer motors are held in place with a few bolts, but some have connections that hold them in place on the control panel without bolts.
The key part of replacing the timer motor is to ensure the timing shaft is in the correct position. This is usually in the 12 o’clock, but this can vary.
Before you begin replacing the timer motor on your tumble dryer, take a look online for any videos to help. While you may not find your exact model, you may find a few videos to help with the process.
Cause 4: Malfunctioning Cycling Thermostat
The cycling thermostat is what helps the timer cycle through the stages of the drying process.
This thermostat tells the timer when the dryer has reached critical temperatures and is ready for the next stage of the drying process.
If this becomes damaged or fails, it can throw the whole cycle process out of whack.
Solution: Test and replace the cycling thermostat
Testing the cycling thermostat
To test the cycling thermostat, you’ll need to:
- Unplug the dryer, pull it away from the wall, and make sure it is at room temperature. If you’ve just used the machine, leave it to cool down.
- Open the dryer cabinet by removing the back and side panels. Your manual will help greatly here.
- Locate the cycling thermostat. Usually located in the blower housing or another area of airflow.
- Grab your multimeter again. Use the same settings as before (Rx1 or ohms set higher than usual) to test it.
- Touch the probes to the terminals on the cycling thermostat. If you get a reading other than zero, this shows a potential issue with the cycling thermostat.
Replacing the cycling thermostat
You may need a soldering iron for this step. Simply unscrew the bolts holding the old cycling thermostat in and de-solder the wires (or unplug them if they are connectors).
Replace the thermostat and solder on the existing wires, or add the connections to the new thermostat.
Now, most cycling thermostats are fairly universal (they are usually a small metal disc with wings for securing it to the dryer housing).
If your cycling thermostat varies from this, you’ll need to flick through the manual or find a part number of the cycling thermostat itself to find the correct part for your machine.
Conclusion
We hope this look at possible causes of your tumble dryer’s timer not working properly has been helpful.
We have a few other articles about tumble dryers and solutions to common issues if this one didn’t solve your problems.
We also have the best tumble dryers available right now in the UK if you cannot solve the issues with your tumble dryer.

In The Wash is your guide to the best laundry and cleaning products, tips and tricks. Our mission is to solve the UK’s cleaning and laundry dilemmas!


")
