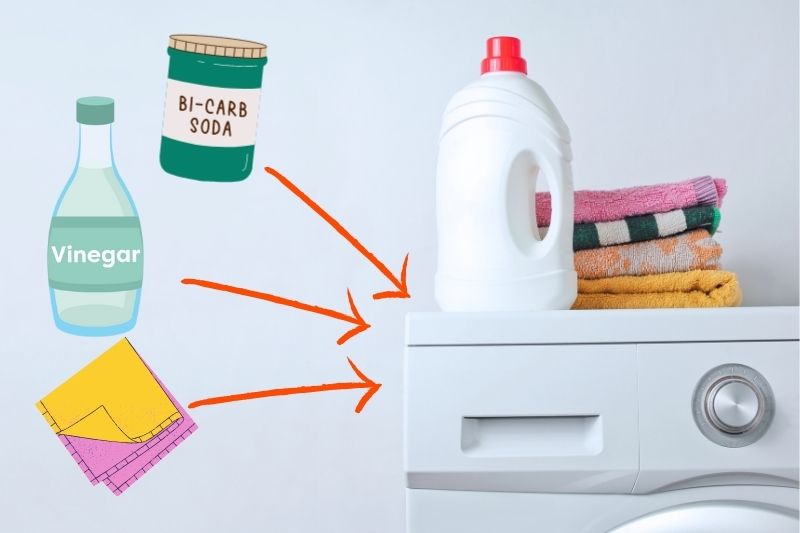
Got a whiffy washing machine? Don’t worry. This happens from time to time. Luckily, the problem can be fixed with a few home remedies, a touch of time, and a little elbow grease!
Follow the step-by-step guide below to deodorise a stinky washer with products you’ve got at home.
The process below may seem long. It is, however, a very thorough odour-neutralising process that’s been designed to eliminate revolting scents at every stage. So, try not to skip any steps!
And the best part is, you can use goodies you’ve already got at home to carry out the work, so it’s a really cheap deodorising job!
How to Deodorise a Washing Machine with Home Remedies
Step 1: Empty the washer!
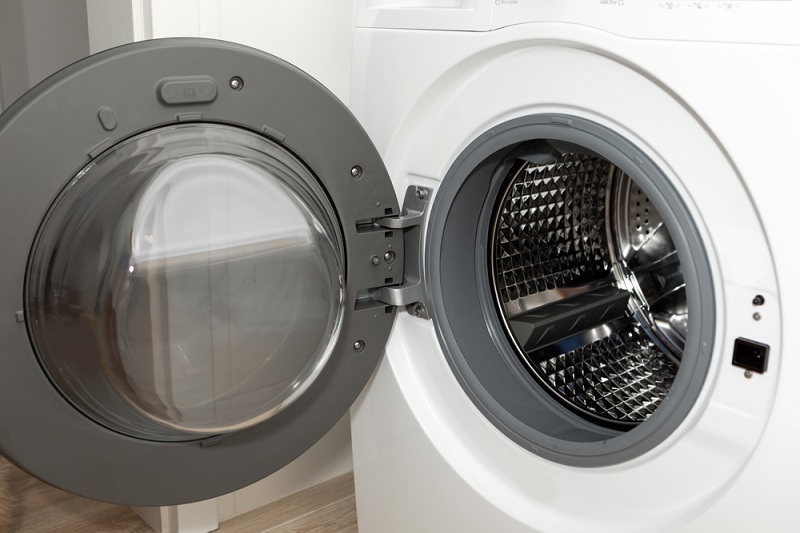
Before removing odours from your machine, ensure the washer is completely empty!
You need a clear workspace to carry out the following steps. Plus, some solutions you’re going to use may damage your laundry, and you don’t want this to happen!
Step 2: Wipe the drum down with a hot, damp cloth
Fill a bucket with warm water (water that’s okay for you to put your hands in) and soak a microfibre cloth in it. Then wring the cloth out and wipe the inside of the washer.
Pay close attention to the nooks and crannies in the machine during this time! You might be surprised by how much odour-filled dirt you dislodge at this point.
Step 3: Wipe the seal down
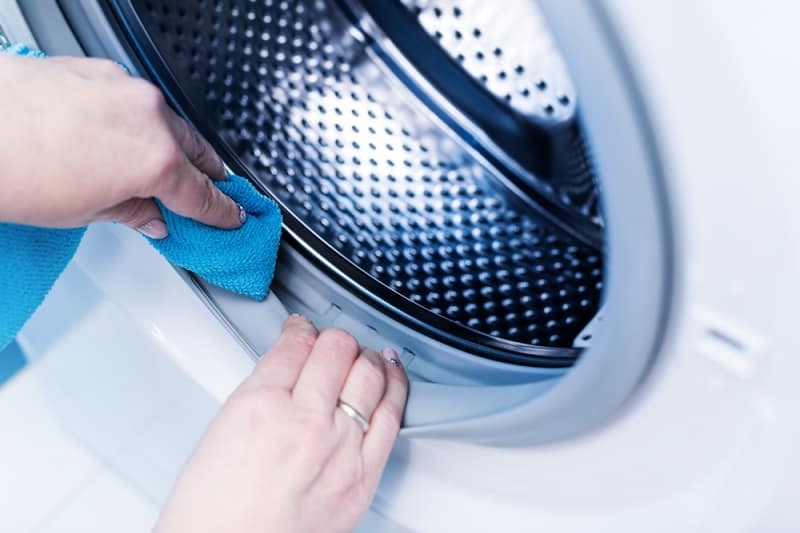
Re-soak your microfibre cloth in the bucket of warm water, give it a rinse to make sure it’s clean, and start wiping the washing machine seal down.
Don’t soak the seal at this point. Just use a damp cloth to clear away any pongy stagnant water from the area and any dark patches (mould!).
If you need a little extra kick, squirt some watered-down white vinegar onto the seal and rub the area with a soft toothbrush to remove the grime.
It’s also worth cleaning out under the seal at this point! You won’t believe what can get caught under it – colour catchers, tissues, and of course, a rogue sock.
Step 4: Make sure the detergent drawer is clean and free from gunk

Believe it or not, the detergent drawer is one of the dirtiest spots in a washer.
It often gets clogged up with horrible gunk (also known as laundry detergent and fabric softener), which usually turns a horrid colour and tends to stink. Plus, the drawer can go mouldy if it’s not maintained effectively!
To clean the drawer, you’ll need to remove it from the appliance and clean it with warm soapy water or white vinegar.
It may take you some time to tease all the dirt out from every compartment in the detergent drawer, so take your time – the end result will be worth it, though!
When you’re done cleaning the drawer, you can grab a damp cloth and clean the insert where the drawer usually goes.
By the end of this step, you’ll have a clean detergent drawer that won’t just be visually impressive but also aroma-free.
Step 5: Clear out debris that’s trapped in the filter

In addition to cleaning out a smelly detergent drawer, it’s also with cleaning the filter on your washer just to remove any grime that could be causing a stench in the appliance!
The filter is located at the bottom of the washer. All you need to do is pull the flap cover down, drain any water out of the machine via the tiny hose located to the side of the filter itself, then unscrew and clean the filter!
To clean a filter, just hold it under the warm water tap, wait for the liquid to run clear, then dry and replace it.
Step 6: Run a hot cycle or service cycle
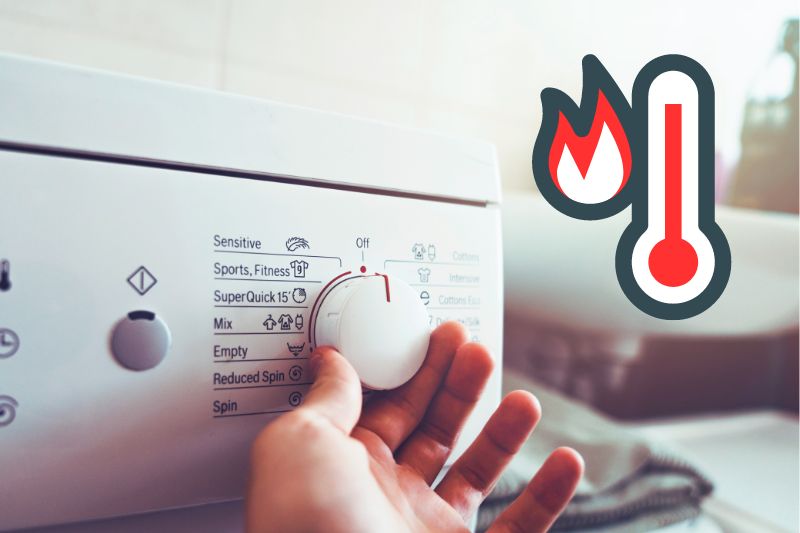
When you’ve hand cleaned as much of the machine as possible, you should notice that the machine smells a lot better than when you first started out.
The next step you need to take is to run a hot cycle through the machine to wash the appliance out thoroughly (you can also use the service cycle if you have one).
All you need to do is choose a normal hot cycle and allow the appliance to run through the motions!
By the end of this step, you’ll likely find that the washer smells much better. However, continue with the steps below to make sure your machine is actually stink-free!
Step 7: Run a cycle with bicarbonate of soda, water and distilled white vinegar
To neutralise the remaining odours, mix a quarter of a cup of water with a quarter of a cup of bicarbonate of soda in a bowl, then pour the thick liquidy mixture into the detergent compartment in the detergent drawer.
Then pour two cups of distilled white vinegar into the washer’s drum.
Run a normal, hot cycle through the machine and allow the washer and the products to remove any lingering odours for you.
To take advantage of the product’s powers, stop the cycle halfway through and leave the contents to rest in the drum for about 20 minutes so that they can work really hard to neutralise the foul odours inside the appliance. Continue the cycle as normal when you’re ready.
When the machine rings out, grab a damp microfibre cloth and wipe the whole of the machine down.
Step 8: Clean the machine with bleach and water (optional)
In some cases, you’ll want to sanitise your machine and remove the faintest of odours that have been left behind. To do this, you can use bleach.
However, you must always check your user manual before you try this method out, just in case the manufacturer warns you against trying the technique out. Bleach is, after all, a strong chemical that can cause severe damage if it’s misused!
If you want to try this out, you must run a rinse cycle through the washing machine again, so that you can remove any product residue from the machine. You cannot mix bleach with any other cleaning chemical!
When you’ve done the rinse, add two cups of laundry bleach to the washer (front loader) or four cups of laundry bleach (top loader) and run a hot cycle through the machine.
You’ll need to pause the cycle halfway through and allow the water to rest in the machine for about 20 to 30 minutes. Then you can complete the cycle.
Step 9: Run another hot cycle with just water
To ensure no residue is left inside the machine, run another warm cycle through it to clear the machine out!
You can use the rinse cycle for this. It doesn’t have to be an entire ‘normal’ cycle again.
Step 10: Clean any dirt that may be on the exterior of the washer
As an extra step, you should wipe the outside of the washer down with a cloth and a multi-purpose cleaner to get rid of persistent odours and dirt. A quick clean will also make the appliance look a lot nicer.
It’s also worth cleaning the debris from around the washing machine, including under it, at this point.
Lots of food, water, oil and so on can find their way under the machine and can really start to smell if left unattended for long periods! This grime can also make you think that the washer is smelling when it isn’t!
So, clean the bits and bobs up and remove potential bacteria and stenches in the process.
Step 11: Leave the door on your washer open
As a final step, you need to leave the door on your washing machine open so that air can flow in and out of the machine!
The fresh air will remove any lingering odours. Also, by leaving the door open, moisture doesn’t end up trapped inside the appliance.
Step 12: Check the drain pipe
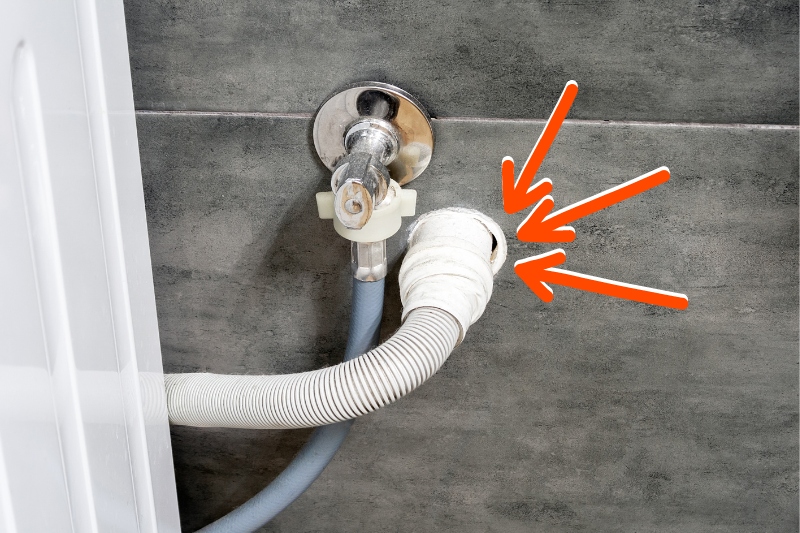
If you’ve tried all of the above and still have a whiffy washer, you should check the drain pipe to see if it is clogged.
Lots of debris can get backed up in the pipe and can make it extra stinky and plagued by stagnant water. So, move your washer out of the way and check the drainage point.
If the drain is clogged, you can unblock it with some boiling water, bicarbonate of soda or an off-the-shelf drain unclogger.
Prevention Is Key
Now that you’ve got an aromatically pleasing washing machine at home, you’ll want to keep it smelling fresh. What’s the best way to keep your machine smelling clean? Prevent bad pongs from putting an appearance in in the first place.
Keep these tips in mind:
- When you’re done using the washing machine, leave the door open so air can circulate inside the machine.
- After using the machine, wipe the drum down to remove any gunk that is trapped inside.
- Wipe the seal around the door to stop water pooling on the surface. This should prevent bacteria and mould from setting up camp in the region.
- Stay on top of the general cleaning!
- Don’t overuse cleaning products because they don’t always get washed out of the appliance. Instead, they linger and start to get whiffy in the machine.
- Have a washing machine cleaner at hand, so you can frequently wash the machine.
- Clean out the detergent drawer because this is one area where grime will certainly build up! It’s also a pretty whiffy part of the appliance.
- Mop up spillages that go around and under your machine! Don’t allow water, food and oils to pool under the machine. They’ll become a breeding ground for bacteria and odours.
- Don’t leave damp laundry in the washer for too long. The pile of washing will be moisture filled and will start to smell damp if it’s just left sitting in the drum. This can also give rise to mould-related problems.
Why Do Washing Machines Sometimes Smell Worse After Cleaning?
Washers can smell bad after they’ve been cleaned for several reasons, but the most common one is that during the ‘cleaning phase’, lots of dirt was dislodged from inside the machine, but the grime wasn’t cleaned out of the machine properly.
Consequently, the loose debris stays in the washer and continues to smell.
In addition, your washer may still be stinky because the drain pipe is blocked.
How Often Should You Clean a Washing Machine?
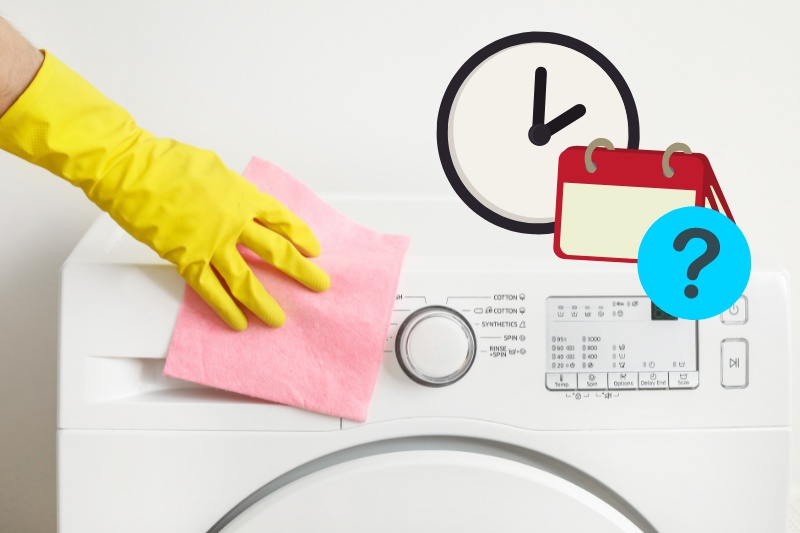
You should deep clean your washing machine every one to three months. But you can increase this frequency if you use your appliance often or you wash extremely dirty laundry.
You should, however, wipe the seal down on your washer after every use, keep an eye on the detergent drawer and wash it when it starts to get gunk-filled, and empty the filter every four weeks.

Bethan has a passion for exploring, reading, cooking and gardening! When she’s not creating culinary delights for her family, she’s concocting potions to keep her house clean!


")


")