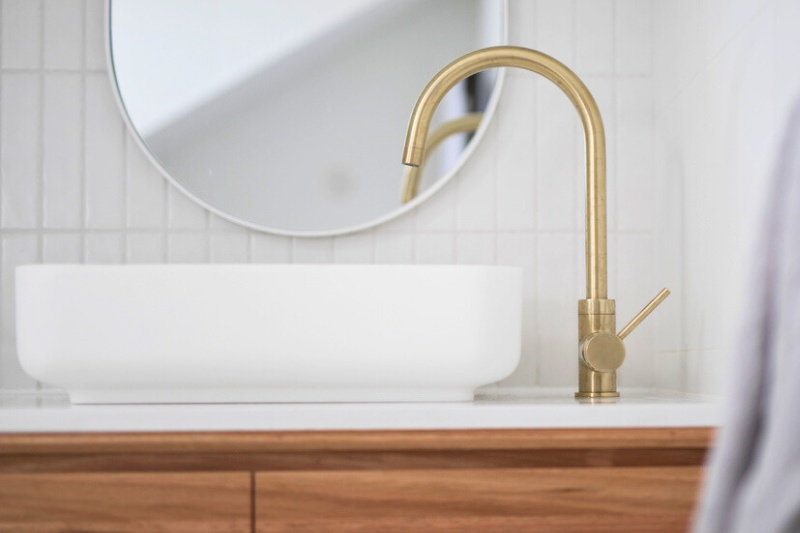
Brushed brass taps are an aesthetic choice in kitchens and bathrooms. Unlike traditional brass, chosen for its shiny properties, brushed brass has a matte appearance.
The matte finish provides a stylish and modern finish while also being somewhat timeless. However, regular cleaning is essential to ensure the metal stands the test of time.
If your brushed brash taps are looking dull, this article will help. Here, we teach you how to clean brushed brass taps using a simple five-step method and general maintenance tips so that your taps will continue to look their best.
How Do You Clean Brushed Brass?
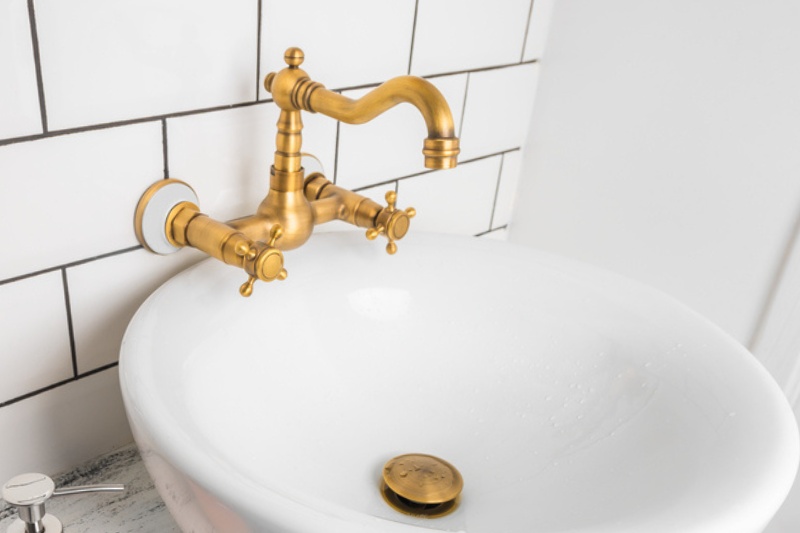
Cleaning brushed brass taps is simple and can be done in five minutes by following these steps:
Step 1: Start by dusting your taps
Dust gradually collects on all surfaces over time, including fixtures and fittings such as your brushed brass taps.
This dust and other loose debris can easily be removed with a little dusting. You need to do this before applying a wet cleaning solution, or the cleaning process becomes more difficult.
Therefore, the first step for cleaning brass is to use a dry microfibre cloth to wipe away any dust or loose debris from the surface.
The cloth will also help lift some of the dirt, oils, grease, and germs from your brass taps, making the next steps that little bit easier.
Step 2: Prepare a cleaning solution
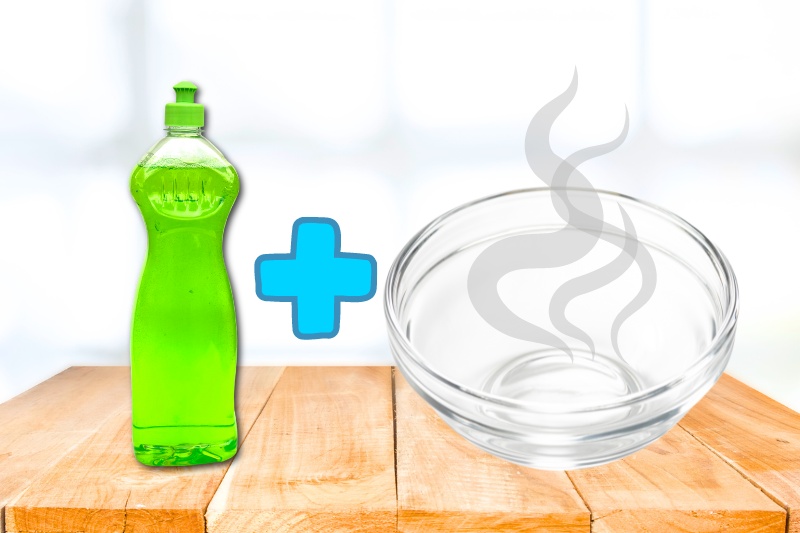
Having removed what you can with a dry cloth, it’s time to prepare a wet cleaning solution.
Certain chemicals can damage brushed brass finishes, stripping away the protective coating and altering the appearance of the brass. Therefore, avoid using harsh chemicals or abrasive cleaners.
You can instead stick with a gentle cleaning product you likely already have in your home: washing-up liquid.
You’ll want to dilute a small amount of mild washing-up liquid with warm water in a bucket or bowl. This solution is gentle enough to clean the taps without causing damage to the finish.
Step 3: Wipe your brushed brass taps
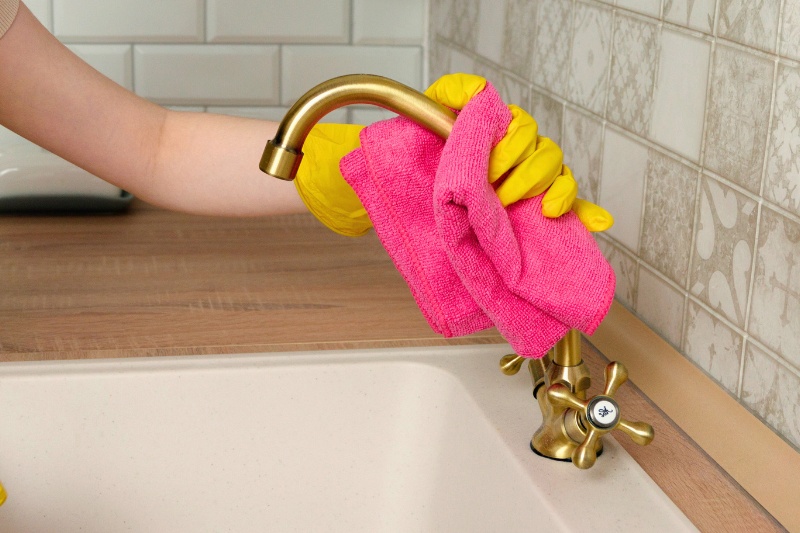
Now, it’s time to get to work! Dip a soft cloth or sponge into the soapy water solution, ensuring it is damp but not dripping.
Gently wipe the entire surface of the brushed brass taps with the cloth. Pay attention to areas with water spots, fingerprints, or any visible dirt.
If there are hard-to-reach areas or crevices, use a soft brush (e.g., a toothbrush with soft bristles) to scrub those areas gently. This helps remove any accumulated dirt or debris.
Avoid using excessive force, even if there is grime or stubborn stains—this can strip the finish and ruin the taps’ appearance.
Step 4: Rinse thoroughly with water
After removing as much dirt as possible, you need to rinse the taps thoroughly with clean water to get rid of any soap residue.
To do this, take a clean microfibre cloth, dampen it with water, and wipe it over the entire surface of the taps.
Rinse the cloth in clean water and repeat as necessary until all soapy residue has been removed.
It’s important to take time with this step and make sure all the soap is washed away, as any that remains will cause your brushed brass taps to look dull and lifeless.
Step 5: Dry and Buff The Brass
Use a dry microfibre towel to dry the brushed brass taps. This step helps prevent water spots from forming on the surface and keeps the taps looking their best.
It’s particularly important if you live in an area with hard water, as the mineral deposits can quickly dull your brass taps.
Additionally, removing water is handy in reducing mould and mildew formation. Mould thrives in damp environments like bathrooms, so thoroughly drying surfaces helps keep its growth to a minimum.
Make sure you keep your taps dry between cleans to keep them looking in tip-top condition.
Are Brushed Brass Taps Hard to Clean?
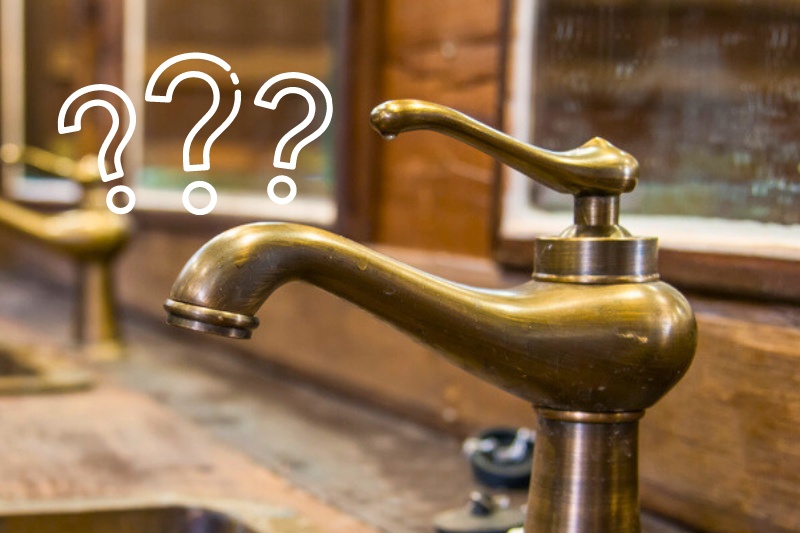
Brushed brass taps are not hard to clean. In fact, they are considered easier to maintain than taps with highly polished finishes.
The brushed surface helps hide water spots, fingerprints, and minor scratches more effectively than polished finishes, so they often look better for longer.
However, regular cleaning is still crucial to remove germs and prevent the brass from tarnishing over time.
Using our method, you only need washing up liquid, microfibre towels, a soft-bristled brush, and around five minutes of your time. You can easily integrate it into your bathroom cleaning routine.
If you notice your brushed brass taps start to tarnish, don’t worry. Try cleaning them using a solution of lemon juice and water at a ratio of 3:1 for a tougher clean.
Apply to the tarnished areas, leave to soak for two minutes, then rinse thoroughly with water. Lemon juice is acidic and can damage the finish of the metal if it’s left on for more than a few minutes, so timing here is crucial.
Maintenance Tips for Brushed Brass Taps
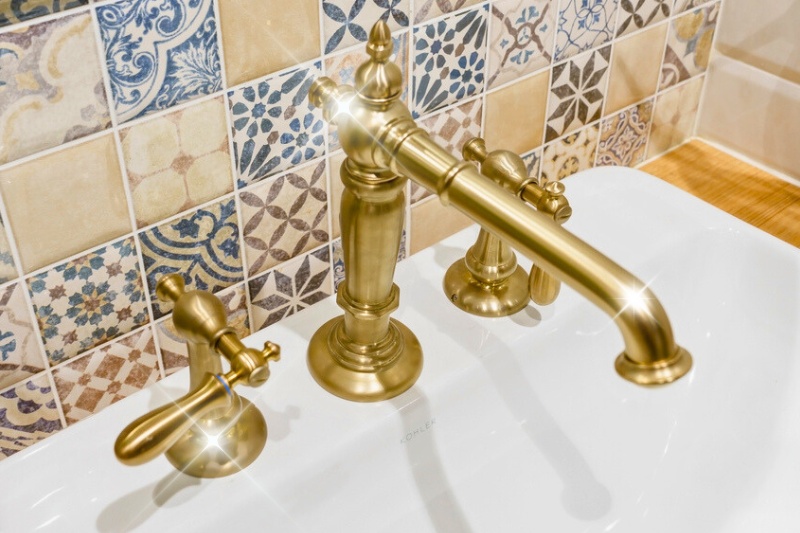
To avoid tarnishing and extend the lifespan of your brushed brass taps, here are some additional maintenance tips:
- Regular wiping: Wipe down the taps regularly with a dry microfibre cloth to remove dust, water spots, and fingerprints. This simple routine helps prevent the buildup of grime and maintains the taps’ appearance.
- Gentle cleaning: Use a mild cleaning solution for weekly cleaning. Mix a small amount of mild dish soap with warm water and apply it with a soft cloth. For a more thorough clean, add a little lemon juice to water and use this to quickly target tarnished areas.
- Soft brush for crevices: Use a toothbrush with soft bristles to gently scrub and remove dirt that has accumulated in crevices around the tap. Avoid abrasive cleaners or scouring pads, which can scratch the brushed surface.
- Avoid harsh chemicals: Do not use harsh chemicals, acidic cleaners, or abrasive substances. These can damage the protective coating on the brushed brass and affect the finish. Stick to gentle, brass-friendly cleaning solutions, like dish soap.
- Dry thoroughly: After cleaning, dry the taps thoroughly with a dry cloth to prevent water spots and maintain their shine. This step is especially crucial in areas with hard water, as mineral deposits can affect the appearance over time.
- Check for leaks: Regularly check for leaks around your brushed brass taps and address them promptly. Leaks can lead to water stains and tarnishing, affecting the appearance of the brushed brass and causing more serious water damage in your home.

Hannah has a passion for cleaning. She worked her way around Australia by cleaning hostels in exchange for free accommodation and used her cleaning skills to bag a job as a chalet host for a luxury ski company in France.
