Microwave spillages are a common occurrence. In fact, foods like soups and baked beans are notorious for splattering if not fully covered during the heating process.
If your machine could do with a deep clean, you’ve come to the right place. In this post, we’ll reveal how to clean a microwave in a matter of minutes, with very little elbow grease required.
We’ll cover several natural cleaning agents, plus some non-toxic commercial cleaners, all designed to make removing grease and grime from your microwave a breeze. Read on to learn more.
What Should You Not Clean a Microwave With?
Before we explore the best methods for cleaning a microwave, let’s consider what you should not clean it with.
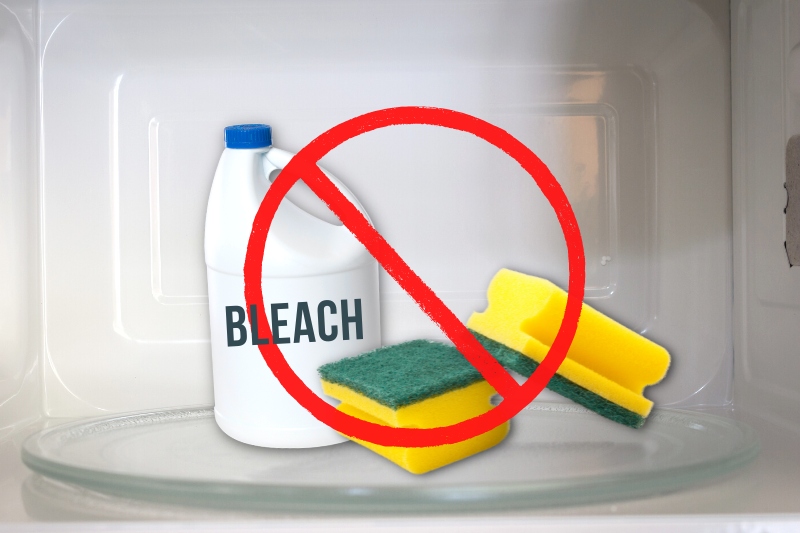
Bleach
The most obvious no-no is bleach. While this household cleaner is very effective at killing bacteria and mould, it should never be used in a microwave as it may weaken the interior plastic over time, compromising your machine.
Surface cleaners
Similarly, while standard surface cleansers are fine for the microwave’s external surfaces, you only want to use food-safe cleaners intended for use in a microwave on the interior. This is because any residue left behind after rinsing could potentially seep into your food.
Scourers
You should also opt for a non-scratch sponge instead of a scourer that could damage the finish.
How to Clean a Microwave with Vinegar and Lemon Juice
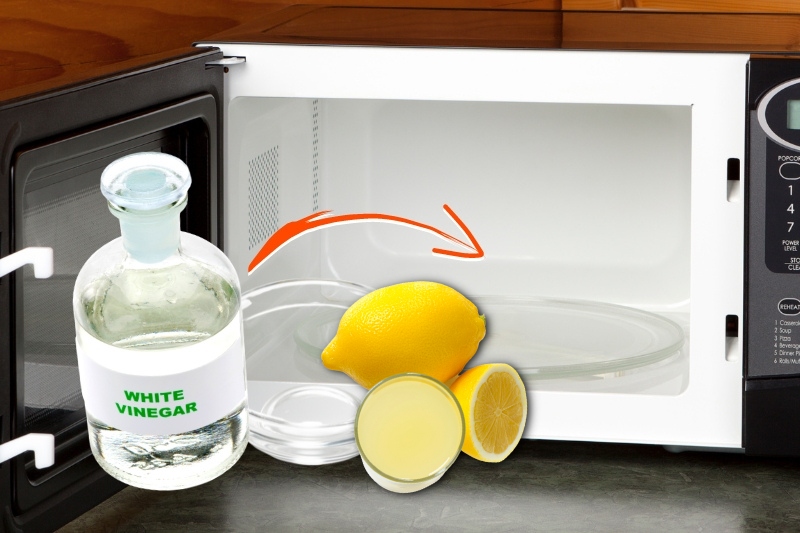
If you’d prefer to clean your microwave with natural products, then a diluted white vinegar and lemon juice solution is your best option.
However, the secret ingredient here is steam. Follow the steps below to get your microwave looking sparkling clean in no time:
- Unplug your microwave from the socket and leave it to cool if used recently.
- Start by wiping up any obvious spillages with a damp cloth and removing any loose crumbs that could pose a fire hazard.
- Next, mix 1 tablespoon of white vinegar with 1 cup of water in a microwaveable bowl. Then cut a fresh lemon in half and squeeze the juice into the mix, or cut the lemon into thin slices and place them into the bowl. The acidity of the vinegar will work to loosen stains, while the lemon will remove unpleasant odours. Either way, ensure the bowl is no more than half full to avoid spillages, as water can damage your machine.
- Place the vinegar and lemon mixture into the microwave and heat uncovered for around 4 minutes until the water starts to boil and the machine fills with steam.
- When time is up, DO NOT open the door straight away. Instead, leave the trapped steam in the machine for 10 minutes to give it time to soften any built-up grime.
- When you’re ready to open the door, do so with care as the interior will be very hot. The bowl and solution will be too, so be sure to use oven gloves or a tea towel when removing it. Set the mixture to one side, ready for the next step.
- Once the bowl is out, don a pair of rubber gloves and remove the glass turntable. Due to the vapour, it will likely be slippy, so make sure you grip it firmly to avoid a breakage. To clean it, wipe it over with a microfibre cloth dipped in the remaining solution. Rinse with clean water, dry with some paper towel and leave to one side.
- To clean the microwave’s interior, take a non-scratch sponge and wipe each surface from the top down. That way, any debris from burnt-on food will collect at the bottom and can be wiped away before you begin cleaning the bottom half. And don’t forget to clean the rubber seal around the door where dirt can be easily caught.
If there are stubborn marks even after steaming, scrub them gently using a circular motion. You can even dab the sponge in a small amount of bicarbonate of soda if they’re proving particularly tough to remove.
- Next, take a damp, clean cloth and wipe the interior down to rinse off any leftover residue. Then, dry with some paper towel before reinserting the glass turntable.
- Finally, wipe down the outside of the microwave with a cloth dipped in the vinegar solution. Make sure you wring the cloth out well before wiping the controls, as you don’t want any moisture to gather behind the buttons, then rinse and dry as above.
Cleaning a Microwave with Washing Up Liquid
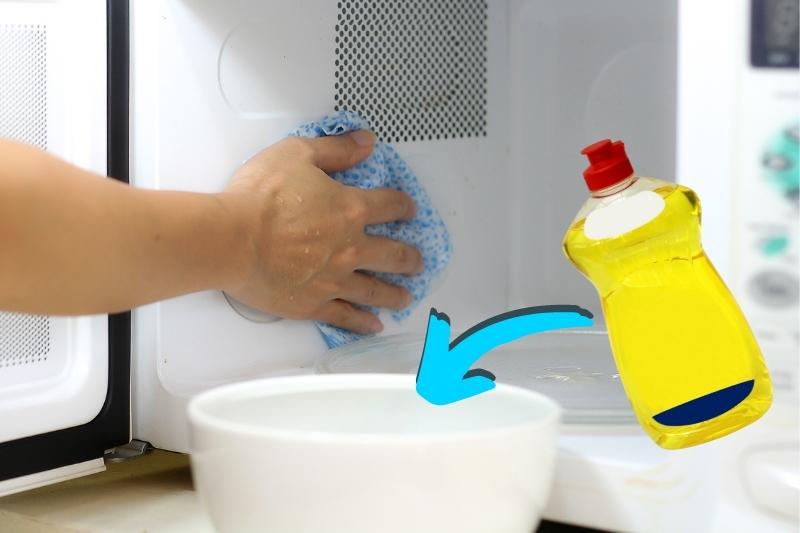
You may choose to clean your microwave with grease-busting washing up liquid just as you would your dishes and other kitchen surfaces.
Simply mix it with some warm water to create soap suds, then use a sponge to clean both the interior and exterior before rinsing with a damp cloth and wiping dry.
This option is ideal if you don’t like the smell of vinegar or lemon. If the machine needs a deep clean, you can heat the soapy water in the microwave first to generate steam as above and reduce the amount of scrubbing needed.
Microwave Cleaner Products

Or you could use a specially formulated product like HG Microwave Cleaner. Using the spray trigger, you can apply this cleaner directly to the machine’s surfaces to break up greasy deposits and loosen solidified stains.
Just be sure to avoid the vents and any electrical components. Instead, spray the mixture onto a clean cloth and gently wipe the areas down. Again, you’ll need to rinse the microwave with a damp cloth afterwards.
How Often to Clean Your Microwave
While you should only need to deep clean your microwave once or twice a month, spillages should be mopped up immediately. This will prevent them being baked into the surface which makes cleaning much harder and increases the fire risk.
If you use your machine a lot, we’d also recommend wiping it down with Greenshield’s Anti-Bacterial Microwave Wipes in between cleans to help keep bacteria at bay.
On the hunt for more kitchen cleaning tips? From how to clean a ceramic sink to the best ways to banish cooking smells, explore our dedicated cleaning section to learn more.

A proud Yorkshire lass with a love for movies, music and cosy nights in! Once a self-confessed avoider of cleaning, she’s always on the lookout for new ways to make household chores as quick and simple as possible.


