
An ironing board is one of those household items that many of us have lying around but never use.
We seem to fall into one of two camps: you either iron everything or you only get the ironing board out in a panic when you need to iron a top for a formal event.
If you’re in the latter group, you may be wondering how to use an ironing board properly. Well, you’re in the right place!
Below, we’ll cover everything you need to know about how to use an ironing board.
Knowing Your Way Around an Ironing Board
Most ironing boards are freestanding, meaning they have their own legs and can be folded away for easier storage.
Some people might have tabletop or wall-mounted ironing boards, but these are less common.
There’s not much to know about the anatomy of an ironing board. They’re not a dissimilar shape to a surfboard, and the main parts to know are:
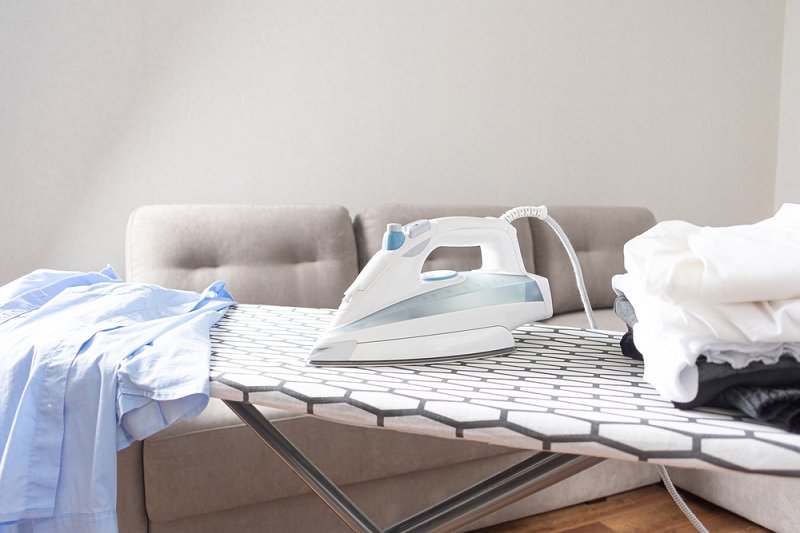
- Iron rest. This is the square end of bare metal where you put the iron. It doesn’t have a fabric cover to reduce the risk of you burning anything while storing the iron.
- Ironing board. This is the main component. It’s where you put clothes to iron them. Generally, it’ll have foam padding to give you a softer surface for ironing.
- Board cover. The cover serves a practical purpose: it resists heat and doesn’t trap moisture from the iron, which could affect your clothes. Covers also help provide a crease-free surface that could impart wrinkles into your clothes.
- Tapered end. The pointy end of an ironing board is there to help you pull clothes tight and for ironing things like sleeves, cuffs and collars.
- Sleeve board. Not all ironing boards will have a sleeve board. These are basically mini ironing boards designed, unsurprisingly, for ironing sleeves.
It’s worth having a rough idea of what parts do what on an ironing board, as it’ll help when you come to iron more complex items like dress shirts.
How to Set Up Your Ironing Board
Before you start ironing, it’s worth knowing how to set up your board properly. This might not seem like a difficult job, but there are some checks it’s worth performing:
- Open your ironing board. To do so, pull the little handle and the legs will open.
- Adjust the legs to a suitable height. You’ll want the board about waist height, if not a bit higher.
- Make sure it’s on a flat surface and that the legs are properly locked in place. Also, set it up need a wall socket so your iron’s power cord isn’t stretched tight.
- Check the cover is free from lint, debris and marks, or anything else that could mark your clothing.
- Plug in your iron, add some water, and set it to the correct temperature for the clothes you’re ironing.
Another thing worth noting is your ironing board setup should depend on your dominant hand.
Ideally, have the iron rest on the side of your dominant hand, as this saves you from reaching across awkwardly.
Once you’ve got your ironing board ready, you’ll want to quickly prep your clothes. This article focuses on how to use an ironing board, so we won’t go over this in too much detail.
Simply make sure you’ve set the iron to the right temperature based on the fabric and care label, and then divide clothes into piles based on heat setting.
How to Use an Ironing Board
The best method for using an ironing board depends on what you’re actually ironing.
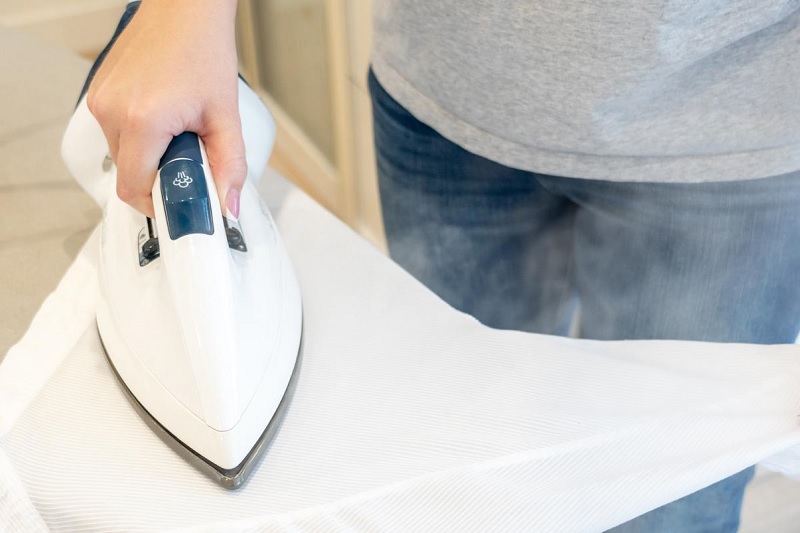
Generally, you’ll want to pull an item over the pointy end of the board so it’s tight enough for there to not be any creases, but not so tight that it’s stretching the fabric.
Another important point is to try to only iron one side at a time, which is why pulling the item over the end of the board is best. This prevents you from ironing creases into the underside of the item. While this isn’t too practical for trousers, it works well for t-shirts, shirts, etc.
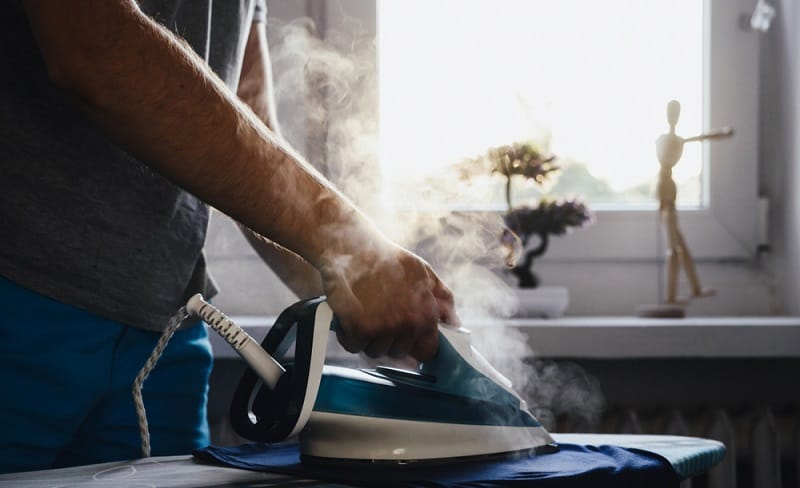
Finally, if you’re ironing lots of items in one go, start with the coolest setting and work to the hottest. This prevents you from burning more delicate items like silk.
Some general rules for what temperature to use are:
- Silk and synthetic materials are best on cooler settings.
- Cotton and linen can take the hottest setting on an iron, but the middle settings will be better.
- Check the care label on your items, it should have enough guidance. This might be dots that match the dots on your iron’s temperature settings or an explicit iron temperature.
Basic items like t-shirts are easy to iron: start on the sleeves and then stretch the body over the board.
However, we’ll cover some instructions for slightly more complex items like formal trousers, dress shirts, and skirts.
How to Iron Formal Trousers
Formal trousers are ones that have a crease down the middle of the leg, such as suit trousers.
Less formal trousers (like jeans) are much easier to iron: you just lay them flat and run the iron over.
For formal trousers, follow these steps:
- Iron the waistband first, ensuring it’s pressed flat.
- Next, fold the trousers along their middle crease. This means the front and back of each leg are the folding points, rather than the side seam.
- Lay one leg flat on the board and let the other hang over the side. Iron the leg, being careful to press the front crease. It might help to burst some steam onto it.
- Turn the trousers over and repeat on the other leg.
How to Iron Dress Shirts
Dress shirts are arguably one of the most complicated items to iron, but the shape of the ironing board can help you with it.
Here are the steps:
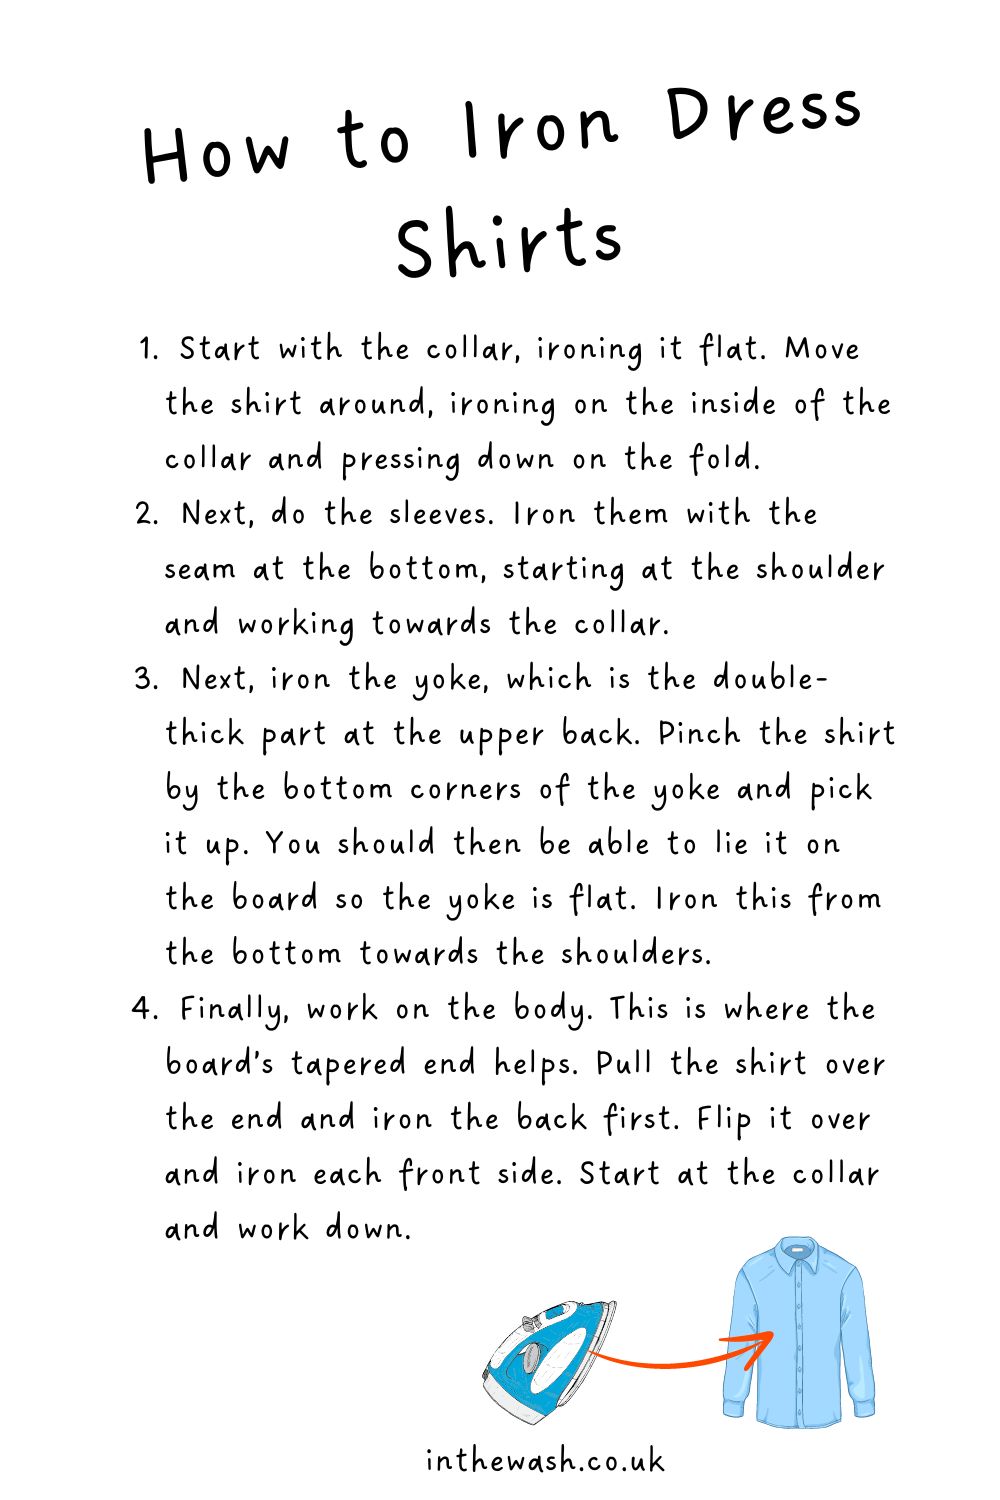
- Start with the collar, ironing it flat. You’ll need to move the shirt around, ironing on the inside of the collar and pressing down on the fold.
- Next, do the sleeves. Depending on how wide they are, you can either just lay them flat on the board or stretch them over the end of the board. Iron them with the seam at the bottom, starting at the shoulder and working towards the collar. Make sure the sleeve is completely flat on both sides to prevent ironing creases into it.
- Next, iron the yoke, which is the double thick part at the upper back. To do this, pinch the shirt by the bottom corners of the yoke and pick it up. You should then be able to lie it on the board so the yoke is flat. Iron this from the bottom towards the shoulders.
- Finally, work on the body. This is where the board’s tapered end helps. Pull the shirt over the end and iron the back first. Flip it over and iron each front side. Start at the collar and work down.
How to Iron Skirts
Skirts can also be quite difficult to iron, especially pleated ones. Again, the shape of the ironing board can help here.
- Shake the skirt out to get rid of wrinkles and to get the pleats in place.
- Then, pull it over the tapered end of the board so the waist is at the tapered end and the skirt stretches over the board.
- Start at the waist and work down the skirt, ironing in small sections. Work with the pleats, ironing the top of the pleat and then the underside. Keep working your way around until you’ve finished the skirt.
Do You Have to Iron Clothes on an Ironing Board?
You don’t have to use an ironing board when ironing clothes. Realistically, any flat surface will do, ideally with a towel on top for a bit of cushioning.
However, an ironing board can do a lot of the work for you when it comes to getting your clothes as crisp as possible.
One of the biggest benefits of an ironing board is its tapered end. As mentioned, this allows you to pull your clothes tight and stops you from ironing both sides at once. This isn’t a luxury you get with a towel on a kitchen worktop.
That said, any flat surface will do in a pinch. But if you plan to iron a lot of clothing and want it to look as nice as possible, you won’t find anything does a better job than an ironing board.
Final Thoughts
There you have it, everything you could need to know about how to use an ironing board.
On the surface, it’s not a complicated tool to use, but it can take a bit of time to familiarise yourself with it.
If you’ve never used an ironing board before, make sure you practice with some fairly sturdy clothing.
While you won’t want to burn anything you own, it’s best to get used to ironing with something like a cotton t-shirt rather than a silk blouse!

Jacob is a writer based in Wales, where he lives with his partner and two dogs. All his work is fuelled by extensive research and buckets of coffee.

")

