Unlike condenser dryers, vented tumble dryers are connected to an external duct where the hot air can escape.
Therefore, keeping the vent of your dryer clean is vital to preventing a fire hazard and ensuring its efficiency.
In this post, we’ll guide you through the process of how to clean a tumble dryer vent in several easy steps.
Keen to learn how to go about it? Read on for the best way to remove built-up dryer lint and how often you should be doing it.
How Often Should a Dryer Vent Be Cleaned?
While you should empty the lint trap in your dryer after every cycle, the vent doesn’t need to be cleaned as often.
You’ll typically only need to carry out a thorough clean once per year.
However, if your family household does a lot of laundry, you’ll want to increase this to two to three times. The same goes if you have pets.
This is because even clean washing is more likely to enter the dryer with hair or debris on it. Especially if you’re drying pet beds and blankets.
How to Clean a Tumble Dryer Vent
What you’ll need:
- Vacuum cleaner (ideally a HEPA model)
- Dryer Duct Cleaning Kit (like this one by Pyatofyy)
- An 18V+ power drill
- Dustpan and brush
- Washing up liquid and a sponge
- WD40 (as needed)
Step 1 – Disconnect the dryer
Before cleaning the vent, you’ll first need to disconnect it from the tumble dryer. Start by switching off the power at the socket and unplugging the appliance.
Then move the dryer away from the wall just enough so you can gain access to the back.
Be careful not to pull it out too far. Otherwise, you could damage the tube that links the machine to the wall duct.
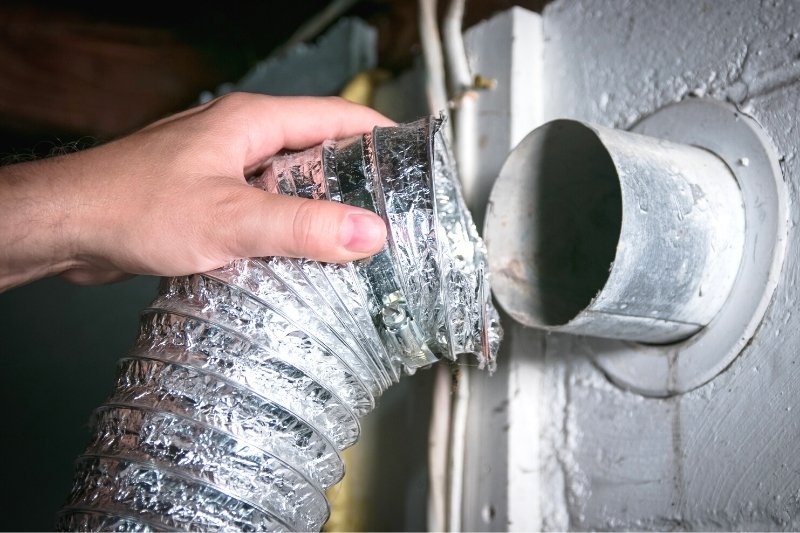
The tube may be a rigid connector or a flexible foil hose, and it is usually clamped or screwed on at each end. Either way, you’ll need to remove it from both the machine and the wall duct.
Step 2 – Clean out the back of the dryer
Any lint that bypasses the filter can get caught at the back of the dryer. Over time, this can lead to an accumulation of debris that will slowly move further down the vent pipe.
With that in mind, keeping this hotspot clear is crucial. The easiest way to do this is to use the flexible bristle brush in your kit to sweep out the visible lint, then clean it up with a dustpan.
You can then use your vacuum cleaner fitted with the crevice tool to suction out any leftover fibres.
Step 3 – Clean the vent from inside
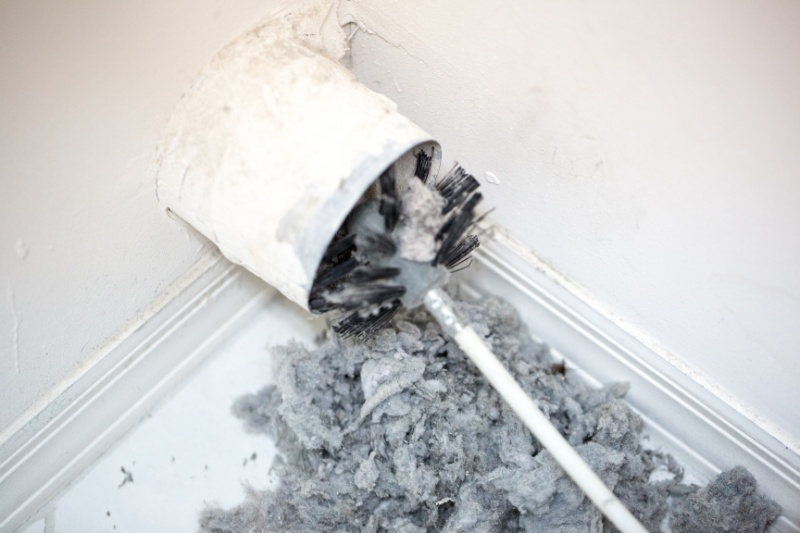
Next, turn your focus to the wall vent. This is where your Dryer Duct Cleaning Kit comes in. In it, you’ll find multiple flexible rods that can be screwed together to achieve the length you need.
Once you’ve done that, attach the circular brush head and place the end into the vent.
Then, attach the opposite end of the rod to a power drill. This creates a spinning motion to help the brush head lift dirt from hard to reach areas inside the duct.
Set the drill to a medium speed and slowly feed the rod and brush into the tube. Using a gentle motion, move it back and forth intermittently to help remove any residue from the surface.
When you reach the end, switch the drill to low power and pull the brush back out slowly. As it starts to emerge, turn of the power to limit mess.
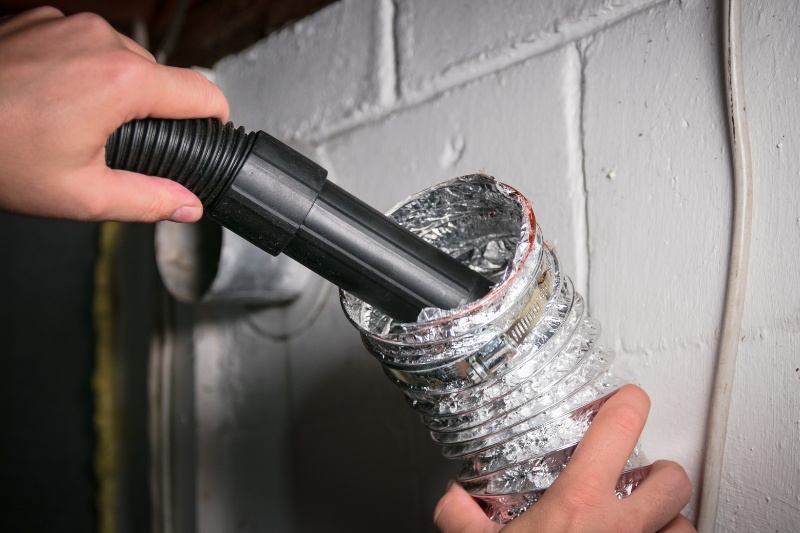
Then sweep up the lint cleared from the tube and give the inside a final dust with a long-nozzle vacuum.
Tip: if you’re using several rods screwed together, tape the joints to prevent them becoming loose in the vent. Otherwise, they’ll be very difficult to remove if they separate!
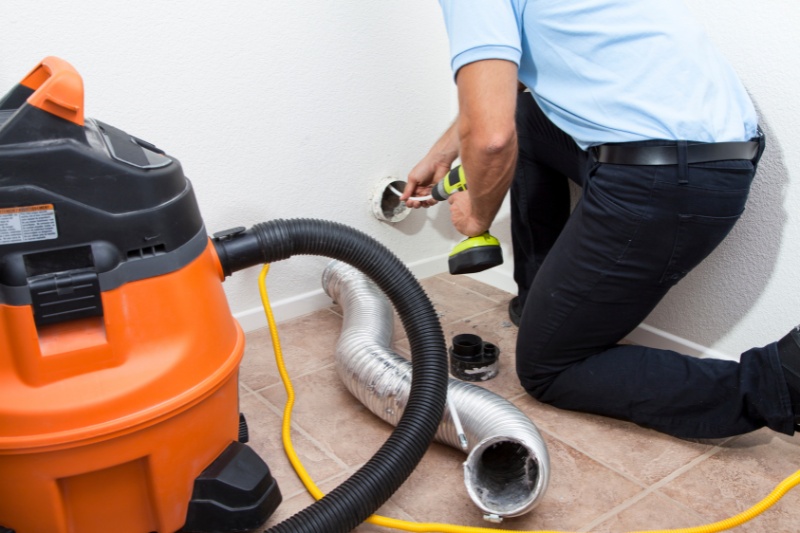
Step 4 – Clean the vent from outside

When you’ve finished cleaning the vent from inside your kitchen or utility room, you can repeat the process from outside.
This will make sure you didn’t miss any sections towards the end of the pipe that you couldn’t see from inside.
First, you’ll need to locate the vent exhaust. These are generally positioned low to the ground.
In many cases, dryers are vented outside from the back of the machine straight through the wall, so are easy to find.
If you’re struggling to locate it, run a short air fluff cycle and walk round your house until you hear or feel the expelled air.
To start, remove the cover to access the tube with your brush rod and follow the same steps as above.
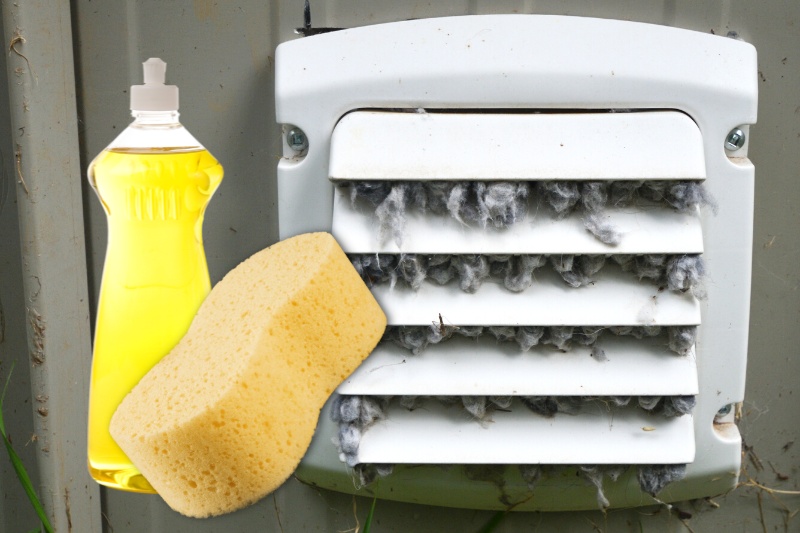
Once the pipe is clean, focus on the cover. Mix a soapy solution of warm water and washing up liquid and clean the cover with a sponge.
If the slats are very grimy, you may need to scrub it with a sturdy bristle brush. If the hinges of the slats feel at all stiff, loosen them up by applying some WD40. This will improve airflow and help the moisture escape more easily.
Tip: if your tumble dryer vent isn’t in an accessible location e.g., it’s positioned at height or on the roof, skip this step. You should be able to clean most of the tube from the inside using several connected rods. If you’re worried about a blocked exhaust cover, call in a professional.
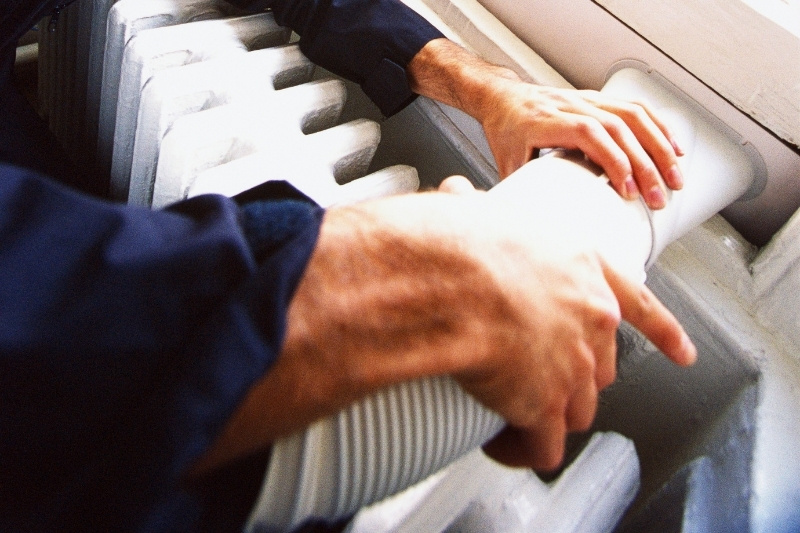
Step 5 – Clean the connecting tube, reattach and test
Finally, detach the drill from the device and use the brush attached to a single flexible rod to clean out the connecting tube.
Be extra careful if it is made from foil, as this material can tear easily. When you’re happy that the pipe is clear, reattach it to the wall vent and the machine.
Push the dryer back into position and run a short, empty cycle to check everything is working as it should be.
It’s also worth popping outside to make sure the vent cover slats are opening as they should be. If they seem to be sticking at all, spray some WD-40 to oil the hinges.
And that’s it! With the right tools, cleaning a dryer vent is easy!

A proud Yorkshire lass with a love for movies, music and cosy nights in! Once a self-confessed avoider of cleaning, she’s always on the lookout for new ways to make household chores as quick and simple as possible.


")
