Washing machines that have been stored for a long time can become mouldy and smelly.
If you immediately throw your laundry into the machine to wash without first cleaning it, you may get foul-smelling laundry covered with black spots.
So, if your washing machine has been in storage for a while, it’s important that you clean it before use. But how do you do this? Don’t worry, as we’ll walk you through the process in this article.
How you’ll go about cleaning your washer depends on whether it is a front-loading machine or a top-loading machine. We’ll go through both types here.
How to Clean a Front-Loading Washing Machine That Has Been in Storage
Cleaning a front-loading washer is simple. However, there are a few more areas to clean than with a top-loading machine.
Step 1: Remove everything from the machine
The first thing to do is to make sure that the washing machine is empty. The washing machine drum should be empty so that you can clean it properly.
Step 2: Clean the drum
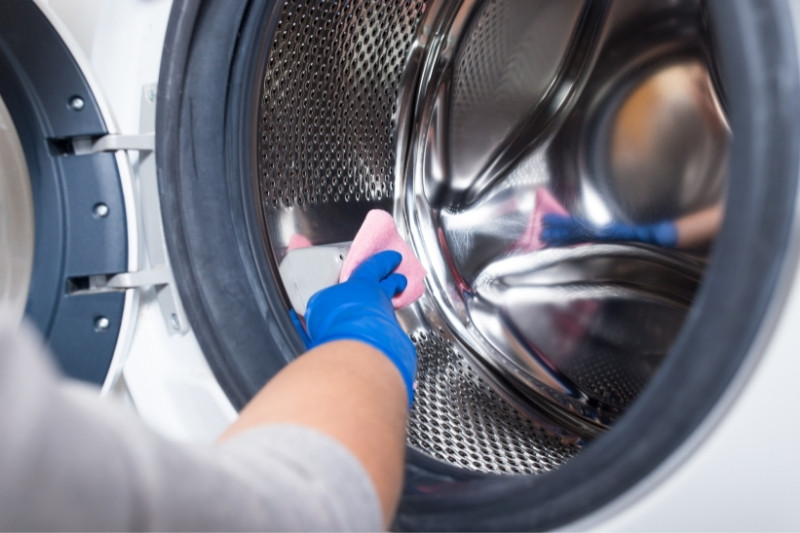
The next step is to clean the drum using a paste of bicarbonate of soda (baking soda).
The inside of a washing machine can become smelly because of the build-up of mould and odour-causing bacteria. Bicarbonate of soda is good at removing all these build-ups as well as for deodorising the inside of the machine.
- Mix two parts bicarbonate of soda and one part water together
- Use a soft sponge to gently apply the paste all over the drum
- Wait for a while, and then use a microfibre cloth to clean off the bicarbonate of soda solution
Step 3: Clean the gasket
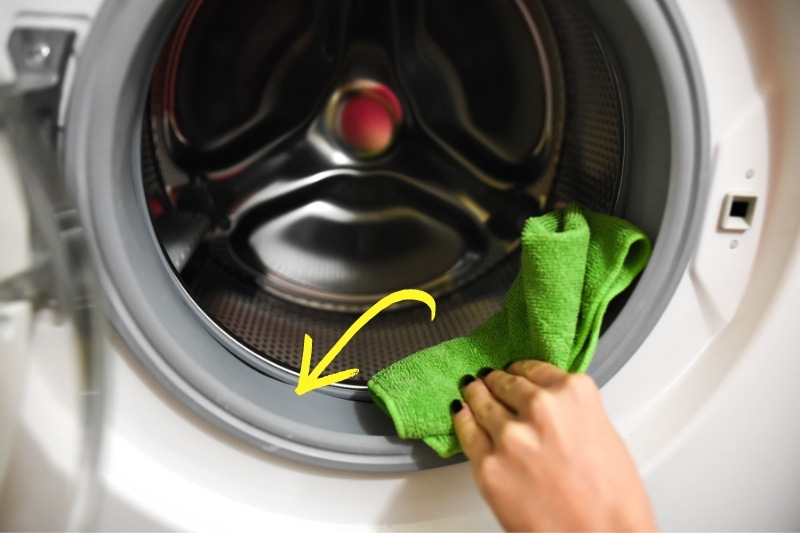
The gasket of a front-loading washer is another epicentre of mould and odour-causing bacteria. Clean it thoroughly using a solution of vinegar. Wipe all over the gasket as well as the inside of its rubber folds.
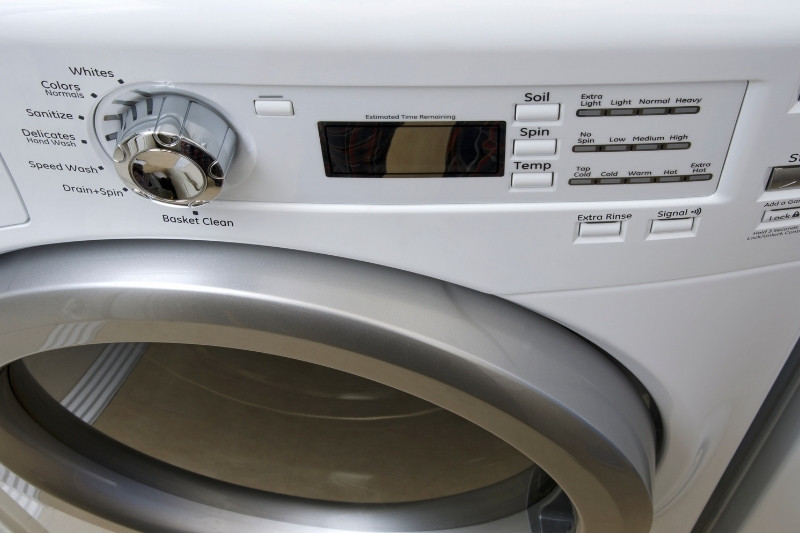
Step 4: Clean the dispensers
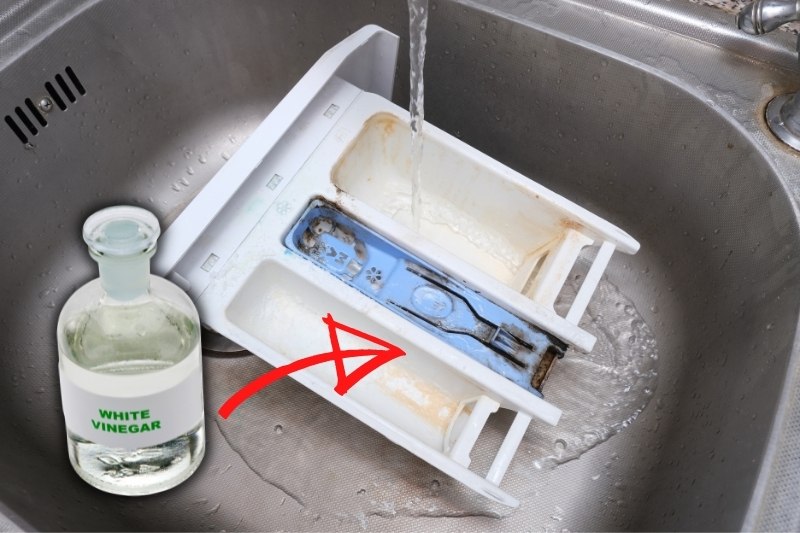
Do as described above in cleaning dispensers of a top-loading washer. If the complete dispenser tray can be removed, remove it and give it a good scrub with a hot water and vinegar solution.
If the compartments remove individually, also remember to clean the area where they are removed from. If the dispenser tray cannot come out of the machine, dip a toothbrush in the hot water and vinegar solution, and use it to scrub every inch of the compartments that you can reach.
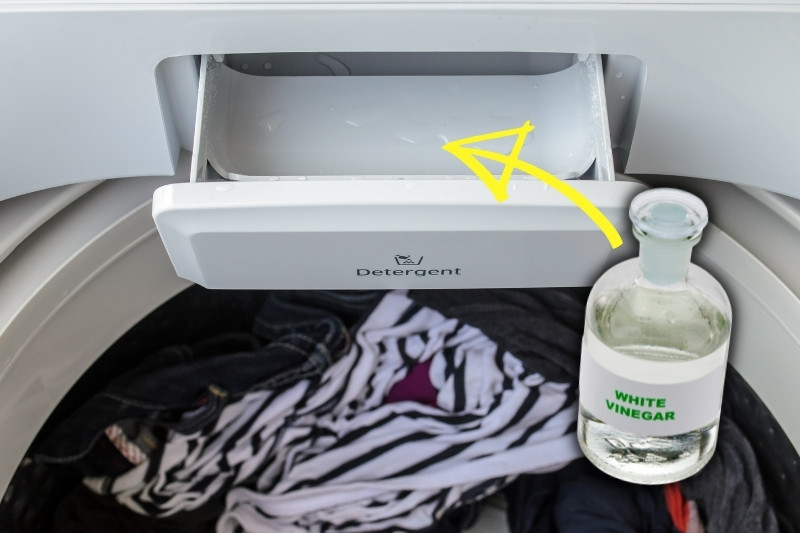
Step 5: Run a wash cycle
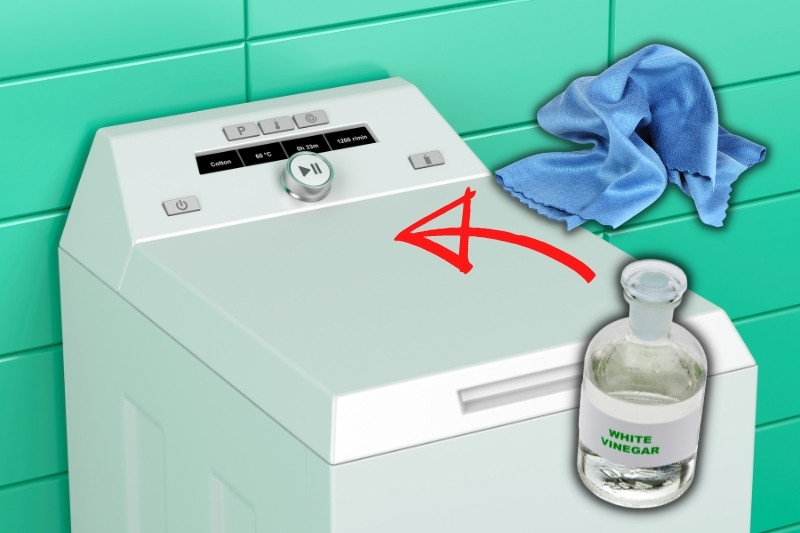
- Add a quarter cup (60 ml) of white vinegar to the detergent tray
- Set your machine to the hottest possible cycle and let it run its course
Step 6: Clean the exterior
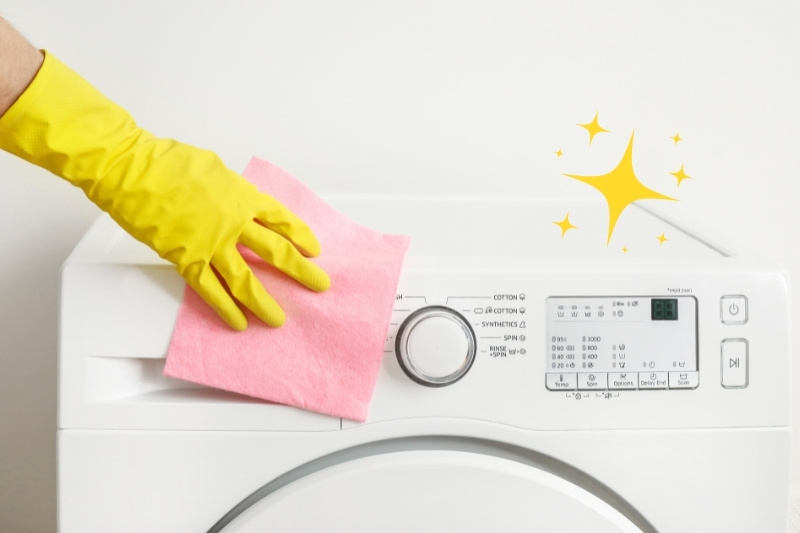
Clean the outside of the machine using a microfibre cloth dipped in a hot water and vinegar solution. After steps 1 to 6, you should also keep the washer lid open to air dry.
Cleaning a Top-Loading Washing Machine That Has Been in Storage
Step 1: Take everything out of the washing machine
Just like when cleaning a front-loading washer, you should empty the machine and have an empty drum.
Step 2: Clean the inside of the machine
The first thing is to run a wash cycle using hot water and chlorine bleach.
- Fill the machine with hot water
- Add one quart (950 ml) of chlorine bleach. You may also use bicarbonate of soda instead of chlorine bleach
- Shut the lid and let the machine agitate for one minute to mix the solution
- Stop the cycle and let the hot water and chlorine bleach (or bicarbonate of soda) solution sit in the machine for one hour
- Turn the washing machine on and let it complete the wash cycle
The next thing is to run a second cycle using hot water and vinegar following the same steps as the first cycle. That is:
- Fill the machine with hot water
- Add one quart (950 ml) of vinegar
- Shut the lid and let the machine agitate for one minute to mix the solution
- Stop the cycle and let the hot water and vinegar solution sit in the machine for one hour.
- The last step here is to turn the washing machine on and run a second wash cycle but before you do this, complete steps 3 and 4.
Step 3: Clean the dispensers
The compartments where detergent and softeners are kept for your laundry are dark and damp environments where bacteria thrive and mould builds up.
So, serious attention should be given to them when cleaning your washing machine.
How you go about cleaning these areas depends on your washing machine models.
- In newer models where the entire dispenser area can be removed entirely from the machine. Remove the tray and give each compartment in it a good scrub using the solution of vinegar and hot water.
- In models where the compartments remove individually from the machine, remove each one and clean it properly. You should also dip a cloth into the vinegar solution and wipe the area where you removed each dispenser compartment from.
- In models where the dispenser tray does not come out of the machine. You can dip an old toothbrush in the vinegar solution and use it to give each of the dispenser compartments a good cleaning.
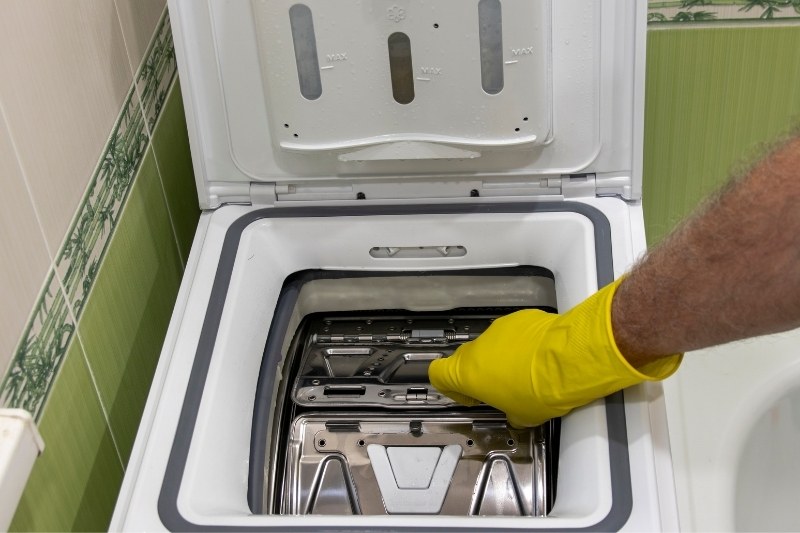
Step 4: Clean the washer tub rim
You’ll need to clean the washer’s tub rim. Dip a microfibre cloth in the hot water and vinegar solution in the washer, and use this to clean around the opening of the machine. Clean the top edges and also get between the tub rims. Try to reach everywhere that water will get to when the washer is in operation.
After this, you can close the lid, turn the washing machine on, and complete that second wash cycle we talked about in step 2.
Step 5: Clean the washer exterior
Also, use the microfibre cloth and vinegar solution to wipe all over the outside of the washer.
For detergent caught in buttons, dip a soft toothbrush in the vinegar solution, and use this to gently scrub the area. Then wipe it off with a microfibre cloth.
After completing steps 1 to 5, you should leave the washer top lid open to allow it to air dry.

I’m a mother of three who loves going on fun adventures with my family. With three little ones, I’ve learned the hard way how to keep a busy home clean! I want to share my tips and tricks to make your life as easy as possible.
")


")
