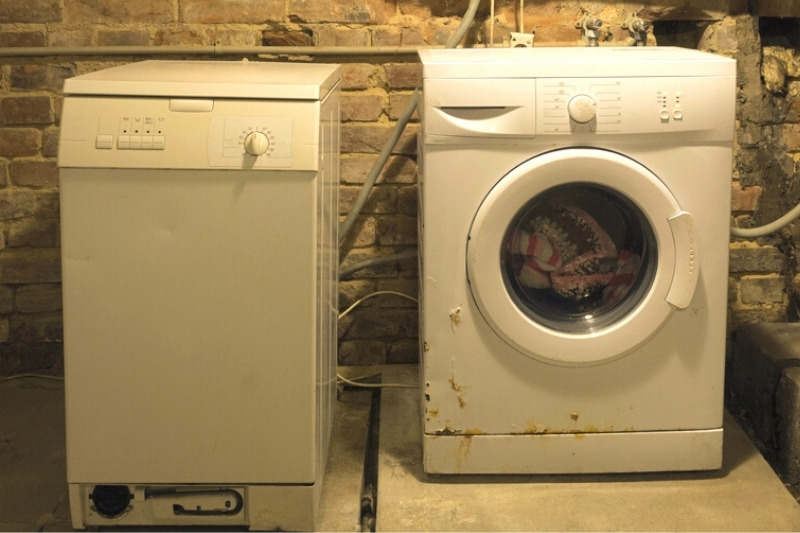
Your washing machine that’s been in storage for a while may appear absolutely fine on the surface. It might even look as good as new!
But the sad truth is, your washing machine started to fill up with horrid germs, smells and bacteria as soon as you left it in its new home. And if this wasn’t bad enough, your appliance might’ve started to break down internally as it waited for you to collect it.
So, before you start laundering your clothes in your fresh-out-of-storage washing machine, you need to complete a few essential checks! Find out how to use a washing machine after it’s been in storage below.
What Potential Issues Can a Washing Machine Have After It’s Been in Storage?
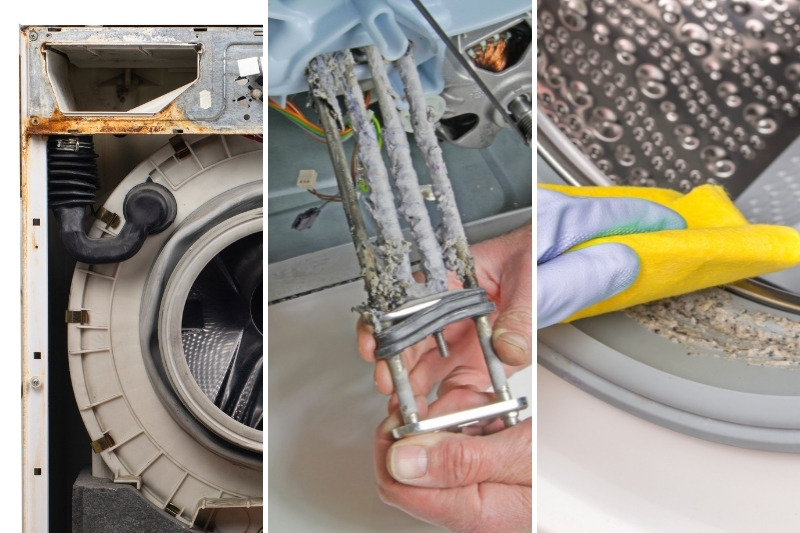
Unfortunately, not all washing machines fare well in storage. And although they look okay on the surface, when you get them home and start to use them, you’ll quickly notice that they’re actually quite sickly inside!
Here are some common faults that washing machines that’ve been sat in storage have:
- Rot has set in
- Parts have started drying out (hoses/seals)
- Corrosion has affected the metal work (connections/drum)
- Parts have started to cease up (pump/motor)
- Poor ventilated environments and freezing cold temperatures, have impacted the inner workings of the appliance
- Cracks have appeared across parts due to the environment (hoses/seals)
- Mould and mildew have started to grow inside the machine (seal/drum/door)
Of course, not all washing machines will suffer these problems, and there are ways you can minimise the damage that storage can cause.
Using a Washing Machine After It Has Been in Storage
If you’ve recently pulled your washing machine out of storage you might be tempted to throw a load of laundry in to wash. But this isn’t the best idea, even if your washer looks exactly the same as it did the day you took it over to the storage unit.
Sadly, the washer is probably riddled with all manner of germs and mould, and you might not be able to see some of the other issues your appliance is suffering from.
So, before you dive right into doing the laundry, follow the steps below to make sure your machine is actually safe and sanitary.
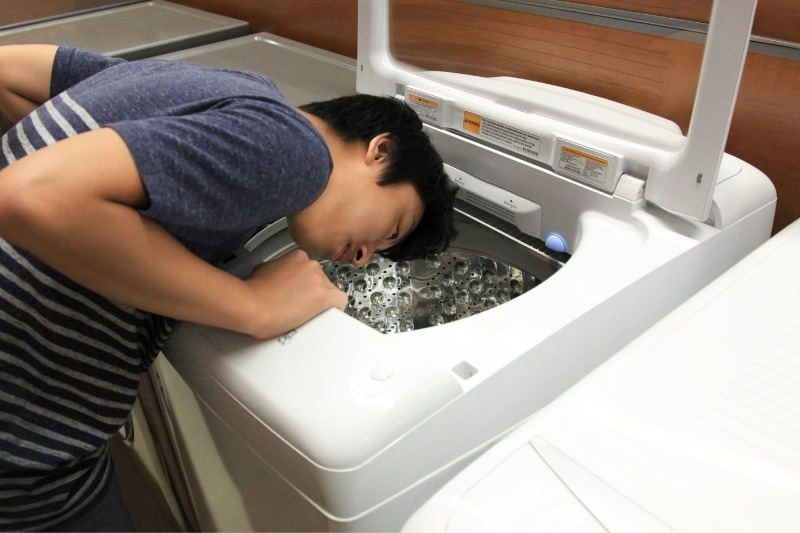
Step 1: Check the washing machine over
One of the very first things you need to do when you get your washing machine home is to give it a thorough looking over.
There’s no need to rush this process, in fact, the slower you go the more chance there is of you finding potential issues that could hinder how the appliance works. So, be patient.
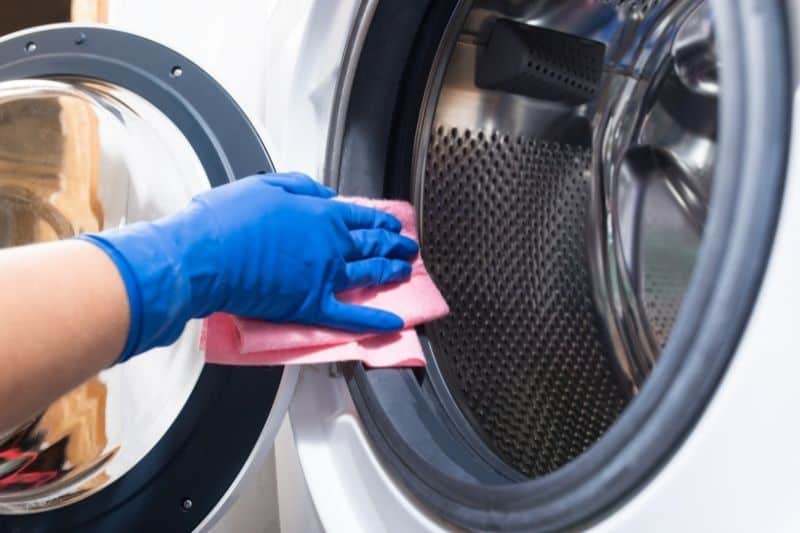
You need to examine every nook and cranny you can find! This includes:
- Check the exterior of the machine for dents, cracks or scratches.
- Open the door/lid and look for marks and mildew.
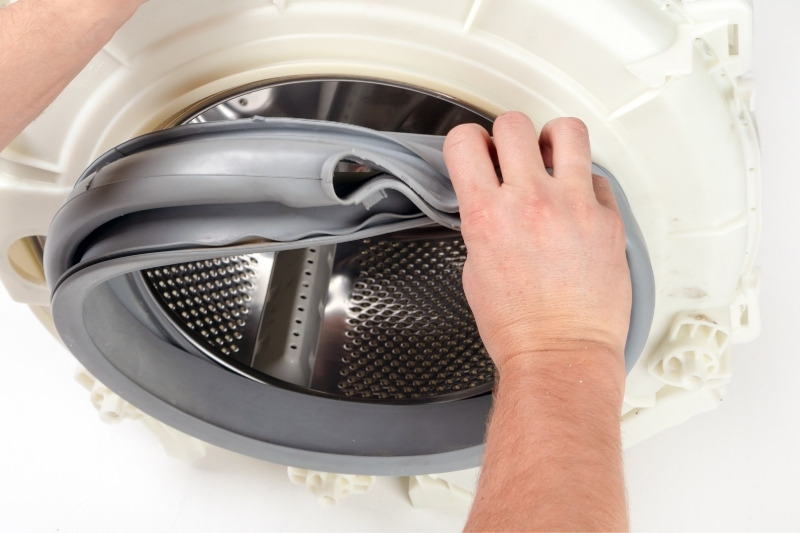
- Check the seal for mould and breaks.
- Examine the hose for cracks and potential leaks.
- Inspect the drum for rust.
- Don’t forget to keep an eye out for loose and rusted connections on the back of the machine.
- Open the flap at the front of the washing machine and inspect the filter.
- You also need to check the detergent drawer because there’s likely to be a build-up of gunk in there.
Every blemish you discover as you inspect your machine is going to tell you a story. And, in turn, you’re going to get an idea of what could be wrong with your machine, or what parts might need fixing.
If you see any obvious damage, like cracks, corrosion, mould or rot, you either need to replace the defective parts, treat the issues, or accept that the washing machine will not work effectively.
On the plus side, if you don’t see any problems, count yourself lucky and move on to Step 2.
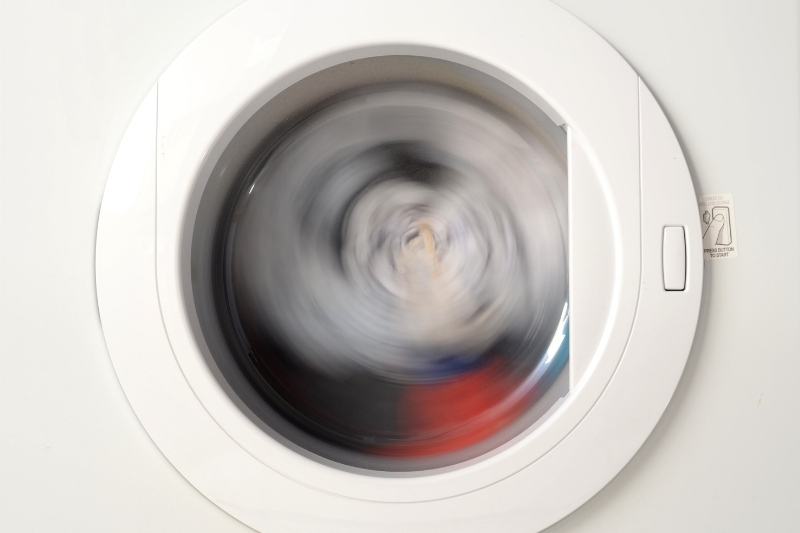
Step 2: Let the washing machine run a spin cycle and listen out for noises
The next step is to give the machine a try. But you don’t want to fill the appliance with water at this stage because it may not drain away.
Instead, you need to run a spin cycle through the machine to see how the appliance holds up. And at the same time, you need to listen out for expected and random noises coming from the machine.
You should be able to hear the motor, drum and water pump running when this cycle is taking place.
If you cannot hear any of these parts, there’s a big problem with the machine. And the parts in question have likely seized up when the appliance was in storage.
And while most of these parts can be replaced, it might be a costly job, especially if you’re not going to do the work yourself. You’d have to weigh up the pros and cons of carrying out such extensive repair work before you actually started working on the machine.
On the other hand, if you can hear all three parts working seamlessly, your machine is doing very well! Move on to Step 3.
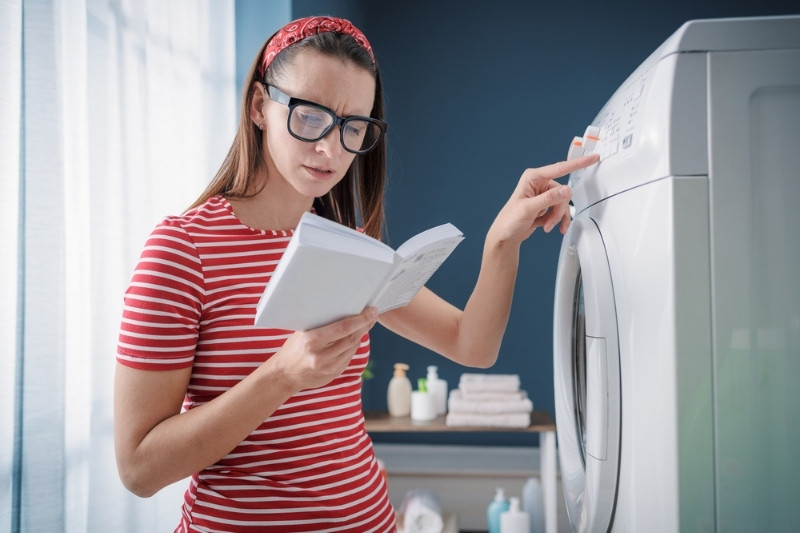
Step 3: Start a wash cycle to see what happens
If you heard all the right noises in Step 2, the next thing you need to do is to try your washing machine out for real. So, start an actual wash cycle and let the machine run through it.
During this time, you need to keep an extremely close eye out for leaks, particularly coming from the hose, door and any connections. Although you should’ve spotted cracks in Step 1, some tares are so tiny that you only notice them when you start flushing water through the system.
If you do see water leaking from the machine, you need to stop the machine, cut the power and drain the water away. Then you need to find the source of the problem.
If you’re lucky, you might be able to solve the issue quickly, then you can buy and fit a replacement part for the washing machine. However, it isn’t always this straightforward, and it often takes time to figure out where a leak is coming from. So, be patient.
In addition to the above, you also need to monitor whether the washing machine is able to regulate how much water it’s taking onboard. Sometimes when machines have been in storage, they lose their ability to control how much liquid they allow into the drum. This results in the drum overfilling.
There is a quick solution to this, namely, you can check and clean away dirt that’s around the inlet valve, or you can replace the valve if it is beyond repair.
Of course, your machine might be absolutely fine and no parts need tending to. If this is the case, move on to the final step, Step 4.
Step 4: Clean your washing machine
By this point you’ll have looked at and examined your washing machine, you’ll also have run a spin cycle and a wash cycle through it.
And assuming all is well, and you’ve only had to do the bare minimum to get your washing machine back into tip-top form, you can complete this last step: cleaning the washing machine.
Although your machine might be working nicely, it doesn’t mean that it’s sanitary in any way. In fact, it’s probably housing more germs than you think. So, here’s a step-by-step guide to cleaning your washing machine.
Front-Loading Washing Machine
- Empty the machine.
- Clean the drum with bicarbonate of soda to eradicate smells.
- Clean the seals with white vinegar.
- Clean the detergent drawer with white vinegar and hot water.
- Run the hottest wash cycle and add a dash on white vinegar to the machine.
- Wipe down the exterior with white vinegar or a multipurpose spray cleaner.
- Leave the door open.
Top-Loading Washing Machine
- Remove everything from the machine.
- Clean the drum by running a hot cycle with chlorine bleach through the appliance.
- Clean the drum again by running another hot cycle but this time add white vinegar to the machine.
- Clean the dispenser unit with hot water and white vinegar.
- Clean the rim with a microfibre cloth dipped in white vinegar.
- Wipe the exterior down with a multipurpose cleaner.
- Leave the lid open.
Read out in-depth guide on how to clean a washing machine that has been in storage for some more tips.
How Long Can a Washing Machine Sit Unused?
If a washing machine is prepared correctly for storage, and is stored under the right conditions, it can rest like this for a good few months. And when it leaves the storage unit, it should work well but it will need a thorough clean.
On the other hand, if a washing machine is not treated and cared for properly before and during storage, it’s unlikely that it will work effectively when it leaves the storage unit. All manner of germs, rust, cracks and general damage will have set in by this point.
How to Prepare a Washing Machine for Storage
Hopefully you won’t have to put your washing machine back into storage. But in case you do, here are some preparation tips to keep your washing machine safer for longer:
- Read your user manual to see if the booklet gives you any tips on how to store the appliance when it is not in use.
- Clean the washing machine out properly about 72 hours before the appliance goes into storage, but don’t use detergent. You actually need to use a natural-based cleaner, like white vinegar, to flush the detergent residue out.
- When the long, hot cleaning cycle has ended, wipe all of the washing machine down to dry it off.
- Leave the door of the washing machine open, so air can get inside.
- Turn off the power, unplug the cable and stop the water supply going to the machine.
- Make sure the machine is drained of all its water. Tip the machine up to get the water out.
- Leave the appliance to dry out.
- Pop the hose and any other connections to one side for them to dry.
- Try not to leave a washing machine where too much condensation can get to it.
- If you’re going to use a cover, make sure it’s a breathable one.
- Try not to put the appliance directly onto the floor, lift it off the floor if you can.
- Do not close the washing machine’s door, even when you reach the storage unit. It must be left open.

Bethan has a passion for exploring, reading, cooking and gardening! When she’s not creating culinary delights for her family, she’s concocting potions to keep her house clean!
")


")

