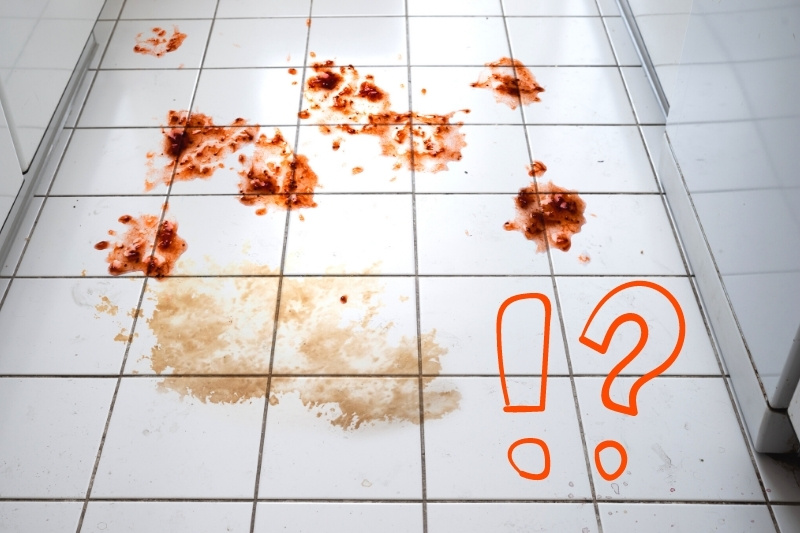
Tiled kitchen floors are prone to becoming grubby. It is easy for spills to make their way to your floors when whipping up delicious dishes.
Crumbs and other pieces of dirt and debris also make their way to your tiles and grout. And while kitchen countertops are usually wiped after every meal, kitchen floors are often neglected until they become grimy and horrible.
If you want to know how to clean a tiled kitchen floor, you’re in the right place. Here we run through several methods for cleaning depending on the material of the tiles in your kitchen.
Different surfaces need different cleaning products and tools, so consider what your kitchen floor is made of before choosing a cleaning method.
How to Clean Ceramic and Porcelain Kitchen Tiles
Ceramic and porcelain tiles are popular options for kitchen floors. They come in various colours and textures, enabling you to quickly add some personality to your cooking space.
Porcelain is harder and denser than ceramic, but both types of tiles are made from clay and so can be subjected to the same cleaning products and methods.
If your kitchen floor tiles are made from ceramic or porcelain (which most kitchen tiles are), here is a step-by-step guide on how to get them looking clean and shiny:
Step 1: Sweep or vacuum
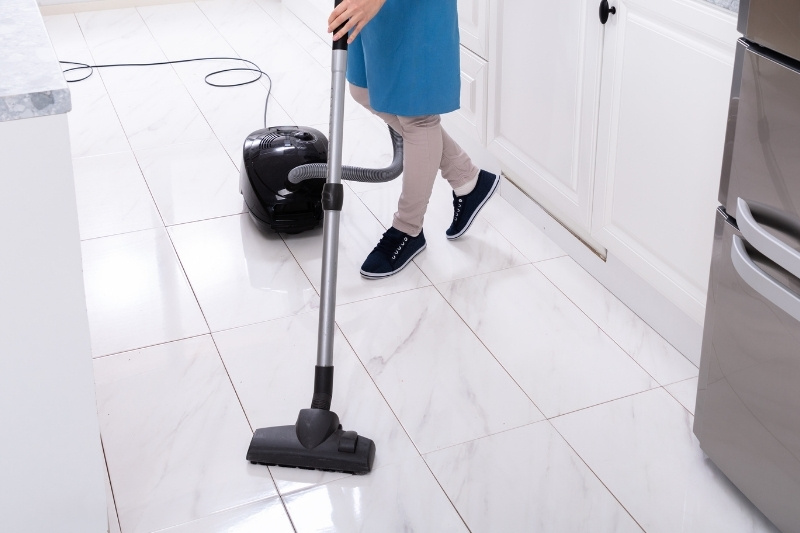
You should get into the habit of regularly sweeping or vacuuming your kitchen floor to keep the surface of the tiles from looking dull.
We recommended sweeping up debris daily (ideally after cooking – check out these long-handled dustpan and brush sets) and vacuuming the tiles at least once a week for a more thorough removal. This prevents any more stubborn areas of dirt from accumulating.
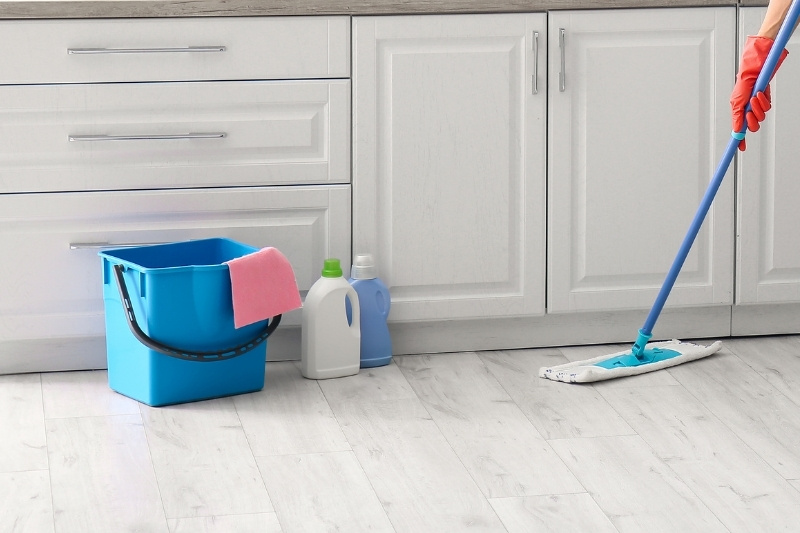
Step 2: Mop your floors
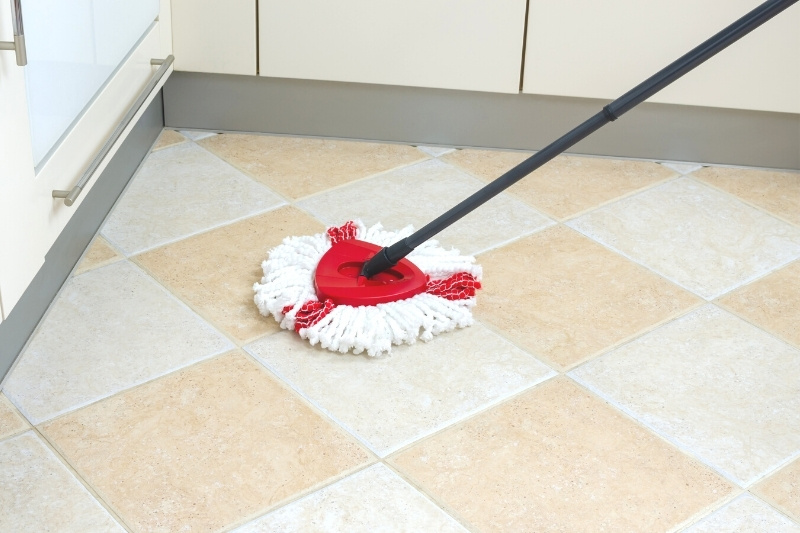
Next, fill a mop bucket with clean water and a mild cleaning detergent and begin mopping your kitchen floor. This removes bacteria and germs that vacuums cannot collect.
The moisture from mopping also removes any dried spills from cooking that brushes and hoovers fail to remove. Aim to do this once per week after vacuuming.
When cleaning ceramic or porcelain, use an old-school mop and bucket rather than a sponge mop.
String mops help to trap any dirt and debris missed when vacuuming, and don’t push as much dirty water in the grout line between your tiles.
Always change the water regularly when mopping—there’s no point cleaning your tiles with dirty water!
Step 3: Tackle stains & residue
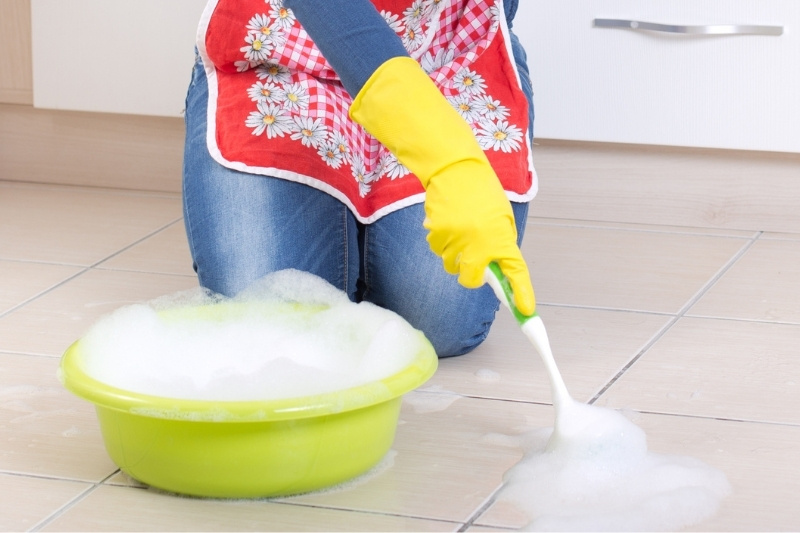
With the basic cleaning done, it’s time to tackle stubborn stains. We recommend checking for stains after mopping your kitchen floors each week.
The earlier you attempt to remove stains, the easier they lift from your tiles. Regular stain removal also means you won’t be left with hundreds of stains to tackle at once.
The best method for stain removal depends on whether you have glazed or unglazed tiles:
- Glazed kitchen tiles: Scrub the stains using a bristle brush and hot water, then go over this with a solution of vinegar and lemon juice. Alternatively, a diluted commercial tile cleaner can be used in place of the vinegar solution. Rinse any remaining cleaner with warm water and dry with a clean cloth.
- Unglazed kitchen tiles: You shouldn’t scrub glazed kitchen tiles as this can damage the surface and lead to dullening, so you need to use a soft bristle brush. Apply a mixture of vinegar and warm water, then rub in gently with the brush. Let the solution sit for up to ten minutes before rinsing and drying with a microfibre cloth.
Once the stains have been removed, check for soap residue. Soap residue can leave your tiles looking dull even after cleaning and form a thin film over your tiles.
You can remove this with a non-abrasive all-purpose cleaner or a diluted mixture of lemon juice and water.
Step 4: Clean tile grout
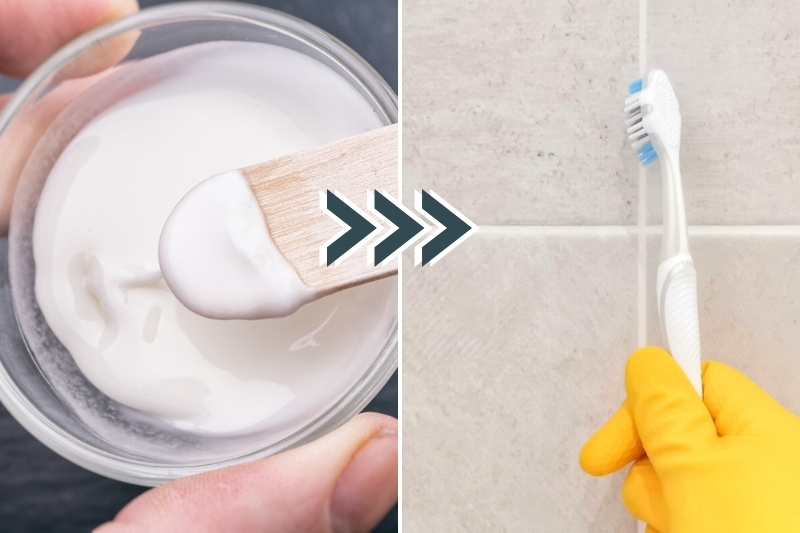
Finally, you need to clean the grout between the kitchen floor tiles. Dirt quickly accumulates in the crevices, and grout is prone to staining.
Even with the sparkliest tiles, your kitchen floor won’t look clean if you let this grubbiness remain!
To effectively clean the grout between your floor tiles, follow the below steps:
- Create a thick paste using bicarbonate of soda (also called baking soda) and water
- Dip a toothbrush in this paste and gently scrub along the grout lines
- Let the bicarbonate of soda sit on the grout overnight to lift the stains
- In the morning, use a stiff nylon brush made for cleaning grout to remove the mixture
- Rinse with warm water and dry using a clean microfibre cloth
After you have cleaned the grout, consider applying a tile sealant. Silicone-based sealants are best and help to repel future stains, so your kitchen tiled floor looks clean and fresh for longer!
How to Clean Stone Tile Kitchen Floors
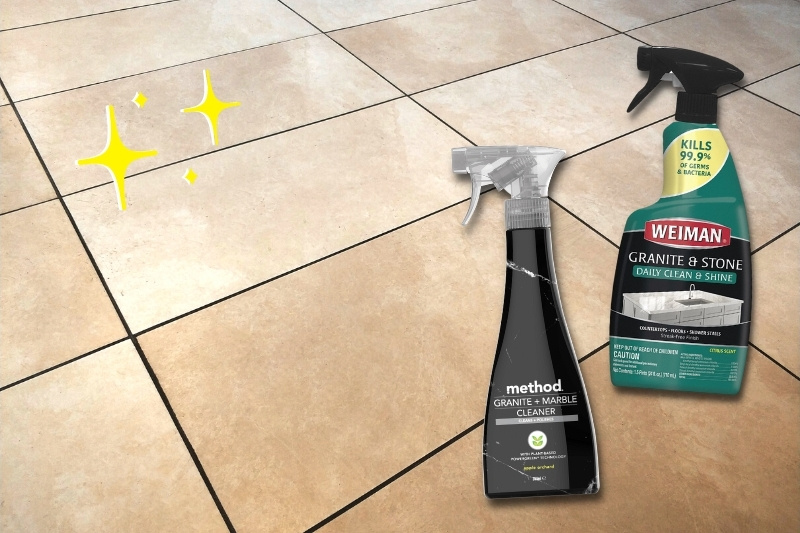
Natural stone such as slate, marble, and granite looks beautiful in kitchens. However, chemicals found in commercial cleaners can damage these natural stones and lead to permanent staining.
The same is true for homemade cleaning products containing vinegar and lemon; the acidity of these substances can destroy your tiles!
Therefore, you need to use special cleaners when handling stone floors that are pH neutral.
See our guide to the best cleaning products for natural stone if you don’t already have a special stone cleaner product.
Using a mild detergent and water should also be gentle enough on most slate floors, but patch test an inconspicuous area first and always check the label of any products you use.
You need to be careful when scrubbing natural stone floors, particularly marble. Even soft bristle brushes can scratch and damage your kitchen floor tiles, so use soft sponges and microfibre cloths as an alternative.
Microfibre cloths are also suitable for drying stone tiles immediately after washing, helping to prevent unsightly water spots from forming on the surface.
How to Clean Resilient Tile Kitchen Flooring
Resilient tiles are those made from vinyl, linoleum, cork, and rubber. The former two examples are relatively popular as kitchen floor materials as they’re durable, long-lasting, and water resistant.
They also require far less maintenance and are much easier to clean!
Here is a guide on how to clean a tiled kitchen floor made from these two materials:
- Vinyl kitchen floor: You can keep vinyl kitchen floors clean with regular vacuuming and mopping, while stains can be tackled with a solution of water and vinegar. However, avoid scrubbing at stains using a scourer or hard-bristled brush. These tools can scratch the surface, leading to dullening and damage.
- Linoleum tiles: Kitchen floors made from linoleum can also be kept clean with weekly vacuuming, but they must be mopped with a special linoleum floor cleaning solution and left to air dry. You should also protect your floors by applying a coat of wax and polishing them every three to six months.
Another must-know piece of advice is to never use a steam cleaner on these floors. Despite being durable and water-resistant, resilient kitchen tile floors are not designed to stand extreme temperatures and can lead to damage.

Hannah has a passion for cleaning. She worked her way around Australia by cleaning hostels in exchange for free accommodation and used her cleaning skills to bag a job as a chalet host for a luxury ski company in France.


")
