Wooden floors can look great in a range of homes, but a proper cleaning regime is necessary to keep them looking their best. Wooden floors may be durable, but they do need careful care and maintenance to help them last as long as possible.
Whether you are considering installing a wooden floor or simply need to clean a wooden floor for the first time, this guide is for you.
Types of Wooden Floor
Before you start cleaning a floor, it is crucial to consider what type of finish your floor has, as this can influence the cleaning process. If you are looking at installing a new wooden floor, consider asking the installer what type of finish you will be working with.
New wooden floors
Most modern wooden floors are sealed using a polyurethane coating, and they tend to also be stained or painted. This type of floor tends to be easy to care for and is naturally resistant to stains and water damage.
However, you should never use either oils or waxes on these floors as they will become slippery and dangerous.
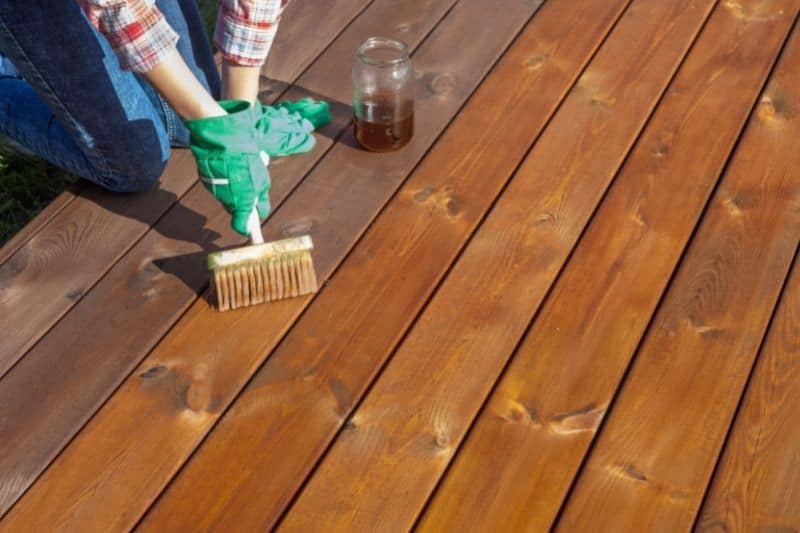
Older wooden floors
The wooden floors found in older or traditional homes are likely to have an oiled finish. The oil is softer, and soaks into the grain, before hardening and forming a seal. This kind of wooden floor will need maintaining with oils or waxes.
Lacquers and varnishes
Wooden floors with lacquered or varnish finishes are not as resistant to moisture or wear and tear as polyurethane finished wooden floors are. This means that this type of floor needs to be treated in much the same way as oiled floors.
Not sure?
If you don’t know what type of finish your floor has, simply rub your finger across it. If no mark shows, the floor is surface-sealed. If you can see a mark, the floor has been treated with a seal, oil, or varnish.
Weekly Clean
One of the best ways to maintain a wooden floor is to stick to a regular cleaning regime. Cleaning the floor on a weekly basis will reduce the chances of damage and save you from needing to deep clean the floor too often.
First, you need to vacuum the floor to collect any dirt, dust, pet hair, and other grime. If you are concerned about scratching the floor, use a soft brush attachment with your vacuum, or alternatively a soft broom.
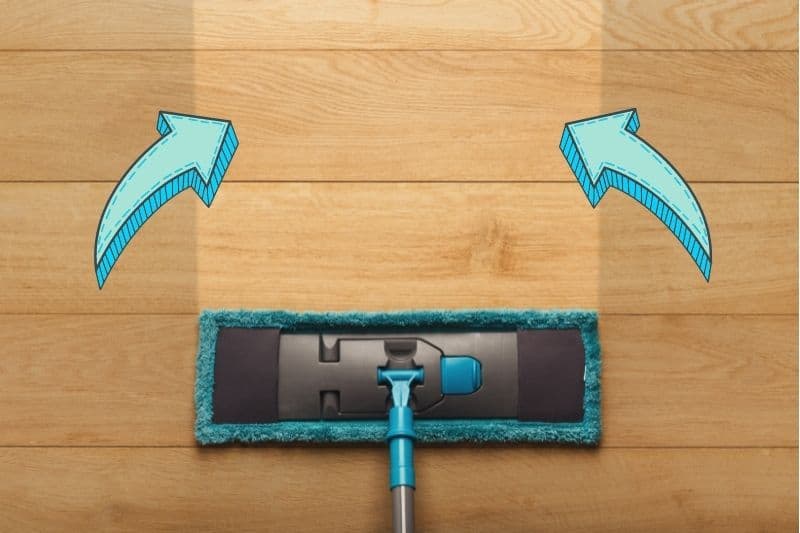
Cleaning modern wood floors
Fill a bucket with clean, warm water. Spray the surface of the floor with a cleaner that is suitable for wooden floors, or you can make your own.
To make your own, simply mix a teaspoon of washing-up liquid, four cups of warm water, and a few drops of your favourite essential oil. As with any new chemical, test it first on an inconspicuous area of the floor to make sure it will not cause any damage.
Dip the mop in the bucket, and wring out as much water as you can so the mop is just damp. Mop backward and forwards across the area you sprayed, making sure to follow the grain in the wood. The floor should dry very quickly if your mop is only slightly damp.
Buff the surface with a soft cloth to finish.
Cleaning oiled wood floors
If yours is an oiled floor, simply use a bucket of plain, warm water, and mop as before. You will likely need to change the water at some point as it will probably end up cloudy.
Leave the floor to air dry for around fifteen minutes, opening the windows if needed. Again, carefully buff to finish.
Deep Clean
When it comes to deep cleaning a wooden floor, it really is recommended that you buy a purpose-made deep cleaning chemical designed for your floor type.
If you aren’t sure, ask the manufacturer of your specific floor for products that they would recommend. Alternatively, you could always opt for an experienced cleaning company.
To get the best results, you should aim to deep clean your wooden twice a year. This will simply help you get rid of any dirt, grease, and grime that has built up on the floor and in its crevices over the months.
Make sure to follow the instructions on the cleaning product you use to ensure the best results and reduce the chances of accidental damage.
Removing Marks from an Oiled Floor
Oiled floors can be tricky to look after, and so spot cleaning to deal with the odd stain or mark can be a necessary task. Fortunately, there are a few easy ways to tackle this chore.
Bicarbonate of soda
Sprinkle around a teaspoon of bicarbonate of soda on a damp sponge or cloth and rub over the mark until it disappears. This method works best on light scratches and scuffs.
Washing up liquid
If the stain is oily or greasy, rub the area with a soft, damp cloth with just a small amount of washing up liquid. Rinse the area with clean, warm water, and repeat the process until the stain has gone.
Steel wool
This one is best only used for those hardy marks you just cannot shift. Common stains in this category include water marks or pet urine.
Simply rub the area with a fine grade steel wool, and polish with a soft cloth dipped in-floor oil. Make sure to choose an oil colour that matches your floor.
White vinegar
Again, this method is only recommended for stubborn, dark stains. Apply a tablespoon of white vinegar and leave it to soak for around an hour. Rinse with a damp cloth, and finish by buffing with a matching floor oil.
Stubborn stains
If you have stains that really will not shift no matter what you try, lightly sand the floor with fine sandpaper, and follow with a fine grade steel wool if needed.
Clean the area with either white spirit or white vinegar, before buffing with a floor oil that matches your floor’s colour.
Important considerations
Before attempting any of these methods, especially those involving floor oils, test the oil on an inconspicuous area to make sure the colour matches, and that the cleaning method will not cause any serious damage.
Removing Scuffs
There is nothing worse than noticing a scuff mark on your precious wooden floor. Fortunately, they can be dealt with quickly and easily with just a little elbow grease.
For lighter scuffs, you can simply buff the mark out with either a sock (clean, of course) or a new, fuzzy tennis ball.
In the case of heavier scuffs, sprinkle a little bicarbonate of soda onto a damp cloth, and rub the mark gently until it disappears. Wipe away any residue with a clean, damp cloth, and buff dry with a kitchen roll, paper towel, or a fresh and dry microfibre cloth.
Maintaining a Wooden Floor
Once you’ve cleaned your wooden floor and it looks all shiny and new again, you’re going to want to maintain it. Here are just a few simple ways that you can help your floor look fresher for longer.
1. Take off shoes
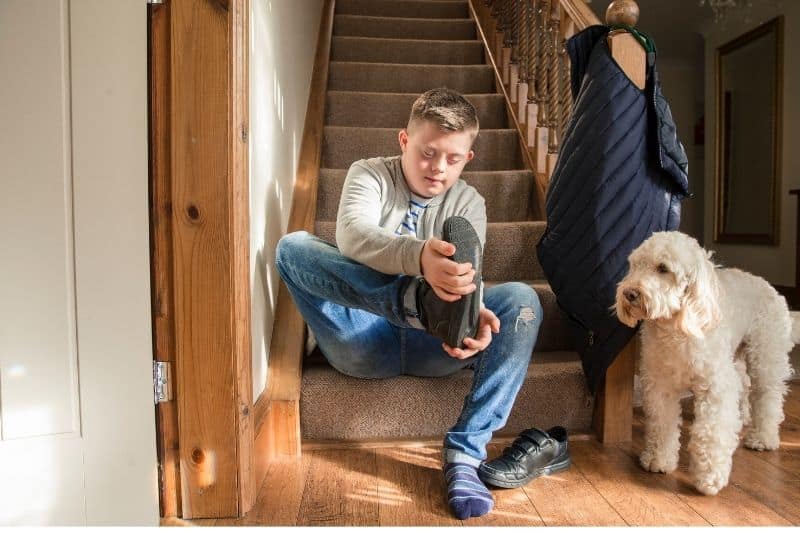
Shoes can bring in so much dirt, and this can wreak havoc with your wooden floor’s finish. The dirt and grit that gather on the underside of our shoes can be abrasive too, so your best bet is to leave your shoes at the door.
2. Vacuum regularly
Dirt and debris can build up in the crevices on a wooden floor, and over time, this can cause it to look dirty or even cause scratches if the dirt is dragged around.
Vacuuming the floor regularly can prevent this from being an issue. Ideally, you want to use a vacuum with a brush attachment. If you have a regular upright vacuum cleaner, make sure you turn the rotating brush off to stop the bristles from scratching the floor.
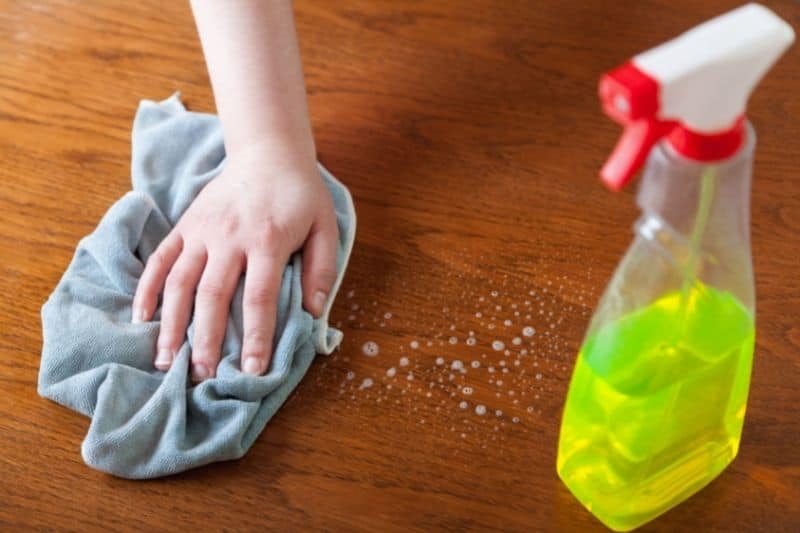
3. Clean spills quickly
Liquid spills are a fact of life, especially if you have kids or pets. If these spills are allowed to dry on the floor, they can dull the wood’s finish and attract even more dirt.
Blot spills as quickly as you can with an absorbent cloth. Follow up with a damp cloth or paper towel to remove any residue, and buff dry.
4. Avoid harsh detergents
Choose your cleaning materials carefully. Some harsh detergents can damage your flooring, leaving the finish looking dull and lifeless. There are also some oil-based cleaning products that can cause a build-up of residue over time, leaving behind a sticky, streaky finish.
Gentle is better!
5. Use furniture pads
One of the best ways to look after your wooden floor is to stop damage in the first place. Invest in pads for the bottom of your furniture so the wood doesn’t end up indented or with scratches.

Lover of coffee, painting, and all things cute and fluffy. I’m always on the lookout for easier, more gentle ways to tackle awful household chores.


")