Whether you’re hoping to do a big spring clean or overhauling your home at any time of the year, there are some great tips for deep cleaning in every room of the house.
You’ll be surprised by all the places you may not have considered adding to your cleaning list, but you’ll definitely be glad you’ve added them.
Deep cleaning your house may sound daunting and you might fancy enlisting the help of your local cleaning company, but bear with us.
We’ve pieced together these great steps to getting your home spotless.
Whether you need to clean your home before guests come to stay over in the holidays or you’re just sick of seeing the same dust on that window sill and the same stain on the bath, you can take it in your stride, knowing what needs to be done next.
Why Should You Deep Clean Your House?
Having a clean house is quite important, not only for aesthetics but for the health of yourself and anyone living with you.
Cleaning gets rid of dust, dirt, mould and grime which can all cause illnesses if left too long.
1. Dust
We all know what it’s like to run your finger across the top of a cupboard or a shelf and see a collection of grey fluffy matter, this is (of course) dust and it’s made up of dead skin, dirt and fibres.
These things can harbour bacteria and cause respiratory problems in humans, so dusting regularly is necessary – especially if anyone in your home suffers from asthma or other breathing difficulties.
Dust mites are another reason for getting rid of dust in your home as their poo is what causes respiratory reactions when people have allergies or other issues.
They can live in carpets, pillows and mattresses, in fact, most soft furnishings, so getting your home as dust-free as possible will help massively when it comes to allergies or breathing-related problems.
2. Dirt & grime
Just the words alone tell you why this is bad stuff to have in your home. Dirt can be brought in from the outdoors – such as mud, grit and even excrement – all of which are not things you want on your floors, sofas or anywhere for that matter.
Some dirt can be extremely detrimental to your health if it gets in the wrong places and especially if it is ingested.
Grime builds up over time in places that may be harder to reach for cleaning or just the places that are out of everyday sight. Both grime and dirt can attract bacteria, germs and even pests if the dirt is edible for them.
3. Mould

There are many different types of mould that can grow in your home. Damp places like bathrooms or even external walls can be the ideal place for mould to start growing.
Black mould is particularly nasty and has been known to make people quite ill, so you have to be extremely careful when dealing with this as mould spores can float around if you go to wipe this almost powdery substance away.
Dust mites also like to eat mould, which is another reason to get rid of it as soon as you can.
Deep Cleaning Your Home: Room by Room Guide
Each room in your home will require slightly different cleaning tactics and techniques due to all of the varying surfaces.
For example, you wouldn’t want to use a kitchen spray or bathroom bleach on your painted living room furniture…
So the best way to organise a deep clean is to take things room by room. This way, you’ll be able to feel like you’ve accomplished something with each room’s completion.
Kitchen (and utility room)
The kitchen is perhaps one of the rooms which is the most prone to getting dirty and it can get messy pretty quickly.
All it takes is one family meal and your wall could be splattered with sauce, food can be burnt on the hob and serving utensils could be left on benches causing stains.
It’s so important that your kitchen stays clean as this is where food is prepared and sometimes consumed and it is often the heart of the home.
Task 1: Wash the dishes
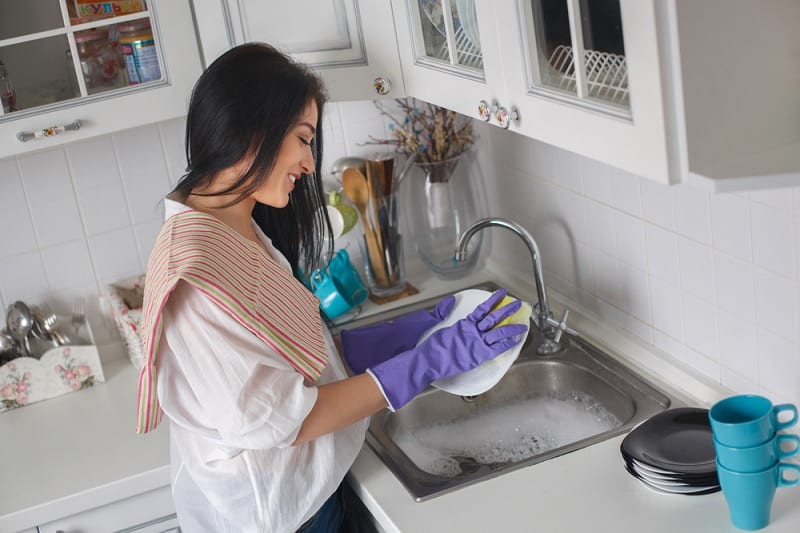
If there are any stray plates, cups and cutlery lying on your kitchen benches, give them a wash, dry them and put them away.
You may also want to remove any bench-top appliances for the time being so you can get at all the surfaces.
Now, let the deep cleaning begin!
Task 2: Get your oven sparkling
There’s nothing more satisfying than seeing all of the burnt-on grease and grime disappear from your oven shelves, so you may want to invest in an oven cleaning kit like this one from Oven Pride.
These are great for giving your oven a new lease of life and it can be left overnight to work its magic.
If you’re not keen on potent chemical cleaners, then you could opt for more natural cleaning agents and a bit of elbow grease.
The video below has some great tips on how to get your oven sparkling using bicarbonate of soda and white vinegar:
Task 3: Clean the hob

Since the hob is actually on show, it is very important to get rid of any stains, grease or charred food from the tops. There are a few different types of hob, so there are different methods for cleaning each of them.
Many modern hobs are flat glass or ceramic surfaces which are probably the easiest to get clean and sparkling and the easiest to wipe down after cooking.
Catching food while it’s still soft is the fastest way of avoiding the need to deep clean your hob, so once you have a pristine surface, make sure to clean up after every spill or splatter as soon as it’s safe to do so.
Metal hobs or gas hob burners can require a bit more effort to get as clean as new, but it is possible to improve their appearance drastically.
Metal cooker tops or hot plates can often get very dirty as food burns onto the surface readily and sticks pretty fast. So you need a mild abrasive that won’t damage the surface you are cleaning.
Hob Brite is the ideal cleaner to use if you want something that will cut through the grease and remove burnt-on food.
However, many of us are trying to reduce the number of chemicals we use, especially in the room where food is prepared. For a more natural solution, try using a mix of white vinegar and bicarbonate of soda to make a paste which can be left on the surface for a while, helping to loosen stubborn food debris.
If this doesn’t work, try mixing washing up liquid with water and spraying it onto the surface to help cut through grease and break down scorched food.
Take a look at our post on how to clean gas hob burner caps to find out the best way to get these metal tops as clean as a whistle.
Task 4: Clean your fridge
We often forget our fridge when it comes to cleaning, but it too can have its own selection of nasty surprises – have you ever lifted lettuce out of your salad drawer to discover a pool of orangey liquid?
Food can go bad, even in the fridge, so start by removing anything which is past its sell-by date and compost any food waste that can be.
Cleaning the fridge is much easier if you choose to do it before you go food shopping – an empty fridge makes it simple to get each shelf clean and any compartments or drawers.
Start cleaning from the top of your fridge, removing each shelf/drawer in turn and giving it a good wipe down (or scrub if needed) before replacing it.
Wipe down the interior of your fridge with a damp cloth or antibacterial wipe, making sure to get into the nooks and crannies. Wipe down the outside of the fridge too and use an antibacterial wipe on the handles.
Pop a little open tub of bicarb in your fridge to help absorb any lingering odours.
Task 5: Clean kitchen benches
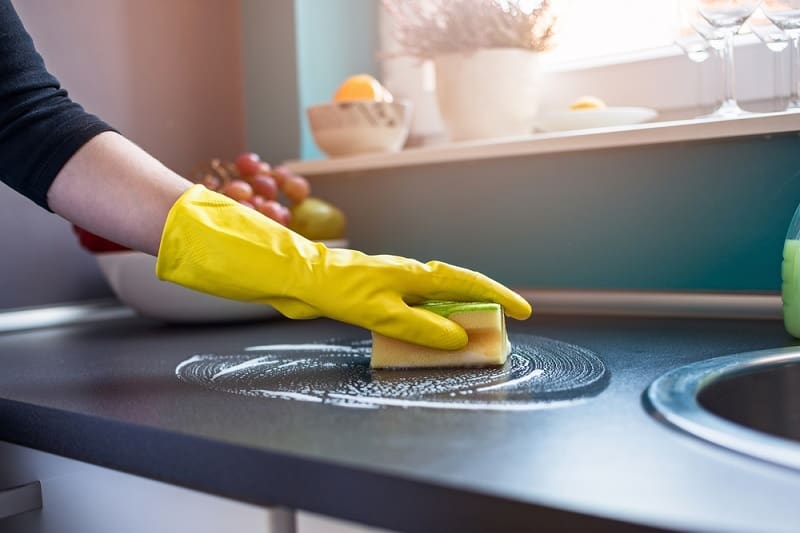
All of your worktops should be free from major obstructions to allow for deep cleaning. Depending on the state of the benches and the material they’re made from, you may need to employ some tougher stuff to get your benches clean and glittering.
A general all-purpose or kitchen surface cleaner spray would be a great choice. Use a clean cloth to wipe away the cleaning spray and any muck that’s been dislodged and then go over with a clean damp cloth or an antibacterial wipe.
Task 6: Make your kitchen sink sparkle
Clean the sink last, as this will probably be the spot where you’ll pour away the dirty water and rinse out greasy sponges.
Again, you can use a similar cleaner to the surface spray you used on the benches to get rid of any grease or opt for limescale remover if taps are looking a little crusty. Toothpaste is also good for getting metal faucets clean:
Make sure the plug hole is clean too and if there are any funky whiffs coming from it, employ the help of a drain cleaner.
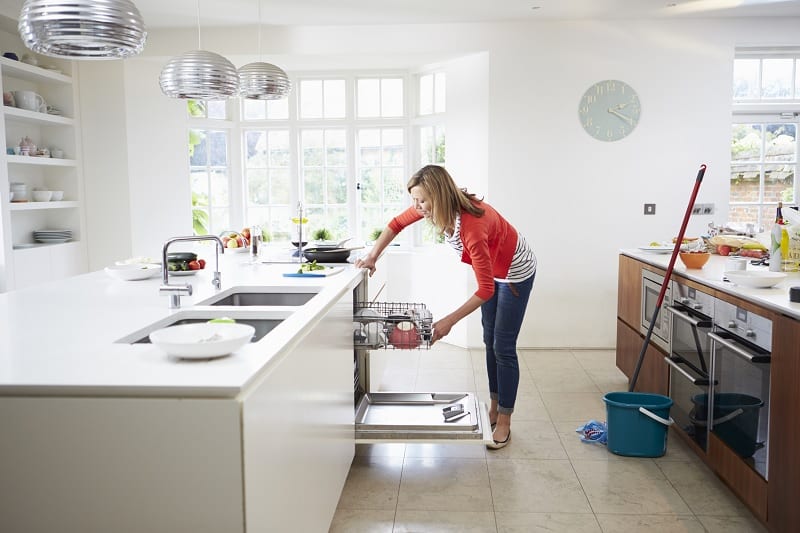
Task 7: Clean the dishwasher
Dishwashers take a lot of pressure off on an evening when you don’t have to stand at the sink scrubbing plates, pots and pans, but this means that they handle a lot of dirt.
Keeping your dishwasher clean will ensure that it lasts a lot longer, your plates come out cleaner and you won’t get any grim pongs floating out as you open the door.
Check out our list of dishwasher cleaners to find out which one we recommend.
Many dishwasher tablets are designed to not only get your dinnerware sparkling but to keep your machine from getting clogged up. Using the right tablets can make a lot of difference and making sure to keep the salt levels correct will also help.
Task 8: Wash the washing machine
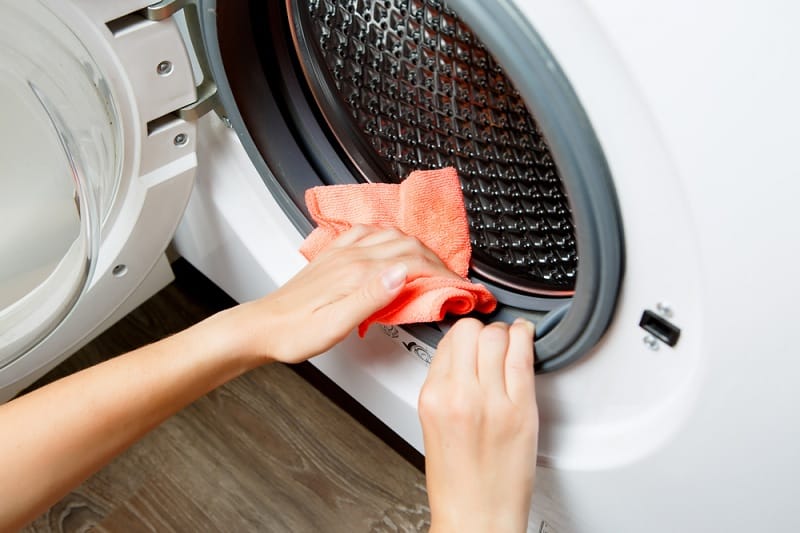
Oftentimes the washing machine can be the cause of a bad smell in the kitchen, so keeping it fresh is really important, not to mention the fact that a stinky washer could mean problems with drainage.
Regularly cleaning your washing machine will keep it working for longer and your laundry will be a lot cleaner.
Here’s a quick checklist for keeping your washing machine clean:
- Detergent drawer – tip out excess water after every load and leave to dry out
- Drawer space – check for mould and clean thoroughly
- Door seal – after every wash, wipe around the inside of the door seal to clean out hair, residue or grime
- Filter – every couple of weeks, allow the water to drain out then clean inside – you might be surprised at what you find in there
See our guide to the best washing machine cleaners if you’re not sure which products to use.
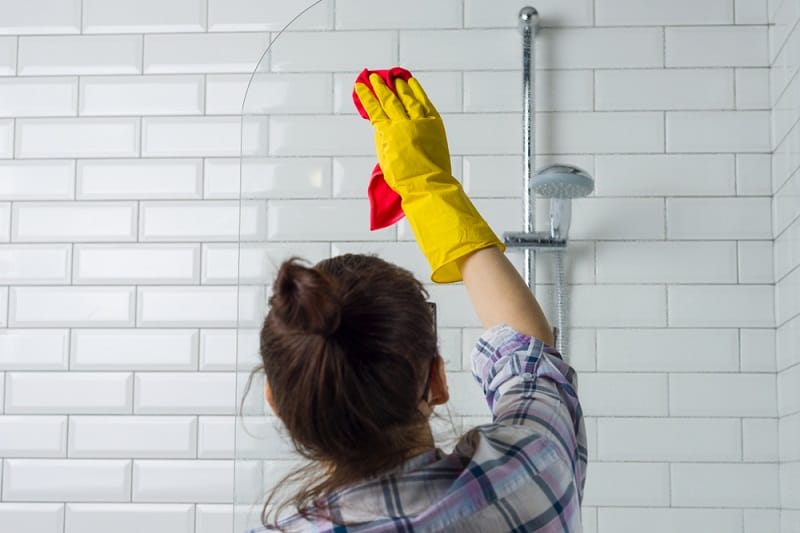
Bathroom

Despite the bathroom being the place you go to get washed, it doesn’t stay very clean by itself.
Excess moisture in the air can cause damp or mould and water left pooling can lead to a build-up of limescale and could even rot the sealant around your bath, toilet or shower.
Toothpaste splatters can dot your walls, soap scum can build up on the sink, limescale can block your showerhead, toilet hinges can get rusty… ok, so there’s plenty of gross things that can go on in the bathroom, so let’s get to the deep cleaning!
For a more in-depth look at cleaning the bathroom, head on over to our post for step-by-step instructions.
Task 1: Deep clean the toilet
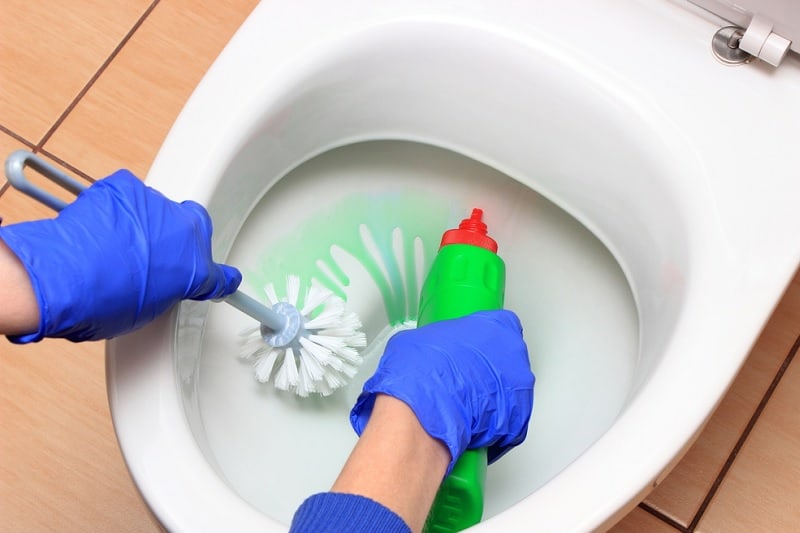
Depending on how stained your toilet bowl is, you may require some bleach to get it sparkling clean. So pop your rubber gloves on and get to work!
Bleach or toilet cleaning products will often need to be left for a little while to break down any residue or staining, so coat the bowl and wait for the recommended time on the packaging.
Once this has sat for a while, you can go in with the toilet brush and get right under the rim and as far into the bend as possible for maximum clean.
You may want to employ the scrubbing power of a mildly abrasive sponge for tougher staining – just make sure to get the non-scratch variety like these Scotch-Brite sponges. Once clean, flush the loo to rinse.
Once the bowl is clean you can clean the seat – top and underside – the hinges, the outside of the bowl and the cistern. Make sure to use antibacterial cleaners when dealing with this highly germy area.
Task 2: Clean the bathtub
Bathtubs can be notoriously difficult to clean, especially those with enamel coatings.
Plastic baths should clean up relatively easily with a good wipe round to remove any limescale or mould – check the sealant around the bath and if it looks black, it may need to be removed then resealed. Use a soft cloth to finish to give you a streak-free shine.
Enamel or ceramic finished bathtubs can be a bit of a headache as they need more careful cleaning to avoid damaging the surface finish. This video has some great tips on sprucing up a ceramic finished bathtub:
Enamel coating can strip away with abrasives over time and cause the bath to look dirty. If a “stain” isn’t coming off, it might just be that the tub needs re-enamelling.
Task 3: Remove mildew and clean limescale
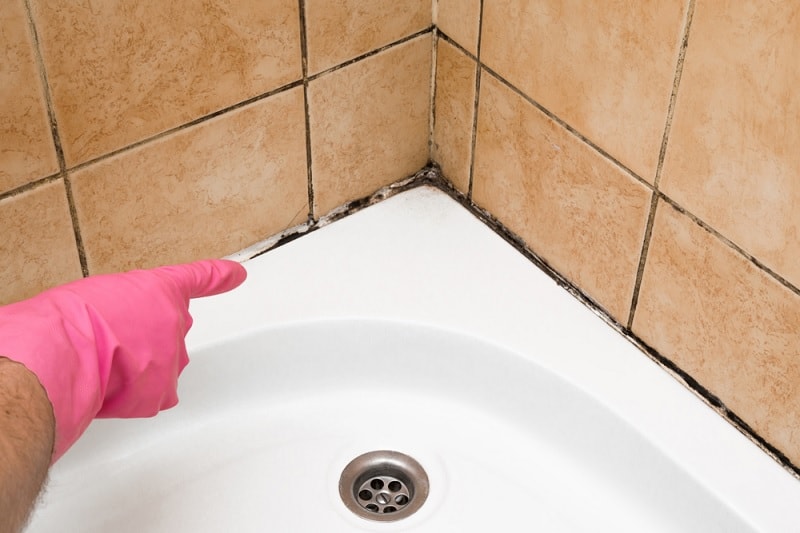
Over time, water can cause a whole manner of problems in the bathroom – limescale and mildew are just two of these issues.
Limescale naturally builds up where water has been sitting, leaving chalky deposits of calcium carbonate (which is present in tap water).
This can easily be removed with a bathroom cleaner or with the more natural method of white vinegar, which will break down the lime deposits and wipe away.
Allow your cleaning solution of choice to sit on taps/shower heads etc for a small while before wiping.
Mould and mildew are removable, but you must keep an eye on mould if it keeps coming back, as this may need more attention than just cleaning.
Get a good mould and mildew spray cleaner and follow the usage instructions on the packaging – we recommend HG Mould Spray which helps to stop mould from coming back.
Task 4: Wash the bathroom floor
The floor should be last on your list of cleaning tasks and you should focus your efforts in grubby corners before mopping the entire floor as you back towards the door.
Nobody likes wet socks from walking on freshly mopped floors!
Wipe away dust from corners with a damp cloth to avoid spreading it all over the floor when you begin mopping. Spray mops are ideal for cleaning the bathroom floor as there’s less mess, you’ll use less water and it makes mopping so much quicker.
Add in some cleaning solution to the water to make your bathroom smell even fresher.
Task 5: Fresh bath linens
Pop some lovely clean towels on the rails, lay down a fresh bath mat and step back to admire all of your hard work.
Bedroom
Your bedroom should be your haven – the place you go to escape from the world and relax.
Having a clean and tidy bedroom can do wonders for your mental health, as well as your physical health.
As we mentioned earlier, dust mites live in soft furnishings, so your bedroom is literally like a playground for them – mattresses, pillows, quilts, curtains, cushions… these all collect dust and therefore attract those pesky little mites.
Task 1: Tidy up
The best place to start before doing any cleaning is tidying up. Make sure your clothes shoes and laundry are in their correct places – once you have a tidy space, then the cleaning can begin – otherwise, you’ll end up getting angry at things that are in the way as you work.
Task 2: Clean your entire bed
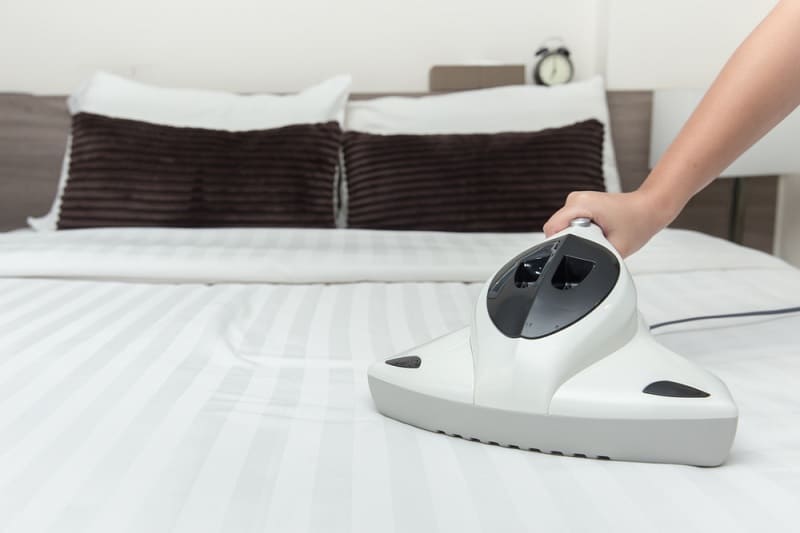
Strip all of the sheets off the bed, including any mattress covers or protectors. Wash your bedding on high heat – around 60°C – as this is the best way to get them super clean (always read and adhere to care labels when washing anything) and make sure dust mites are eliminated.
Speaking of those pesky little dust mites, it’s time to get the vacuum out! While your mattress is bare, take the time to hoover it thoroughly on both sides.
If you want to do some deodorising of your mattress, sprinkle it with bicarbonate of soda (baking soda) and leave for a couple of hours before vacuuming.
You can add a touch of your favourite essential oil to the baking soda if you like – lavender is ideal for the bedroom as it can help to promote restful sleep.
If you want a bit of a deeper clean for your mattress, it is possible to steam your mattress if that’s what you prefer, but it can take a while until the mattress is dry enough to put back onto the bed.
Be careful not to saturate the mattress when using a steam cleaner and remember to do the sides as well as the top and bottom.
While you have the steamer out, you could opt to give your duvet and pillows a once-over to kill dust mites and revive the fibres a little – when using on down-filled quilts and pillows, be careful not to saturate them too much, this could ruin your expensive bedding.
Task 3: Clean your bedroom curtains, floors and surfaces
Don’t put away the vac or steamer just yet – you can use both to clean the curtains, rugs, throws or any decorative cushions you might have on your bed.
Steaming is a great solution if your washing machine isn’t quite big enough to handle these larger items – killing dust mites and freshening fabrics in a few swipes of hot steam.
It also means you don’t have to expend any time taking down your curtains, drying them and putting them back up (but you totally can do this if this is your preference).
Make sure to vacuum the flooring/carpet, the tops of any cupboards, under the bed, windowsills and any cobwebby corners.
You could wipe down any painted surfaces with a damp cloth to get rid of fine dust or any makeup debris that has made its way onto your dressing table.
Once you’ve done all of the cleaning jobs in your bedroom pop your fresh clean sheets on and make the bed look neat and tidy.
Living Room
Just like a bedroom, your living room is full of soft furnishings, so it’s important to keep things dusted, vacuumed and washed to hinder dust mites as much as possible.
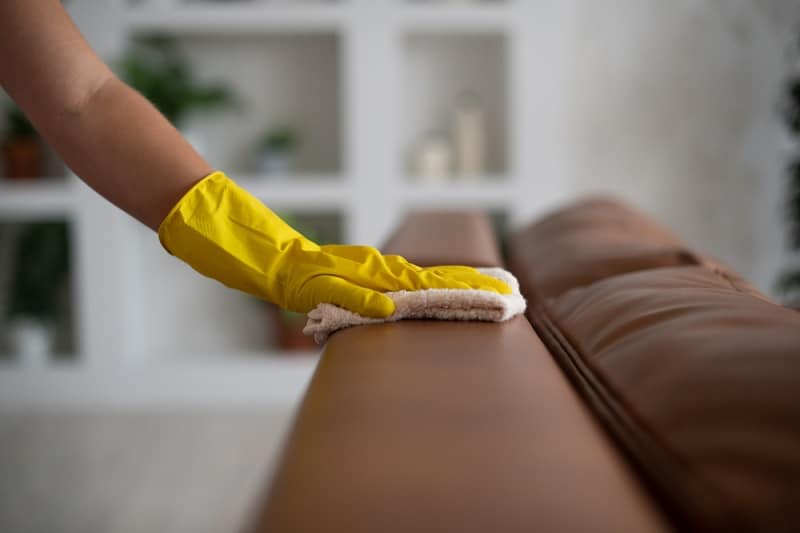
Task 1: De-crumb and clean the sofa
Vacuum your sofa to remove any debris or dust – get in every crevice and cranny of the cushions and down the sides to ensure all crumbs and fluff are removed. You may even find some money or lost jewellery down there if you’re lucky.
Use leather wipes for leather sofas (of course) or steam clean other textiles for allover freshness. If there are any major stains, tackle these before steaming!
Task 2: Get under (and on top of) everything
Dust gets everywhere, so make sure you find it and get rid of it. Use a microfibre dusting cloth to wipe surfaces to keep the dust clinging to the cloth rather than flying all around the room. Places that dust loves to hide include the following, so make sure you check:
- On the TV
- Inside drawers
- Down the sides of any seating
- Behind doors and in corners
- On windowsills
- On blinds
- In bookcases
- On or inside decorative ornaments
Vacuum underneath the sofa, tables and cabinets and on top of high cupboards.
Task 3: Freshen up the carpet
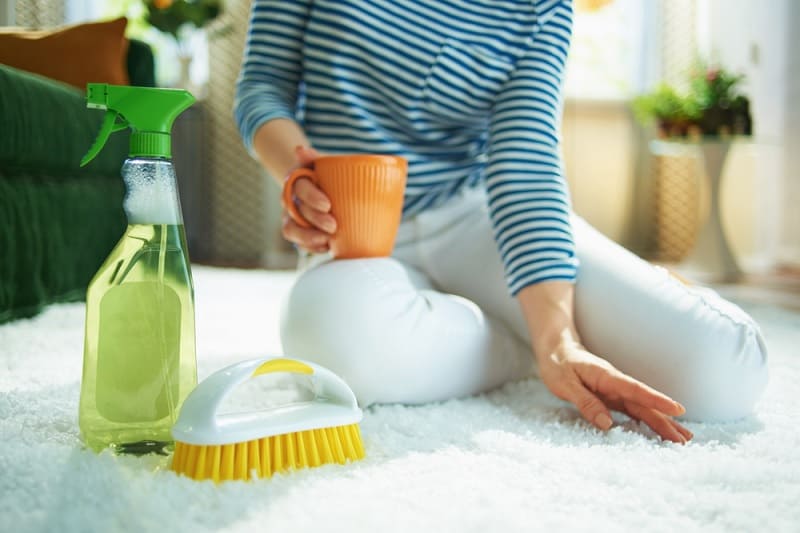
After vacuuming the carpet or rug, you may want to use a carpet cleaner if you have one (or you can rent one for a day).
Steaming will work just as well and you could even add in one of your favourite scented cleaners to make the whole room smell delightful.
Always let your carpet dry fully before replacing furniture or stepping across it.
Alternatively, you could use bicarbonate of soda to help freshen your carpet.
Stairs and entranceway
Although this isn’t really a room as such, it is still an integral part of your home and also provides the entrance for outside dirt and germs to come into your home.
Making sure people take off their shoes and outdoor clothes (such as coats and hats) at the door is a great way to control how much of this outside muck gets into the rest of your home.
If you have a “mudroom” or place to take off coats and shoes, make sure this is neat and tidy with everything in its place.
Then vacuum the floor and stairs before tackling any stains on the carpet. For speedy cleaning, you could opt to steam carpets or rugs in the entranceway.
Wipe down the bannister or handrail with an antibacterial wipe for extra cleanliness.
Great Tools and Products For Deep Cleaning

There are so many methods of cleaning nowadays, ranging from traditional natural methods with white vinegar, bicarbonate of soda and lemon juice to top of the range cleaning products which leave your home spotless and “germless”.
We’ve mentioned most of these methods above in our guide to deep cleaning your house, but we thought we’d make a list of some of our favourite, ‘must-have’ cleaning supplies.
We have loads of great posts about cleaning different items and areas of your home, so if you’re looking for something in particular, pop it in our search bar and you’re sure to find what you’re looking for.
Some of our favourite deep cleaning products
- White vinegar – Keeping things natural, white vinegar is the perfect product to have in your cleaning arsenal as there are so many ways in which this wonder-food can be used. Check out our post on where to buy white vinegar in the UK to get started on some more eco-friendly cleaning.
- Bicarbonate of soda – If you invest in white vinegar, then you’ll want to get yourself some bicarb too. These top two ingredients are the ideal cleaning pair and since bicarbonate of soda helps to eliminate odours, you don’t have to worry about the smell of vinegar filling your home. Find out where to buy bicarbonate of soda in the UK here.
- Bleach – Despite the harsh, chemical nature of bleach, it is still one of the most effective ways of cleaning really tough stains or grotty surfaces. Just use it sparingly (only when nothing else will do the same job) as it can be harmful to your health.
- Zoflora – Having a home that smells lovely is at the top of many of our lists. A delightful scent as you come through the front door can make you feel at home instantly and also makes your home welcoming for guests too – Zoflora disinfectant comes in so many scents and can be used in a variety of ways around your home, so all you need to do is find your favourite fragrance.
- Drain cleaner – This is another product that we feel should be used as infrequently as possible and only when fully necessary. Drain cleaner can be quite potent, so should only be employed as a solution for really badly blocked plugholes and drains. We recommend using a plughole strainer like this one to help catch the pesky bits of food and residue which cause blockages in the first place.
- Hob Brite – A must for getting those hobs and ovens gleaming, but as with drain cleaner, try to use infrequently as the chemicals are not good for the environment.
- The Pink Stuff – Made by Stardrops, this cleaning paste can be used on almost any surface for brilliant cleaning results.
Some of our favourite deep cleaning tools
- Handheld vacuum cleaner – Any vacuum cleaner will do, but a handheld vacuum is ideal for getting up-a-height, in between the sofa cushions and into smaller spaces around your home. Not to mention that you aren’t attached to a socket as you hoover.
- Sonic Scrubber – These battery-powered brushes are a bit like an electric toothbrush, but with a selection of different sized heads for carrying out a variety of cleaning jobs. The Sonic Scrubber will get into the grooves and corners which can be difficult to do with scourers or other cleaning tools which require elbow grease.
- Toilet brush – For obvious reasons, this tool is a must – no one wants watermarks and unsavoury stains in the bottom of their toilet bowl.
- Window Vac – This handy piece of equipment from Kärcher will do wonders for your bathroom, removing excess water from condensation on tiles and glass. This is a tool that should be used frequently to avoid needing to deep clean too frequently.
- Steamer – One of the fastest ways to kill dust mites and freshen things up. Perfect for large soft furnishings which can’t fit in the washing machine.
Once you’ve done a super thorough clean of your entire home, it’s best to upkeep things as well as you possibly can – this could mean doing one cleaning task per day so that by the end of each week everything has been cleaned.
If you keep on top of the smaller things, next time you should be able to deep clean your house in one day!
Thirty-something lady with a penchant for flowers and anything involving crafts. I like to clean using environmentally-friendly methods where possible and love sharing my findings, tips and tricks here on In The Wash!

")


