Crayon marks on wood are common, especially in households with young artists. These vibrant streaks might seem stubborn, but fear not!
Restoring your wooden furniture, floors, and doors to their original, crayon-free state is entirely achievable—if you have the proper techniques.
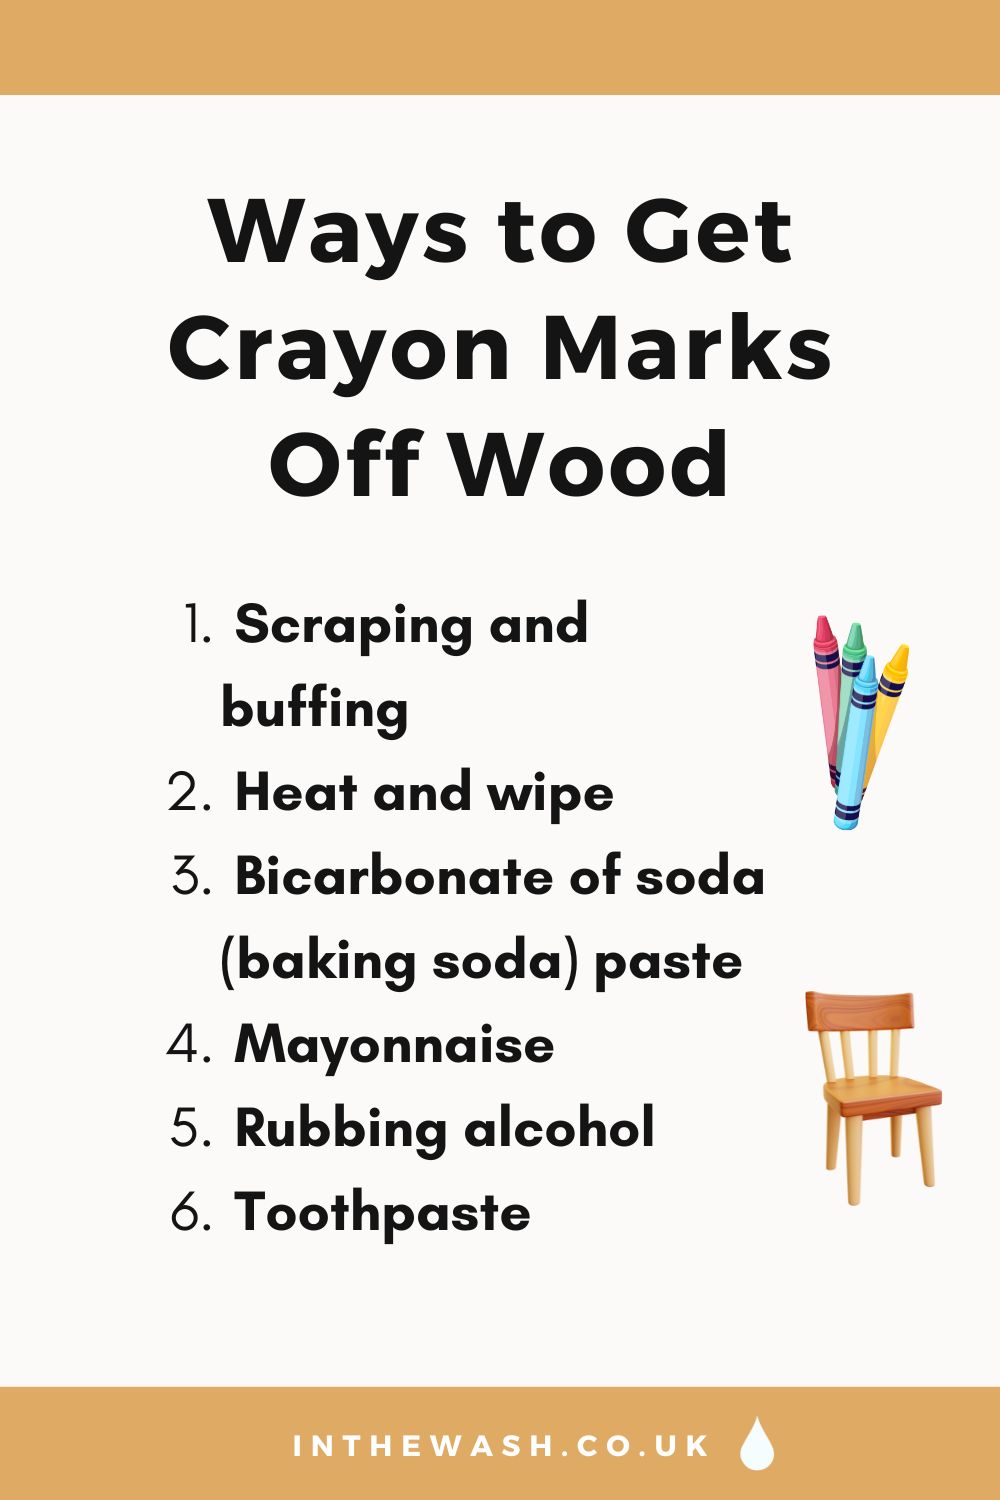
As one of the most stubborn stains, removing crayon marks from wood can be tricky. However, here we present six effective methods you can try using everyday household items.
Method 1: Scraping and Buffing
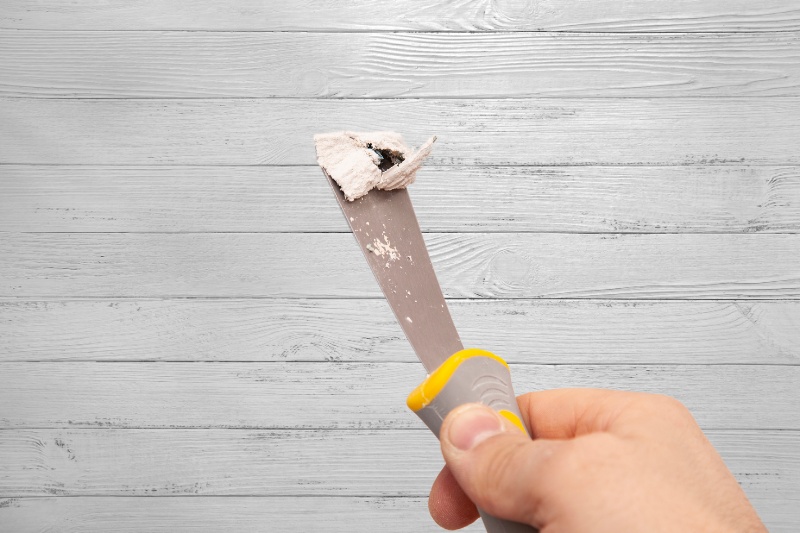
Fresh crayon marks will likely be sat on the surface of the wood, yet to penetrate deeply into the wood fibres.
Therefore, your first port of call should be to scrape and buff the wood and remove these surface-level stains. Here is how to do this:
- Prepare the surface: To facilitate stain removal, ensure the wooden surface is clean and free of loose debris or dirt. If needed, wipe it down with a damp cloth or use a mild soap or wood cleaner to clean the area.
- Scrape off excess crayon: Use a plastic scraper or an old credit card to gently scrape the excess crayon from the wooden surface. The key word here is gentle—rather than applying full force, use light pressure and be careful not to scratch the wood.
- Wipe and buff: Use a soft microfibre cloth to wipe away more of the crayon. Apply gentle pressure and continue wiping until the crayon is removed. Buff the area with another clean cloth once you’re satisfied with the results to restore shine to the wood.
- Address stubborn marks: If some crayon marks remain, lightly sand the area with fine-grit sandpaper or a magic eraser like the Mr Siga Eraser Sponge. Be very gentle to avoid damaging the wood finish any more than necessary.
- Final touches: If needed, apply a small amount of wood polish or wax to the area to restore the finish and shine of the wood. For painted wood, you may also need to apply another lick of paint to make the wooden surface look as good as new.
Method 2: Heat and Wipe
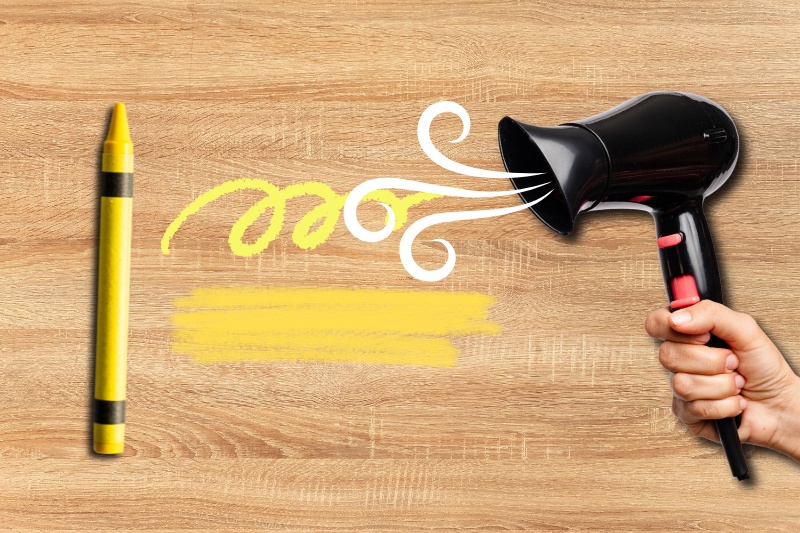
If the scrape and buff method doesn’t work, try it again using the added power of heat.
Applying heat to the crayon softens the wax, making it easier to wipe away. We recommend using a hair dryer and running it across the crayon marks.
The steps for using a hair dryer to remove crayon from wood is explained below: You should do this between step two (scrape off excess crayon) and step three (wipe and buff) in the above section.
- Plug in the hair dryer: Plug the hair dryer into a power outlet and turn it on. Set it to a low or medium heat setting. Although you might think high heat is more effective, it can actually damage the wood and/or the finish.
- Heat the crayon marks: Hold the hair dryer a few inches (around 15cm) away from the crayon marks and apply the heat evenly. Move the hair dryer in a back-and-forth motion over the crayon marks at a steady pace.
- Soft & wipe the crayon: As the crayon wax softens, you’ll notice it becoming more pliable and easier to work with. Use a clean cloth to gently wipe away the softened crayon, applying gentle pressure to lift the crayon from the wood.
Method 3: Bicarbonate of Soda Paste
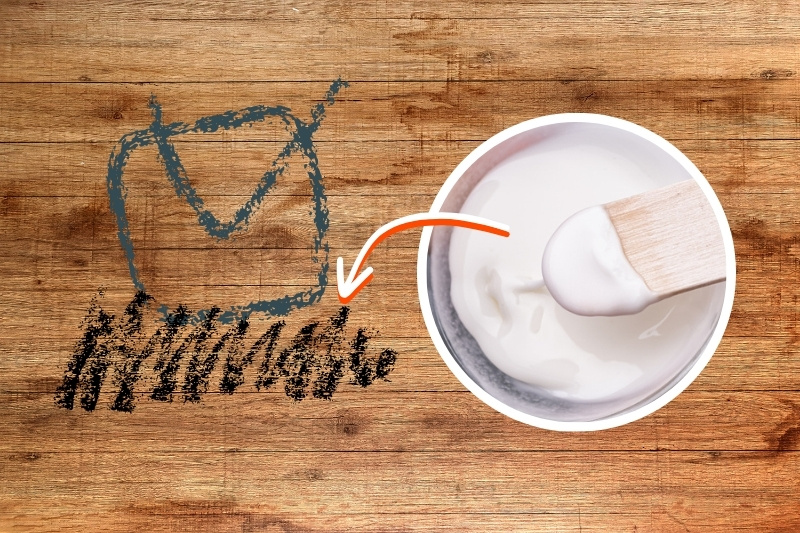
Bicarbonate of soda (also known as baking soda, but not to be confused with baking powder) is a versatile stain remover.
Crayons are among the many marks that bicarbonate of soda can effectively get rid of, and it is gentle enough to apply to wooden furniture, doors, and floors.
To remove crayon marks from wood using bicarbonate of soda, you need to make a cleaning paste and apply this to the wooden surface you’re treating. You can do this by following these steps:
- Create a cleaning paste: Mix a small amount of water with bicarbonate of soda to create a thick paste. Use a ratio of around 1 to 2, where you have more bicarbonate of soda than you do water. This results in your paste having a thick, easy-to-apply consistency.
- Apply the paste: Using a clean microfibre cloth or a cotton wool pad, apply the bicarbonate of soda paste to the crayon marks on the affected wooden surface. Ensure that you thoroughly cover the stained area with the paste.
- Scrub the crayon marks: Using a gentle circular motion to not scratch the wood, rub the paste into the crayon marks using a sponge. Then, let the cleaning paste sit on the crayon marks for a few minutes to encourage it to soften the wax.
- Wipe and clean: After allowing the paste to sit, wipe the area with a damp cloth to remove the paste and the softened crayon. Check the area to see if the crayon marks are completely gone. If not, you may need to repeat the process.
- Polish the wood (optional): Bicarbonate of soda can leave wood looking a little dull. If this is the case, apply a small amount of furniture polish to restore its shine. Follow the instructions for the specific polish you’re using to achieve the best results.
Method 4: Mayonnaise
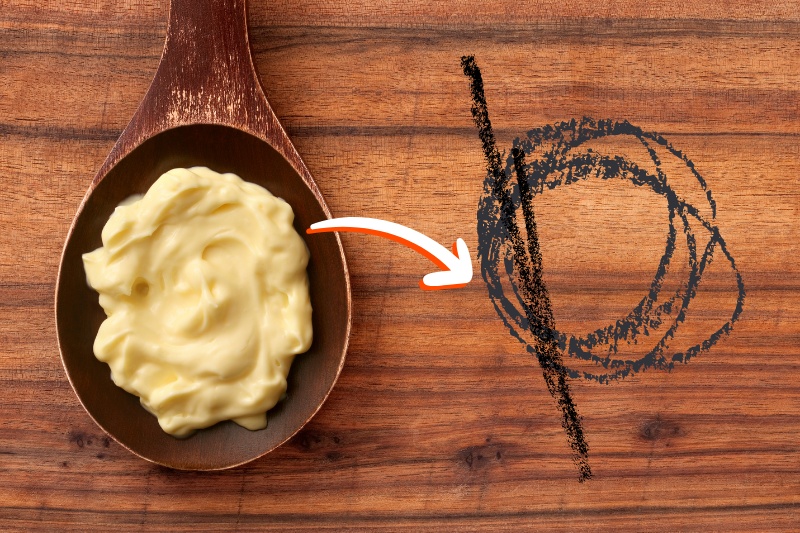
This cleaning method might sound a little out of the box, but trust us—it works!
The oils in mayonnaise help to break down the crayon wax and lift it from wooden surfaces while simultaneously acting as a wood polish.
To remove crayon marks from wood using mayonnaise, follow these steps:
- Apply mayonnaise or cooking oil: Place a small amount of mayonnaise directly onto the crayon marks on the affected wooden surface. Allow it to sit for a few minutes to penetrate the wood and soften the crayon.
- Gently rub: Use a soft cloth to gently rub the crayon marks, using light pressure and circular motions. Continue to rub until the crayon starts to come off, then wipe away the softened crayon with a clean cloth until completely eliminated.
- Clean the area: After removing the crayon, use a mild soap (such as washing-up liquid) or wood cleaner to clean the area where the crayon marks were. This helps remove any residual oils or mayonnaise, leaving behind a perfectly clean surface.
Method 5: Rubbing Alcohol

Rubbing alcohol (also known as surgical spirit) is another effective cleaning agent that you can use to get crayon marks off wood. It helps dissolve the crayon wax, allowing it to be wiped away in seconds.
However, this strong cleaning substance can damage wooden surfaces and should only be used as a last resort.
Always be cautious when using rubbing alcohol on wood, especially on finishes, and stop immediately if you notice any adverse reaction.
Here’s a step-by-step guide:
- Test in an inconspicuous area: Due to its strong and potent nature, always test rubbing alcohol on an inconspicuous area of the wood before applying it to the crayon marks. This helps to ensure it won’t cause any damage or discolouration.
- Dampen a cloth with rubbing alcohol: Assuming no damage occurs, pour a small amount of rubbing alcohol onto a clean microfibre cloth. Wring out any excess liquid—you want your cloth to be damp but not dripping wet.
- Rub the crayon marks: Gently rub the crayon marks on the wood with the damp cloth. Apply light pressure and use circular motions to dissolve and lift the crayon. As the crayon starts to dissolve, wipe away the softened crayon with a clean cloth.
- Clean the area: Use a mild soap or wood cleaner to clean the area where the crayon marks were. This helps remove any residual rubbing alcohol. Check the area to see if the crayon marks are completely removed. If needed, repeat the process.
Method 6: Toothpaste
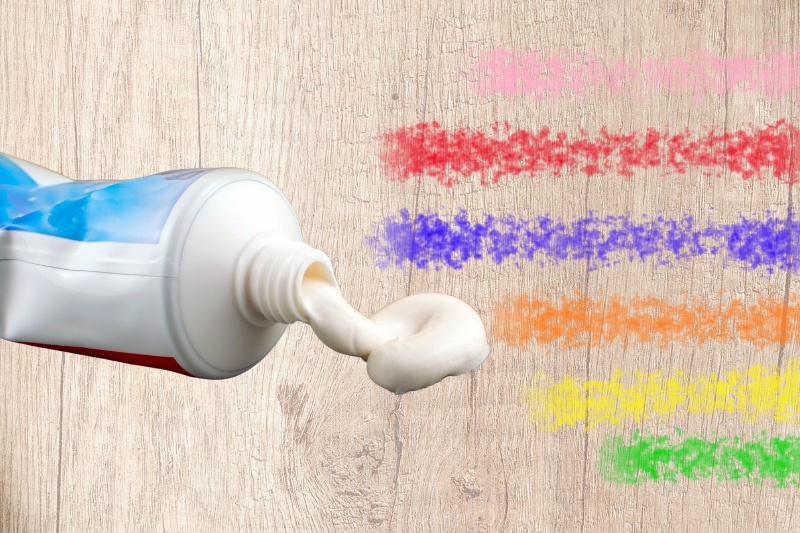
Toothpaste seems like another odd choice for stain removal, but this toothpaste cleaning hack will leave your wooden surfaces crayon-free.
To avoid causing damage, use non-gel, white toothpaste free from added gels, colours, or microbeads. A plain white toothpaste is preferred.
Once you’ve chosen an appropriate toothpaste, follow the steps below to use it to get crayon marks off of wooden surfaces:
- Apply toothpaste & rub gently: Squeeze a small amount of toothpaste directly onto the crayon marks. Then, gently rub the toothpaste into the wood using a soft toothbrush. Continue rubbing until you see the crayon marks start to lift and dissolve.
- Wipe and clean the area: Use a clean, damp cloth to wipe away the toothpaste and the dissolved crayon. After removing the crayon, use a mild soap or wood cleaner to remove any residual toothpaste from the surface.
- Inspect and repeat if necessary: Check the area to see if the crayon marks are completely gone, and repeat the process if necessary. Once satisfied, apply a small amount of wood polish to restore the shine to your furniture.
Tips on Getting Crayon Off Wood Furniture & Floors
- Before attempting any cleaning method, test it on a small, hidden area of the wood to ensure it won’t damage the finish.
- Use a gentle, circular motion with soft cloths or sponges when attempting to remove crayon marks to avoid scratching or damaging the wood.
- Always clean and rub in the direction of the wood grain to preserve its natural appearance and avoid creating unnecessary damage.
- Begin with the least abrasive or mildest method for removing crayon marks and gradually progress to more intensive methods if needed.
- Different wood types and finishes may require specific approaches. Be aware of the wood type and finish to tailor your approach accordingly.
- Stay away from harsh chemicals or abrasive cleaning agents that can damage the wood or its finish. Things like bleach, ammonia, and hydrogen peroxide must be avoided.
- Address crayon marks as soon as possible to prevent them from setting in and becoming more difficult to remove.
- Regularly clean and maintain wooden floors and surfaces to prevent crayon marks from becoming deeply ingrained. Dusting and gentle cleaning can go a long way.
- Apply protective coatings, such as varnish or sealant, to wood surfaces to make crayon removal easier and to prevent the crayon from penetrating the wood.
- Prevention is key, so consider setting boundaries for crayon use near wood furniture or floors to minimise the need for removing stains from wood in the future.

Hannah has a passion for cleaning. She worked her way around Australia by cleaning hostels in exchange for free accommodation and used her cleaning skills to bag a job as a chalet host for a luxury ski company in France.


