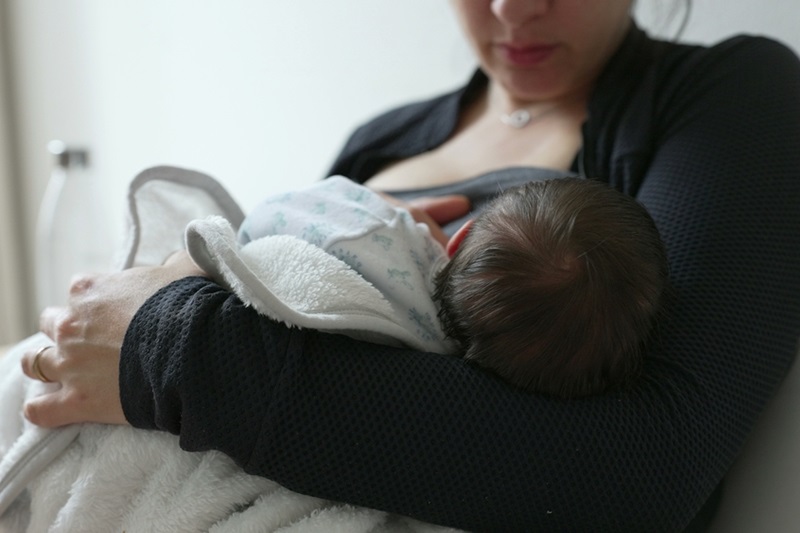
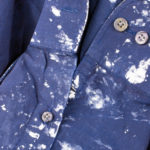
When it comes to breastfeeding, leaks and spills are bound to happen. It could be that your baby drank too quickly and some of the milk came back up. Or you may have forgotten your breast pads and marked your nursing bra or favourite shirt.
Whatever the case, although the stains milk leaves behind can be frustrating, you should be able to remove them fairly easily.
So, whether you need to treat your own clothing or your baby’s, read on.
In this post, we’ll teach you how to get breast milk stains out of clothes – even if they’ve dried on. Let’s dive in.
What’s the Best Stain Remover for Milk Stains?
There are various stain removers you can use to get breast milk stains out of clothes. But you’ll need to bear some things in mind.
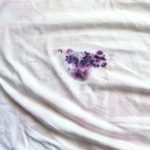
Firstly, the yellow marks left behind after spills are caused by proteins in the milk. You may also notice a greasy residue from the fats.
Either way, enzyme-based cleaners are best for these stains, especially enzyme-based cleaners containing protease.
These grime-fighting enzymes can often be found in biological washing liquids and powders. The only problem is, biological formulas are generally too harsh for baby clothes due to the risk of skin irritation.
Instead, it’s recommended that you use non-biological laundry liquid that is better suited to sensitive skin. And this, unfortunately, is less effective at breaking down protein stains.
So what’s the solution? Well, luckily, there are several options you can try.
First off, you could try a natural stain remover like lemon juice or diluted white vinegar. These are typically most effective on fresh milk stains.
Likewise, a bicarbonate of soda paste can help to draw grease out of clothing fibres.
But if you’re struggling to remove the stain, you may need to spot treat it with something stronger. You can then wash the item with a gentler formula and rinse well to remove any chemical traces. Read on for the best approach to take…
The Best Way to Remove Breast Milk Stains from Clothes
Step 1: Blot and rinse
Start by blotting up as much of the spillage as you can with some paper towel. Then rinse the garment using cold water to prevent the stain setting.
For best results, run the tap over the back of the stain to help flush the milk back out of the fibres.
Step 2: Spot-treat the stain
Next, you’ll want to spot-treat the stain prior to washing. To do this, we’d suggest trying a mild washing up liquid like Ecover’s Camomile & Clementine formula or Ecozone Sensitive.
While gentle, these products are designed to tackle grease and are great for removing protein-based stains.
Dab a small amount onto the damp stain and massage in. Leave to sit for 10-15 minutes, then agitate and rinse in cold water.
Step 3: Re-treat with bio laundry detergent
If after this initial treatment the stain is still quite yellow, re-treat it with a small amount of biological liquid laundry detergent. Don’t worry—this will be washed out later in the laundry and you won’t need to use much.
Or you could try a gentle, planted-based enzyme cleaner like Ecover Liquid Stain Remover. Apply, rub in well, then rinse.
Step 4: Wash at 30 degrees
After spot treating the stain, place the garment in the washing machine and launder on a 30°C cycle.
Though it may be tempting to use a hotter setting for stain removal, this isn’t a good idea for milk stains.
You could even set them in for good, so stick to a cool or warm programme. And this time, select a formula suitable for your baby’s sensitive skin like Fairy Non Bio Laundry Liquid.
If you’ve used a biological pre-treatment, you could also add an extra rinse cycle to ensure no residue is left behind.
Step 5: Check for traces of the stain, then dry
Once the item has been laundered, remove it from the machine and hold it up in natural light. At this stage, you want to check to see whether any traces of the stain are visible.
The mark may have faded, for instance, but there could still be a yellow tinge. If there is, repeat the steps above.
Otherwise, hang it up to dry on a washing line or airer. If the item is white, dry in the sun to utilise its natural lightening power.
Step 6: Check again after drying
When the clothing is completely dry, do another check to make sure the stain has been completely removed.
If the stain is gone, you’ll be able to place it in the tumble dryer the next time you wash it if you want to. However, don’t do this unless you’re 100% sure it’s gone, as the heat could bake the stain in permanently.
How Do You Get Old Milk Stains Out of Baby Clothes?
Getting dried on breast milk stains out of clothes involves a similar process, but with some extra steps. First off, if there’s a crusty layer on the surface, you’ll want to scrape this off with a blunt knife or spoon before applying liquid.
From there, instead of rinsing, soak the item in cool water for 1-2 hours. This will help to open up the fibres and loosen the stain. You can even add a teaspoon of baby-safe laundry liquid or a few drops of dish liquid to the solution.
From there, you will pretreat the item much like you would if it were a fresh stain. But rather than just rubbing in your chosen stain remover with your finger, gently scrub the product-covered stain with a sponge or toothbrush.
This additional agitation is great for working out hardened protein particles that have become trapped in the fibres. Then wash and dry as above, avoiding the tumble dryer until all of the yellowing has gone.
If the stain doesn’t come out in the wash, you may need a tougher solution. Oxygen bleach can be very effective, but is quite harsh for baby clothes – especially in powdered form.
Instead, you can use non-grainy Vanish Gold Oxi Action Gel to get breast milk stains out of clothes. Apply a small dab, rub in gently, leave for 10 minutes, then launder. You can also toss 50ml of Vanish into the wash with your non-bio detergent for extra stain-fighting power.

A proud Yorkshire lass with a love for movies, music and cosy nights in! Once a self-confessed avoider of cleaning, she’s always on the lookout for new ways to make household chores as quick and simple as possible.
