Ironing starch enhances the appearance of clothing and linens, producing a crisp and smooth finish to fabrics.
Whether striving for that sharp look on your work shirts or hoping to achieve wrinkle-free tablecloths or bedsheets, ironing starch is your new favourite laundry companion.
You can purchase starch for ironing from supermarkets in the UK, but creating a homemade starch solution is both cost-effective and eco-friendly.
This guide on how to make ironing starch offers various methods using readily available household ingredients, from traditional cornflour to alternatives like rice and potato starch.
Keep reading for step-by-step instructions, DIY ironing starch tips, and other must-know information on making and using laundry starch for best results.
Can You Make Your Own Starch for Ironing?
Ironing starch is used when ironing to stiffen fabric, reduce wrinkling, and create a crisp finish.
It’s a common laundry aid that can enhance the appearance of clothing and linens, most frequently used when ironing shirts for a crisp finish.
As the name suggests, ironing starch is made from starches such as corn, rice, wheat, or potatoes.
The starch is typically extracted from these sources, processed, and then used to make the liquid or spray form of starch that is applied to fabrics, available to buy from most British supermarkets, including Sainsbury’s.
However, you can also make ironing starch at home using everyday household ingredients like cornflour, rice starch, or potato starch mixed with water.
How Do You Make Starch for Ironing at Home?
Creating an ironing starch spray at home is easy and requires just a few simple steps.
Below, we have provided several methods based on the products you have in your cupboards and the type of ironing starch you want to make.
Ironing starch spray using cornflour
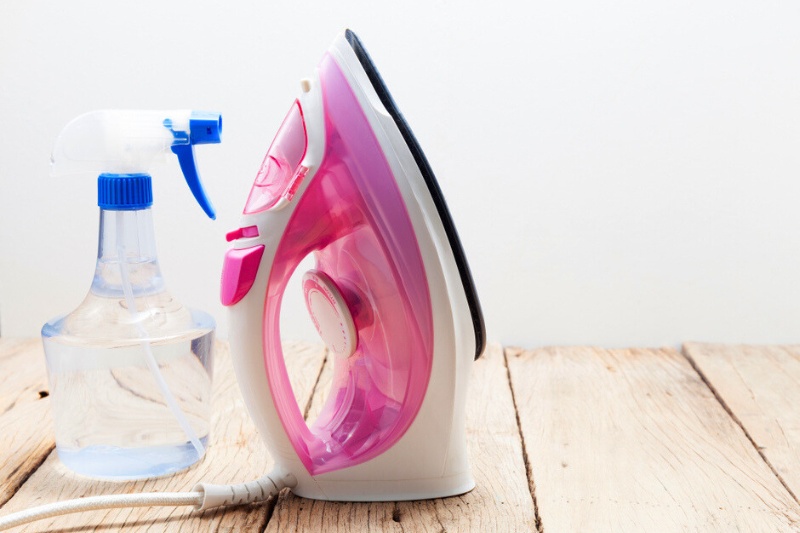
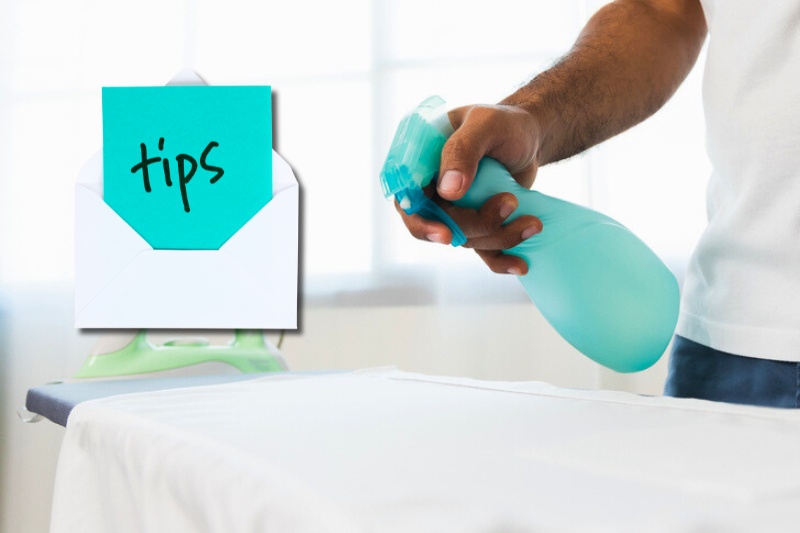
Sprays are the most popular type of ironing starch. Spray starches are designed to be spritzed lightly on your freshly laundered garments immediately before ironing for a crisp finish.
Here’s a straightforward recipe for making the best spray starch for ironing that is suitable for most fabric types (but always test on an inconspicuous area first).
You can adjust the start-to-water ratio as needed if you prefer a stronger or lighter solution.
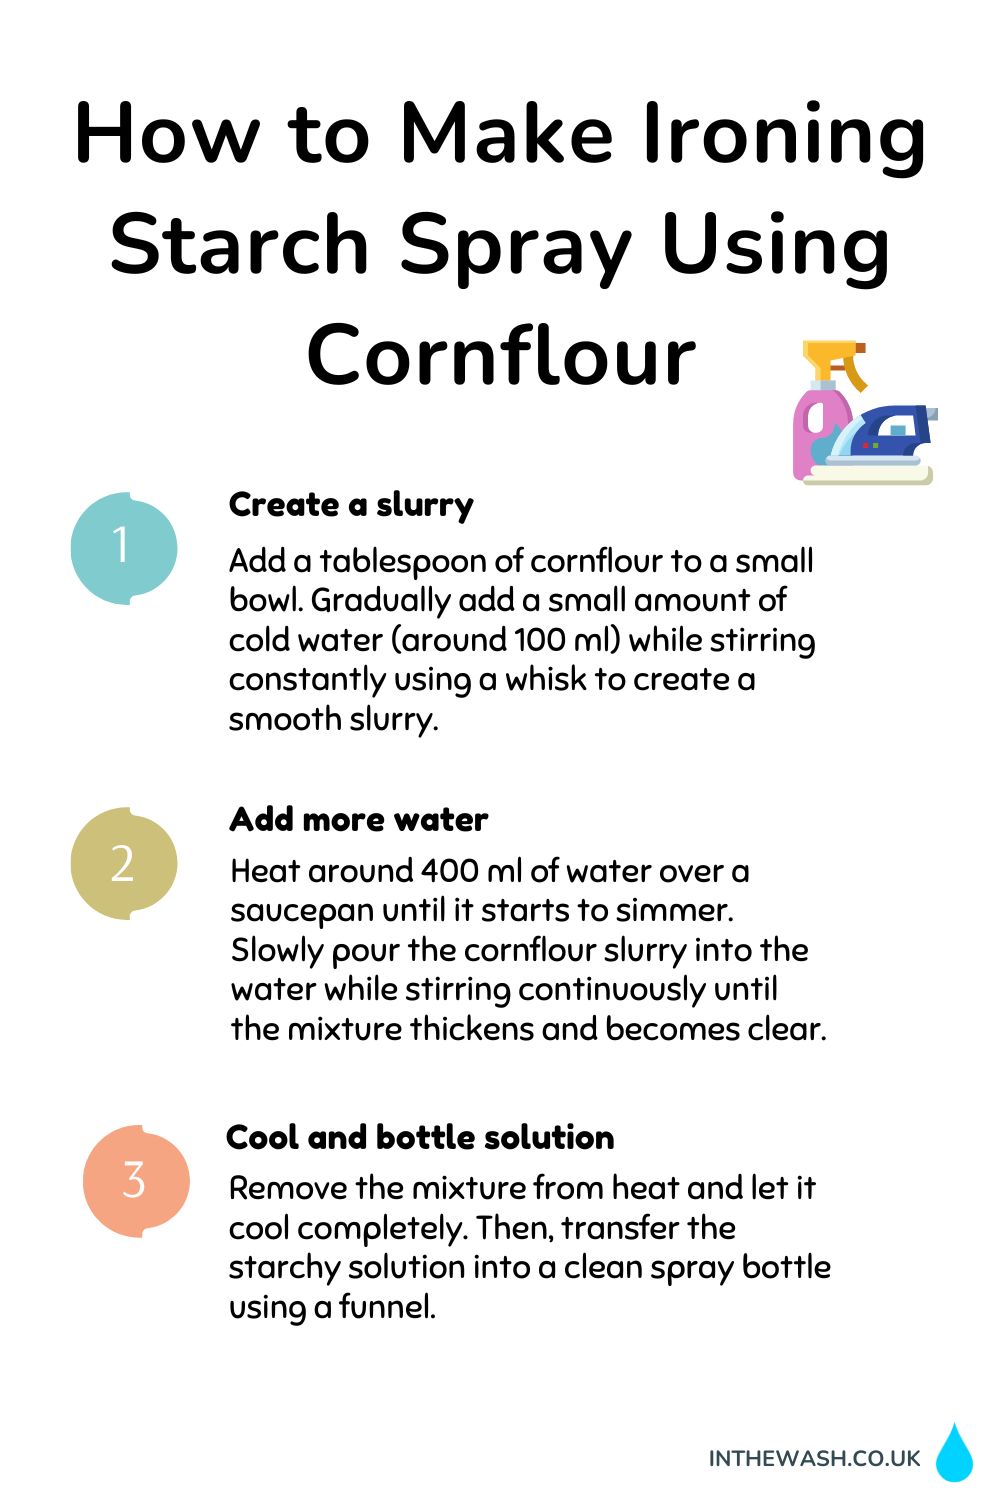
- Create a slurry: Start by adding one tablespoon of cornflour to a small bowl. Gradually add a small amount of cold water (around 100 ml) to the cornflour while stirring constantly using a whisk to create a smooth slurry. Make sure there are no lumps.
- Add more water: Heat around 400 ml of water over a saucepan until it starts to simmer. Slowly pour the cornflour slurry into the simmering water while stirring continuously. Keep stirring until the mixture thickens and becomes clear, which should take about 1 to 2 minutes.
- Cool and bottle solution: Remove the mixture from heat immediately and let it cool completely. Then, transfer the starchy solution into a clean spray bottle using a funnel. Label the bottle so you know that this is your ironing starch.
If desired, you can also add a few drops of your favourite essential oil to the spray bottle for a pleasant scent.
We recommend lavender or lemon essential oils for laundry, as they leave your clothes smelling extra fresh. Add the oils and shake the bottle to mix before using it while ironing.
Ironing starch without cornflour
If you don’t have cornflour to hand, consider purchasing some and using the above method. This is the quickest and easiest way to make homemade ironing starch, and cornflour has many other cleaning uses in the home.
However, if you don’t want to or cannot find cornflour, don’t worry. Other common starches like rice and potatoes are fantastic alternatives, and you can easily extract the starches from these kitchen cupboard essentials and use them to make starch for ironing.
To use rice to make an ironing starch at home, you need to:
- Create rice starch: Rinse 50g of rice under your kitchen tap to remove any impurities, then pour the rice and 350 ml of water into a saucepan. Bring the mixture to a boil, then reduce the heat and let it simmer for 20 to 30 minutes until it thickens to a creamy consistency.
- Strain your starch: Strain the rice and water mixture using a fine-mesh sieve or cheesecloth to separate the liquid (rice starch) from the rice solids. Discard the rice solids and set the rice starch aside to cool completely.
- Bottle the starch: Once cooled, transfer the rice starch to a clean spray bottle using a funnel and use it to lightly spray your clothes before ironing for a crisp finish. Remember to label the spray bottle, so you know what the solution is.
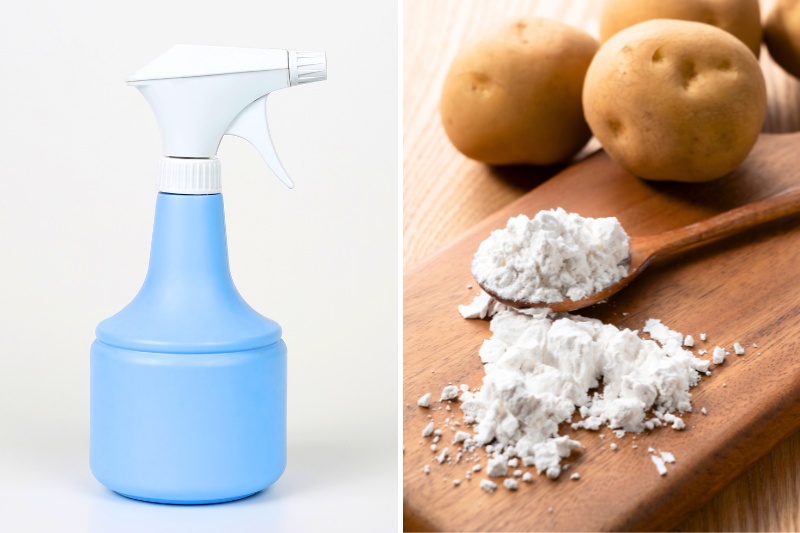
If using potatoes, the process of making ironing starch is a little different. Here are the steps to follow:
- Chop & blend potatoes: Peel and chop 1 or 2 medium-sized potatoes into small pieces. Place the chopped potatoes in a blender or food processor and add enough water to cover the potatoes. Blend the mixture until it forms a smooth liquid.
- Separate the potato starch: Strain the mixture using a fine-mesh sieve or cheesecloth to separate the liquid (potato starch) from the solids. Allow the potato starch to cool completely. As it cools, it will start to separate—the starch will settle at the bottom of the container, and the water will rise to the top.
- Bottle your ironing starch: Carefully pour off the excess water on top of the solution, leaving the starch at the bottom. Then, transfer this potato starch to a clean spray bottle using a funnel, label the bottle, and spray it on your clothes the next time you do the ironing.
Ironing starch for a washing machine
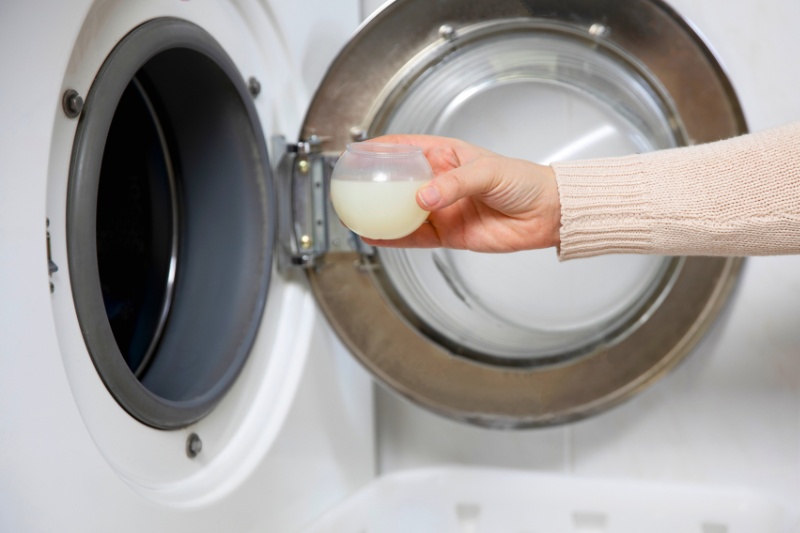
Although less common, ironing starch can be added to the washing machine during the rinse cycle. The starch solution will help stiffen and provide a crisp finish to your fabrics during the wash.
Making starch specifically for the washing machine involves a slightly different process compared to making a spray starch for ironing.
Here’s a simple method to make a starch solution suitable for use in the washing machine:
- Create a slurry: In a mixing bowl, mix around 60g of cornflour with 500 ml of cold water to create a smooth slurry, ensuring there are no powdery lumps. Add a little water at a time and mix continuously for a smooth solution.
- Heat & add water: Heat 3.75 litres of water in a large saucepan or pot until it reaches a gentle boil. Slowly tip the slurry directly into the boiling water while stirring constantly. Continue stirring until the mixture thickens and turns transparent, which should take 1 to 2 minutes.
- Cool and bottle starch: Remove the mixture from heat and let it cool completely. Then, transfer it to a large container or bottle that can hold at least four litres of liquid. Essential oils are safe in the washing machine, so add a few drops for a pleasant scent if desired.
To use this DIY starch liquid in the washing machine, add it directly to your washing machine during the rinse cycle.
The amount you use will depend on your preference and the specific garments you are treating. Start with about 100 ml to 250 ml cup for a standard-sized load.
Tips for Making and Using Homemade Ironing Starch
Hopefully, you can see making homemade ironing starch is incredibly simple.
Here are a few extra tips for creating and storing your starch sprays and liquids to make the most of your ironing session:
- Adjust the ratio: The more starch you add to the solution, the more crisp your fabrics will be. Adjust the starch-to-water ratio to create a solution that gives your desired stiffness.
- Shake before use: Always shake the homemade ironing starch before each use. The starch will separate at the bottom of the bottle and needs to be remixed—otherwise, you’ll just be spraying your shirts and linens with water!
- Avoid clogging the nozzle: Starch can clog the spray nozzle, which can get frustrating. To avoid this, either create a fresh batch of ironing starch before each ironing session or tip the bottle’s contents into a microwave-safe container and heat until boiling before allowing it to cool completely and transferring it into a new or freshly washed bottle.
- Watch for mould: Your ironing starch will eventually go off. Watch for signs of mould or discolouration in the bottle, and discard any solution that doesn’t look right. If you iron infrequently, only make small amounts of ironing starch at a time to avoid waste.
- Clean your iron: When using ironing starch, some will accumulate on the hotplate of your iron and must be removed. Wait for the iron to cool completely, then wet a cloth with white vinegar and use it to wipe away the excess starch. Alternatively, this method using paracetamol is simple and effective.
- Don’t use on all fabrics: DIY ironing starch might leave white spots on dark fabrics, so always test in an inconspicuous area first. Starch also has limited use in stiffening synthetic fibres, so use it on natural fibres or blended materials.
- Wait after spraying: After you spritz your garments with starch, wait a few seconds before ironing so that the starch solution can properly penetrate the fibres.
- Don’t store strarched garments: If you plan to store clothes for a while, refrain from using homemade ironing starch. Items should always be stored unstarched, or they may become discoloured or attract bugs!
FUTURE READING: If you liked this article, you might also enjoy our page on How to Make Homemade Laundry Detergent.

Hannah has a passion for cleaning. She worked her way around Australia by cleaning hostels in exchange for free accommodation and used her cleaning skills to bag a job as a chalet host for a luxury ski company in France.


