As the seasons change and temperatures drop, our radiators play a crucial role in keeping our homes warm and comfortable.
However, their efficiency can be hindered if they’re not looked after properly, and your radiators may even start to smell. Like all items in your home, regular cleaning is essential!
Here, we’ve put together a complete guide on how to clean radiators. From removing dust and debris to addressing rust and even bleeding the system, we cover the necessary techniques and tools for a thorough maintenance clean.
Ensuring a cosy and warm living space throughout the year begins with looking after your radiators—and you can find all the secrets here.
What’s the Best Way to Clean a Radiator?
To clean your radiators properly, you need a fair bit of equipment. Here are some basic supplies that you’ll want to gather before following our step-by-step guide:
- Soft brush or vacuum with a brush attachment
- Soft microfibre cloth
- Radiator brush or make-shift long cleaning tool (see below)
- Water and mild detergent or washing-up liquid
- Radiator key (for bleeding, if needed)
- Rust treatment (for rusting, if needed)
- Sandpaper or steel wool (for rusting, if needed)
- Old towels or newspapers
- Old cardboard box and masking tape (optional)
- Gloves
Once you’ve gathered this equipment, you can follow the steps on how to clean radiators below:
Step 1: Prepare for cleaning
Before you start cleaning, make sure the radiator is turned off and has cooled down completely. This ensures you don’t burn your hands while working and is crucial for safety reasons.
You’ll also want to prepare the area around the radiator for cleaning.
Vacuum under the radiator to remove any dirt and debris, then lay down an old towel or newspaper on the floor. This helps protect your floors from drips, captures falling dust and dirt, and makes the post-clean easier.
Although not essential, we also recommend taping an old cardboard box down the back of the radiator using masking tape.
Splashes are an inevitable part of the cleaning process—the cardboard helps protect the paint and wall behind the radiator so they don’t need touching up afterwards.
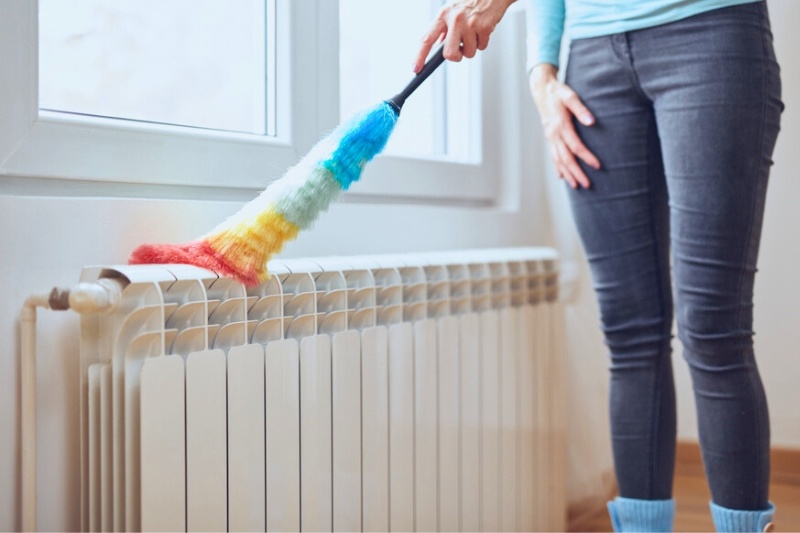
Step 2: Remove dust from the fins
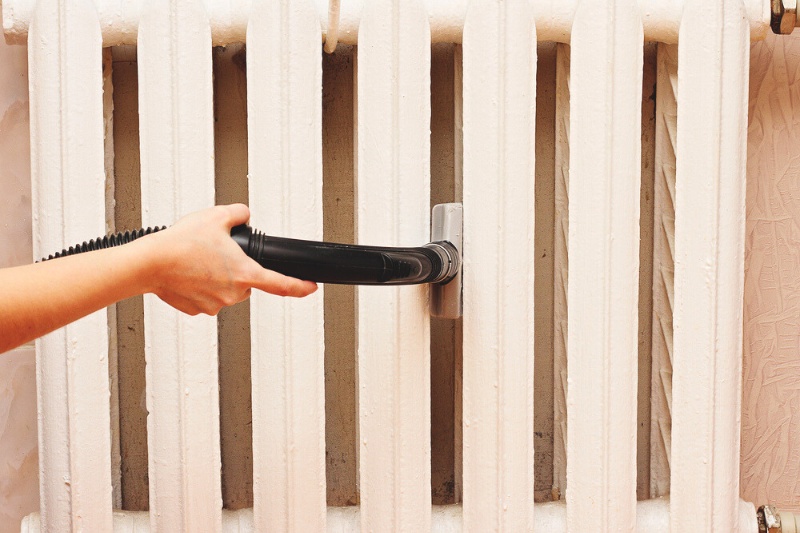
Put on your gloves and use a soft brush (like a paintbrush) to gently remove dust and debris from the radiator fins.
Use a vacuum cleaner with a nozzle attachment to suck up the loosened dust and debris from the floor beneath. This will ensure you remove as much dirt as possible without spreading it to other areas of your home.
If you’re working with large amounts of dust or hairballs, a better option is to use a vacuum with a brush attachment instead of a soft brush.
Run the vacuum gently over the radiator fins and all other easily reachable places to pick up the clumps of dust and dirt.
Step 3: Clean between the radiator fins
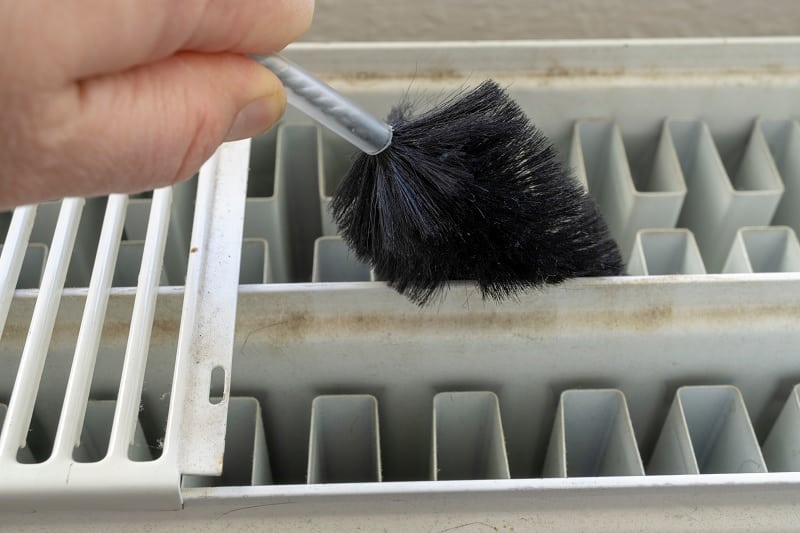
For thorough cleaning, use a radiator brush such as the HomeMate Microfibre Radiator Brush to clean between the fins.
These brushes have a long handle that makes it easy for you to clean these hard-to-reach areas. Simply slide the brush carefully between the fins to dislodge any trapped dust.
If you don’t have a specific radiator brush, there are several household items that you can use as alternatives to clean between the fins of a radiator.
Here are some suggestions:
- Paintbrush: A soft-bristled paintbrush can be an excellent alternative. Choose one with bristles that are narrow enough to fit between the fins.
- Old toothbrush: An old toothbrush with soft bristles can also work well for reaching between the radiator fins. It’s small and can provide precision in cleaning.
- Baby bottle cleaner: An old baby bottle cleaning tool, especially those with a flexible and thin design, can effectively get into tight spaces between the fins.
- Vacuum cleaner with crevice tool: If your vacuum cleaner has a narrow crevice tool attachment, you can use it to suck up dust and debris from between the fins.
- Duster with long handle: A duster with a long handle, like those designed for reaching high places, can be helpful in reaching between the fins.
When using any of these alternatives, be gentle to avoid damaging the radiator fins. If the debris is stubborn, you can moisten the brush or cloth slightly with water to help in the cleaning process.
Top Tip: If you’re cleaning a radiator with a top grill, remove the grill to access the fins inside. You can then use any of the above tools to clean inside the radiator and between the fins, inserting the tool from the top rather than the front.
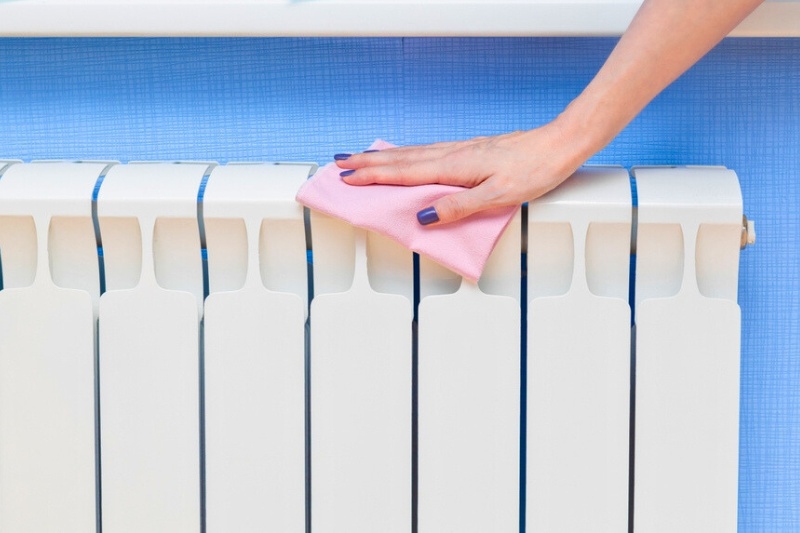
Step 4: Wipe the radiator

After removing all dust, you can remove stuck-on dirt using a damp cloth. Wet your cloth with a mixture of water and mild detergent, such as a gentle washing-up liquid.
We recommend making a whole bucket of this soapy solution, so you have enough to clean all your radiators at once.
Make sure the cloth is not too wet to avoid water damage. Then, wipe it over all surfaces of the radiator you can easily reach with your hands.
Once you’ve wiped the entire radiator, go over it again using a cloth dipped in only water to remove any of the soapy residue.
Depending on the design of your radiator, you can then dampen your cloth again and use it to “floss” between the radiator bars—loop the cloth around one bar at a time and use a back-and-forth motion to clean away all dirt and grime.
For a thorough clean, floss using the soapy solution and follow with water to rinse. If you’re short on time, a quick wash with water should do the trick.
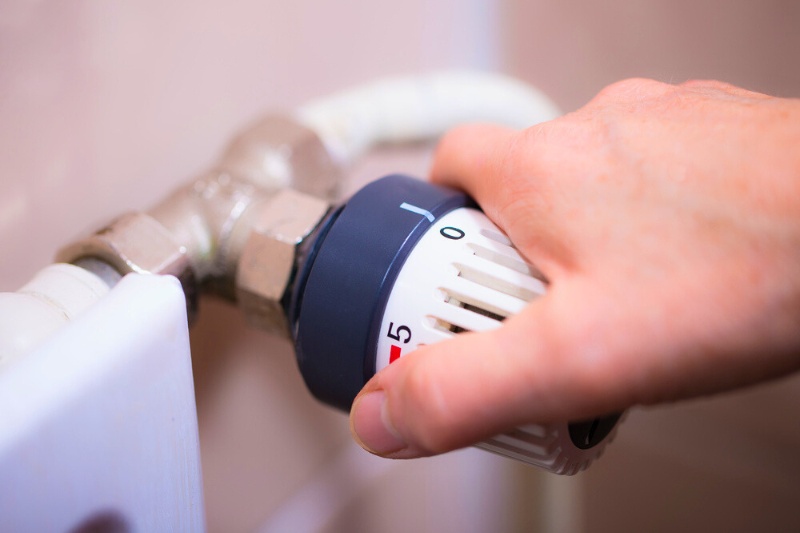
Step 5: Bleed the radiator (optional)
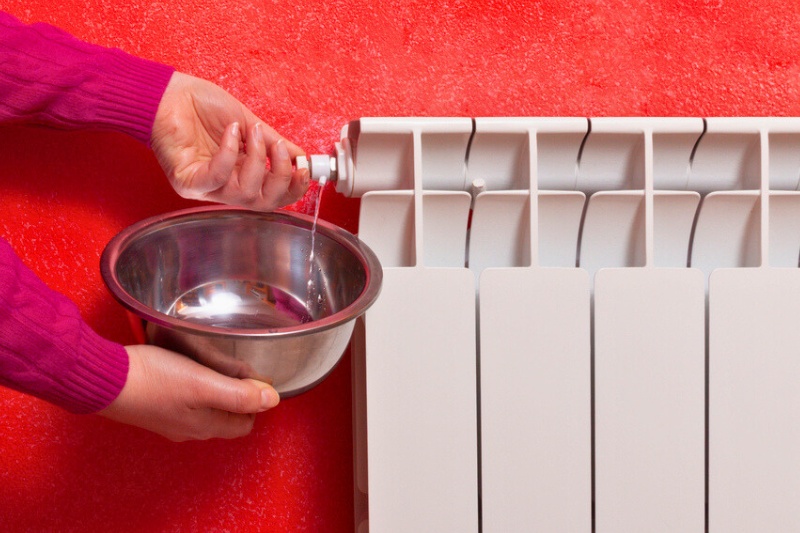
If your radiator has trapped air, causing it to be less efficient, you may need to bleed it. Bleeding allows the air to escape so that your radiator performs better.
Now is the perfect time to do this—your heating system is already switched off, and you already have towels lining the surrounding area.
To bleed your radiator, locate the bleed valve (usually a square-shaped nut on the top or side) and open it slightly using your radiator key.
You should hear a hissing as the trapped air is released from the pipes. When water starts to flow consistently, shut the valve off.
Step 6: Inspect for rust and leaks

Inspect the radiator for any signs of rust. If you find rust, you will need to address it with appropriate rust treatment.
Start by gently sanding the rusted areas with medium-grit sandpaper or steel wool to remove most rust. Then, apply the rust treatment according to the instructions on the packet.
While you’re cleaning, also take the opportunity to inspect the radiator for any signs of leaks. If you find any, it’s important to address them promptly.
Leaks can have a variety of causes, including rusting, faulty valves, high water pressure, or simply old age. If you’re unsure how to fix the problem, contact a plumber or heating technician.

How Often Should You Clean Radiators?
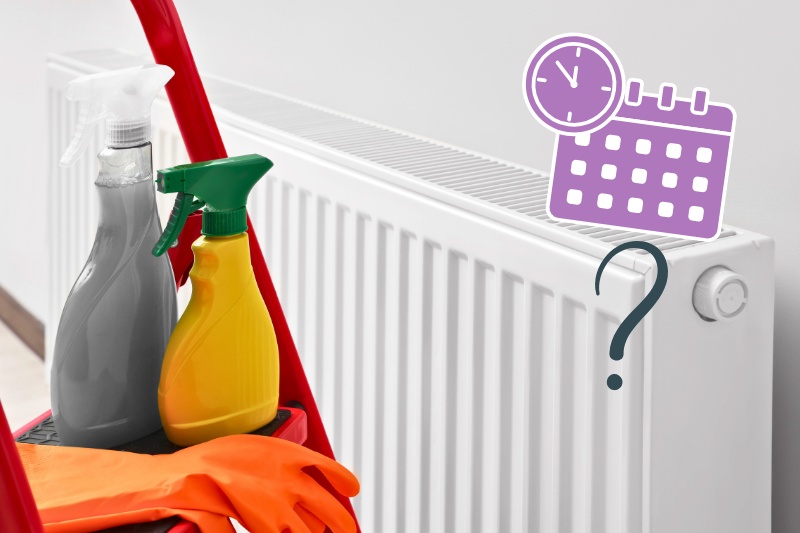
The above method for cleaning radiators is thorough and recommended for annual cleaning.
Removing dust, cleaning between the find, checking for leaks, and bleeding the radiators to release trapped air only need to be done once per year.
However, smaller cleaning and maintenance checks should be carried out throughout the year. Below are our recommended guidelines:
- Perform seasonal checks: Consider checking and cleaning the exterior of your radiators at the beginning of each heating season. This helps ensure that they are operating efficiently and can help prevent issues like uneven heating.
- Observational cleaning: Regularly inspect your radiators for visible dust or debris. If you notice a significant accumulation, it might be a good idea to clean them more often. However, in many cases, radiators may not require cleaning more than once each season.
- Bleeding: Bleeding the radiators is typically done on an as-needed basis. If you notice that specific radiators are not heating as efficiently as others or if you hear gurgling sounds, bleeding might be necessary.
What Can You Use to Clean Behind Radiators?
Cleaning behind radiators can be a bit challenging due to the confined space. However, this is often the place that gets the dirtiest—clumps of dust can go unnoticed and accumulate.
Here are a few suggestions on what you can use to clean behind your radiators to make the tasks that bit easier:
- Long-handled brush or duster: Look for a brush or duster with a long handle, such as a this Holikme radiator brush. This will help you reach behind the radiator without having to move it. Make sure the bristles are soft to avoid damaging the radiator fins.
- Vacuum cleaner with a crevice tool: As well as cleaning between the fins, a vacuum can be used to clean behind the radiator. Use the narrow crevice tool attachment on your vacuum cleaner to reach behind the radiator and suck up dust and debris.
- Microfibre cloth on a pole: You can create a fantastic make-shift cleaning tool by attaching a microfibre cloth to the end of a long pole or a stick. This allows you to reach behind the radiator and wipe away dust.
- Flat mop: Some flat mops come with extendable handles that can easily reach into the space behind your radiators. Attach a dusting or cleaning pad to the end and slide it between the radiator and the wall to collect dust.
- Compressed air canister: If the space is not too confined, you can use a can of compressed air to blow dust out from behind the radiator. Ensure the room is well-ventilated when using this method, and vacuum the loose dust up afterwards to stop it spreading.

Hannah has a passion for cleaning. She worked her way around Australia by cleaning hostels in exchange for free accommodation and used her cleaning skills to bag a job as a chalet host for a luxury ski company in France.


