Cleaning a house can seem like a mammoth task! Do you clean the upstairs or the downstairs first? Should you sweep, dust, or vacuum? And what about doing the laundry? Where does that fit into the schedule?
With so many cleaning jobs, it’s sometimes easier to toss the tasks aside and leave them for another day.
But sadly, that doesn’t help matters because the dust, debris, and untidiness just get out of control. And in the end, you have to spend more time cleaning your house!
So, instead of putting the tasks off and stressing yourself out over what order to clean your home in, just read on! Below, you’ll find a simple system that you can use to maintain your house.
What’s the Best Order to Do Housework?
Important things to consider
- Consider what rooms and spaces are most important to you, and make sure you prioritise them.
- Accept that you’ll have to regularly clean your home so that you can keep grime at bay!
- Have a schedule and stick to it. The worst thing you can do is walk aimlessly from one room to another, doing small cleaning jobs here and there. Doing this will make you feel like you haven’t accomplished much! A schedule will help to keep you on track.
- Cleaning a home isn’t a one-person job. Get the whole family involved and give certain people specific jobs to do so that you can stay on top of the housework.
- Sometimes it’s good to do the jobs you hate first! Don’t put off the challenging and dirtiest tasks. Get them done so you feel accomplished and motivated for the next cleaning job!
- You want your schedule to become your routine! The more time you practice your cleaning schedule, the quicker it’ll become second nature to you. Eventually, you’ll just clean specific areas in your home without thinking about them. And the entire process will speed up too.
- Get your cleaning tools ready and keep them near you. If you’ve got your supplies at hand, you can quickly grab and use them. Consequently, you won’t waste time running back and forth looking for cleaning goodies.
- Keep certain cleaning tools in specific areas of your home so that you can spot-clean a particular area! For example, keep a squeegee by a glass shower door so that you can wipe the water off the door when you’re done. This will stop watermarks and soap scum from building up on the door.
- Try to control the dirt in your home. Utilise things like door mats (wipe feet), shoe holders (no shoes in the house policy), lids for saucepans (food doesn’t splash everywhere), and covers for pots (keep the oven cleaner for longer). Similarly, mop up spillages as soon as they happen, treat stains before they age, and fight bathroom mould before it gets worse.
Note: Use the steps below as a guide. You can adjust them to suit your personal preferences!
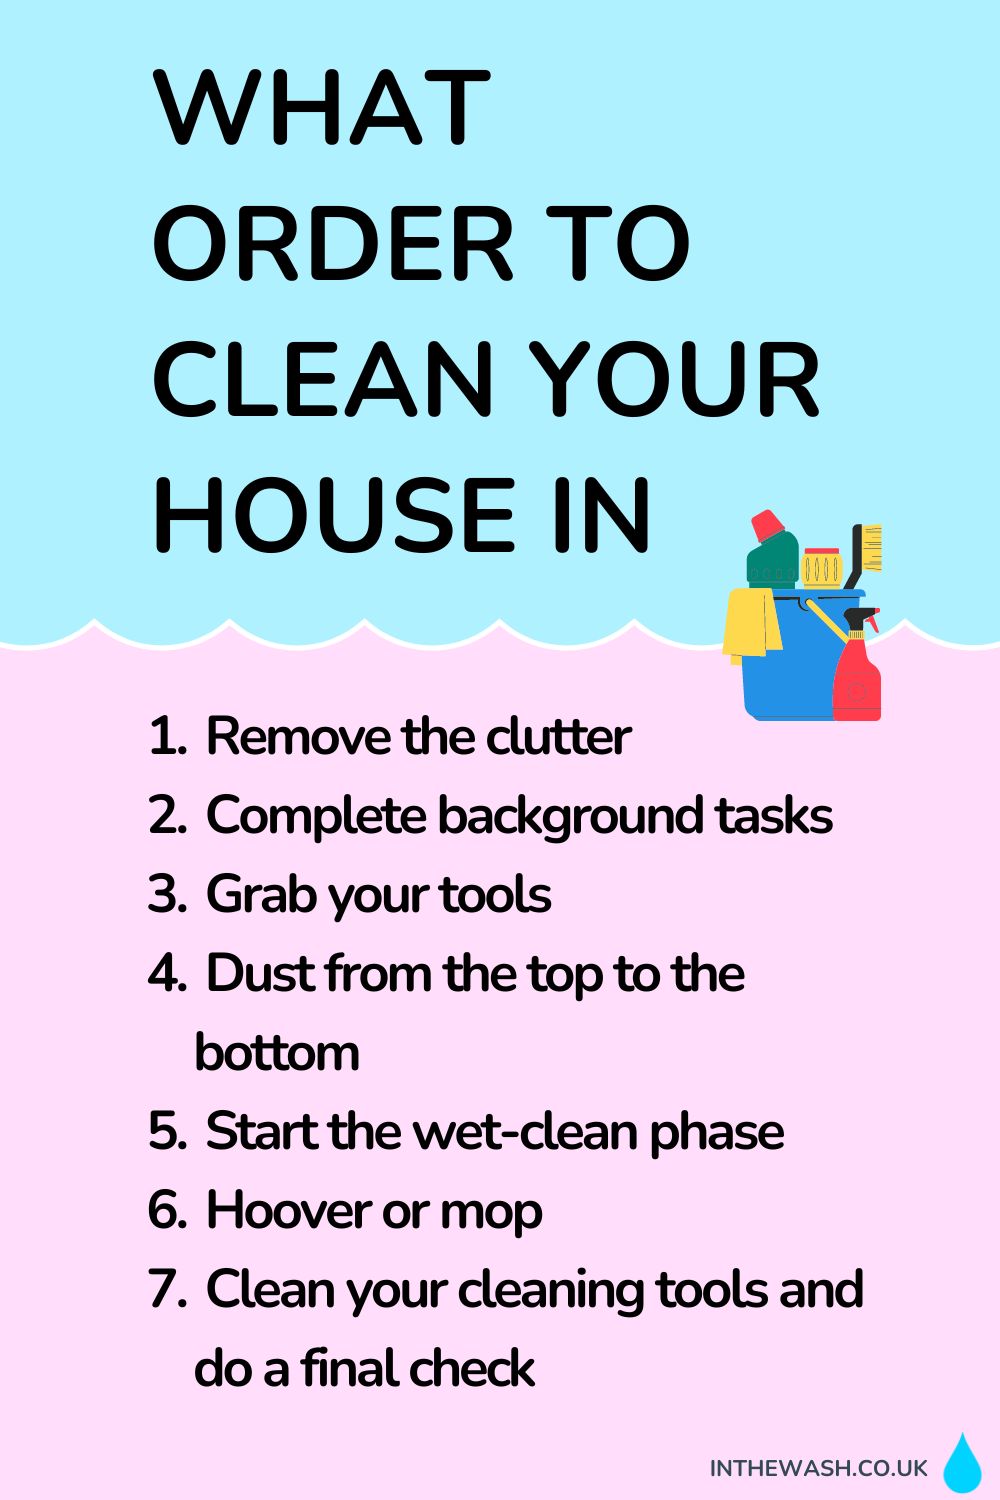
Step 1: Remove the clutter
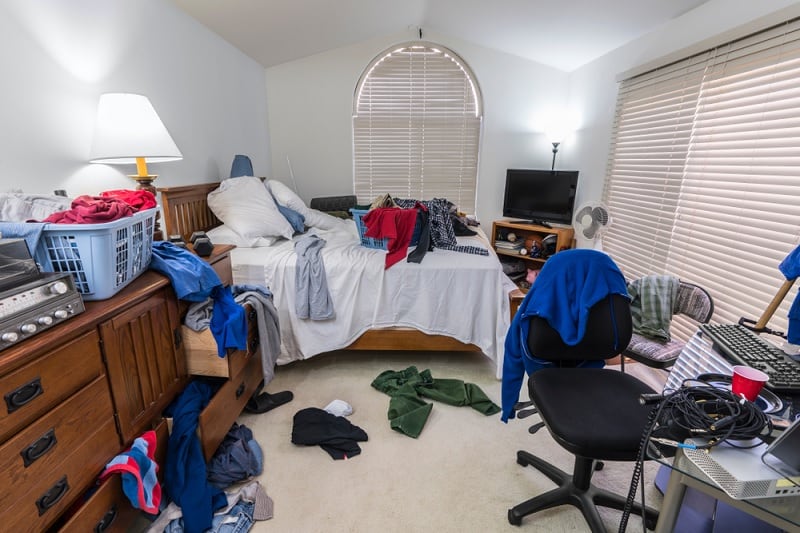
One of the first (and easiest!) steps to take is to remove all the unwanted and dirty clutter from the floor and to put it back in its rightful place.
This includes:
- Putting things away in the wardrobe.
- Picking items up off the floor and storing them accordingly (wardrobe/bin/shelf/bookcase).
- Sorting piles of clothes and placing them in the laundry hamper.
- Making the beds.
A clear workspace is much nicer. Plus, you haven’t got to look out for as many trip hazards!
It’s a quick win for you!
Step 2: Complete background tasks
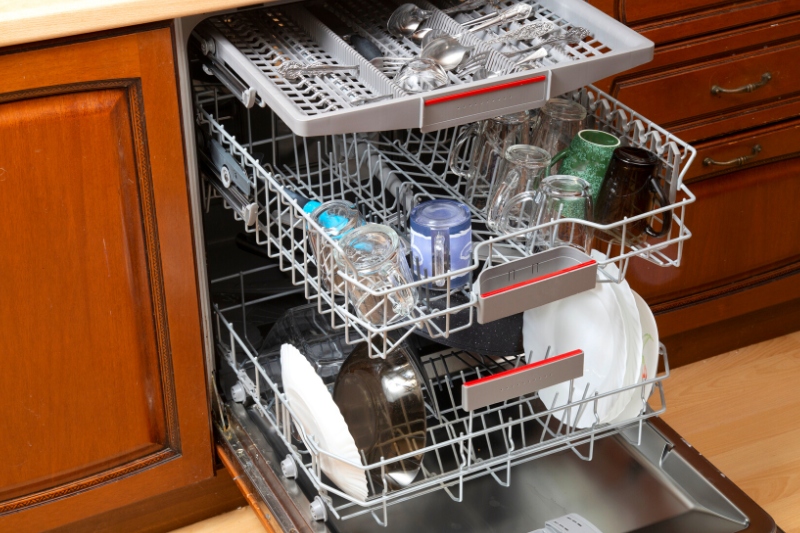
The idea behind this next step is to complete the cleaning tasks that don’t require much input from you. These tasks run in the background, and in turn, you get free time to carry out other cleaning tasks.
Jobs that would come under this step include:
- Loading and starting the dishwasher.
- Putting clothes in the washing machine and starting a cycle.
- Transferring clothes to the tumble dryer and starting a drying session.
- Popping an off-the-shelf-oven cleaner in the oven to clean it.
- Putting bleach in the toilet.
- Spraying extra dirty/stained regions with a cleaner so the solution will break down the mess in time for you.
- Cleaning/treating a showerhead – this might include soaking the showerhead, so you can let it soak while you do other cleaning tasks.
When these tasks are in action, you can move on to the next step.
Step 3: Grab your tools
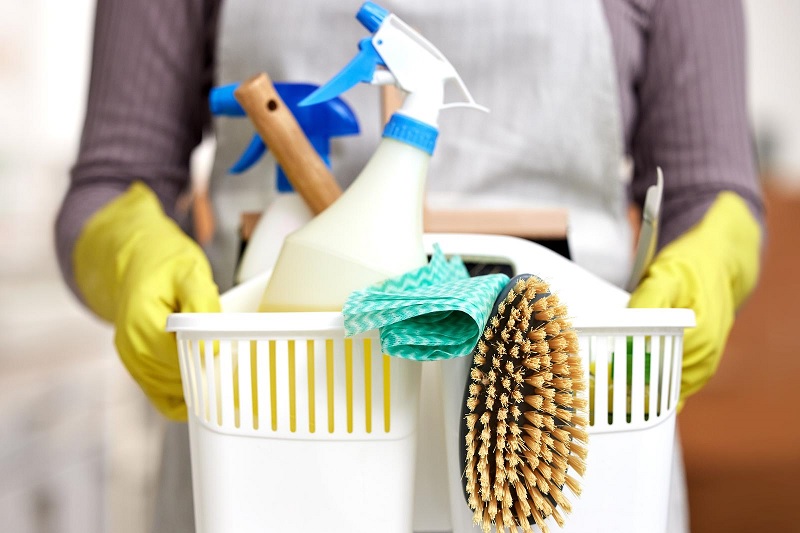
A key step is to gather your cleaning tools so you don’t have to keep looking for cleaning supplies. If you have to stop and gather tools all the time, you’ll waste a lot of valuable cleaning time.
Also, continuously looking for goods can be draining and tends to make the cleaning activity drag on!
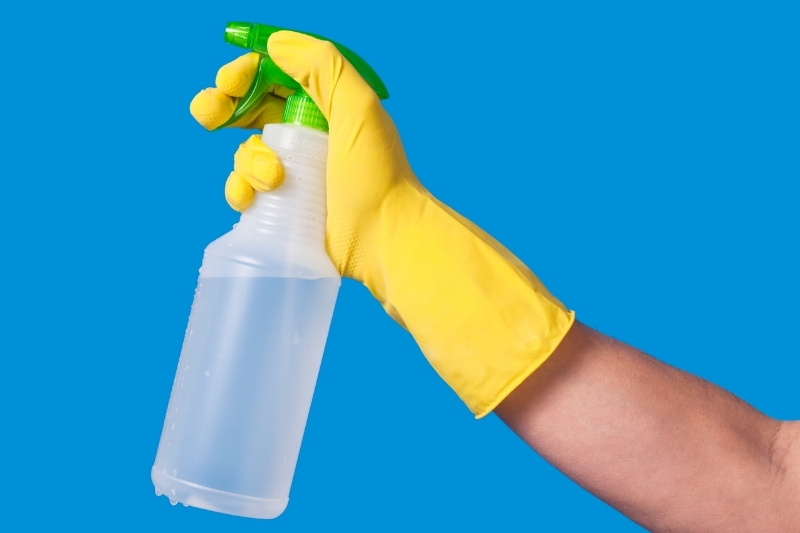
Some tools you’ll need include (but aren’t limited to):
- Multipurpose cleaning spray
- Gloves
- Microfibre cloths
- Sponges
- Mould spray
- Water
- White vinegar
- Bicarbonate of soda
- Stain remover
- Squeegee
It’s up to you what products you want to use to clean your home. You can use shop-bought goodies or don your creative hat and make your own cleaning cocktails.
Step 4: Dust from the top to the bottom
With your tools in tow, you can start cleaning your home.
One of the most straightforward ways you can clean your home is to work from the top of the house to the bottom. And carry out one cleaning activity at a time. For example, you do all the dusting on the first floor and then do all the dusting on the ground floor!
Start Step 4 off by going upstairs and dusting all the rooms upstairs. Just choose a room to start off in, and dust from the ceiling towards the floor. Allow gravity to help you on your quest!
Clean the cobwebs off the ceiling, dust the lampshades, walls, curtains/blinds, windowsills, picture frames, mirrors, units, ornaments, and squirting boards.
When you’re done, you can take this dusting activity to the next room.
Eventually, you’ll clean the landing and work your way to the rooms downstairs, where you’ll carry out the same activity.
The reason why you need to start cleaning the top of a room and work towards the bottom is because lots of dust and debris falls onto the lower surfaces as you clean.
By working slowly down the room, a lot of the dust lands on the floor, and you’ll be able to hoover it away afterward.
Step 5: Start the wet-clean phase
With all the dust and hair out of the way, you can start cleaning with water. The rooms that are usually cleaned with liquid goods are bathrooms, utility rooms, and kitchens.
As mentioned above, you should start by cleaning the bathroom (usually on the first floor) and work down toward the kitchen. Again, you need to clean from the top to the bottom of each room.
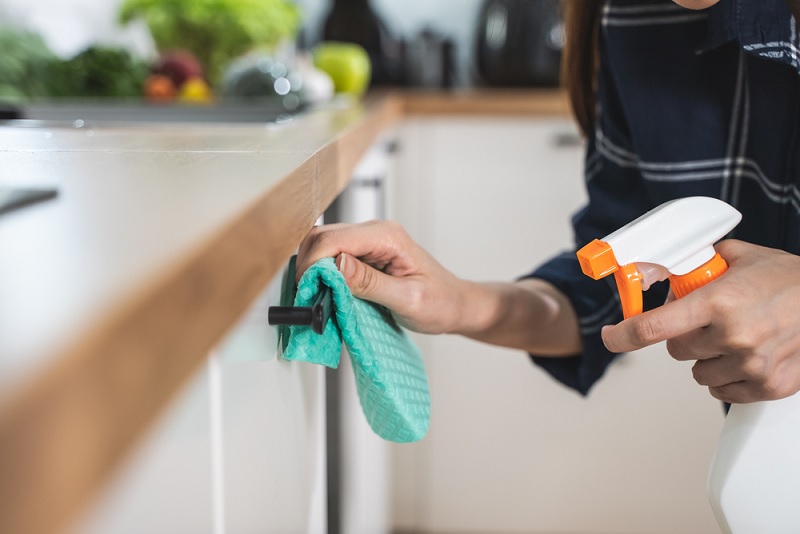
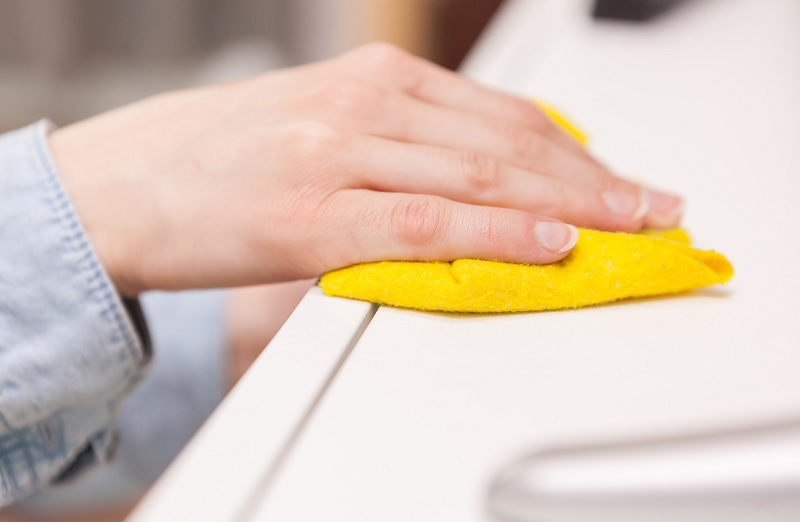
You may be able to do a very basic clean of your rooms at this stage. For example, you could clean the fittings and fixtures with a multipurpose cleaner to disinfect them – taps, worktops, and kitchen cupboards, for example.
At this point, you’ll also notice that some of the tasks you carried out in Step 2 are now ready for action.
For example, if you left some cleaning fluid on a scummy section of the bath, now is the time to clean the cleaner off the surface! Similarly, if you put bleach down the toilet, this is when you wash the toilet properly.
Step 6: Hoover or mop
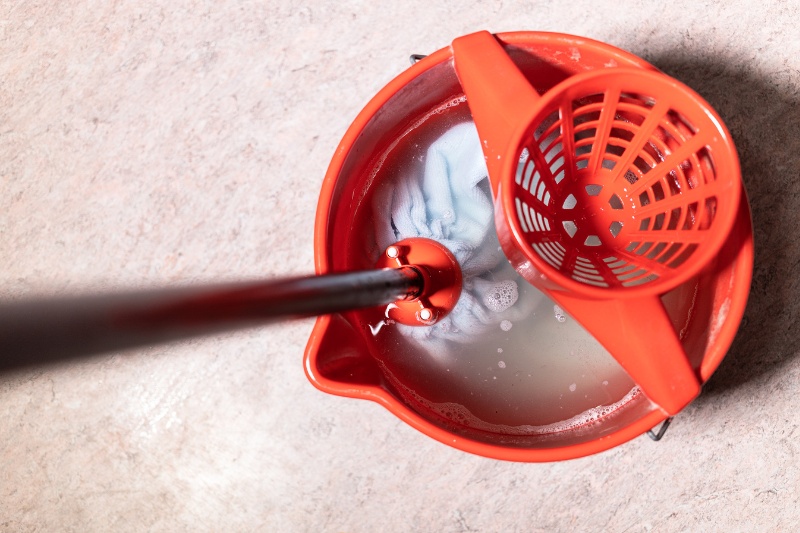
When you’ve cleaned the top to bottom of every room, you can hoover or mop all the floors to collect dust particles from them.
It will be easier if you start hoovering/mopping from the top floor of the house to the bottom floor.
It’s easier to lug a heavy hoover up a set of stairs when you’re not quite so tired because, by the time you get to the ground floor, you’ll be worn out!
The same principles apply to mopping! Just remember to open the windows when mopping so that the air can dry the floors quicker.
Step 7: Clean your cleaning tools and do a final check
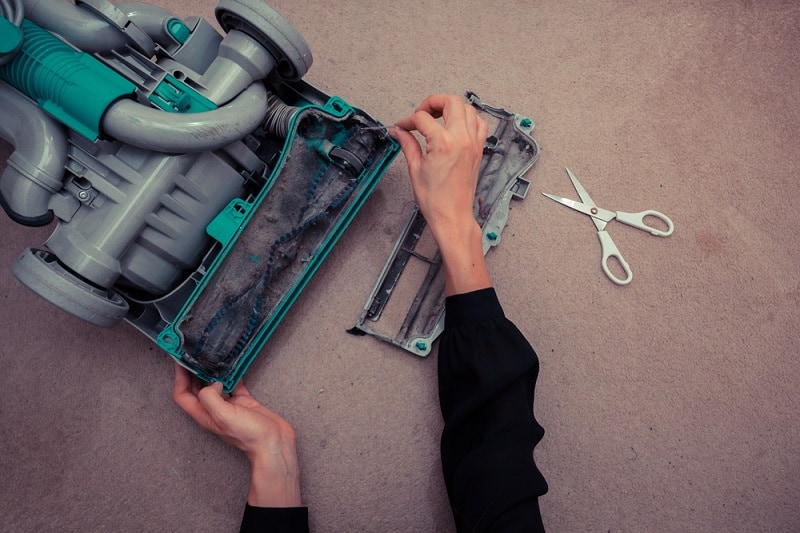
As a final step, you should clean your cleaning tools so that they’re ready to be used again!
This includes:
- Emptying the vacuum cleaner’s dust canister.
- Washing and rinsing the mop.
- Emptying and cleaning the washing machine.
- Emptying and cleaning the dishwasher.
- Taking out the rubbish bags and popping a new one in the bin.
- Detangling the brush bar on the hoover.
- Removing tangles from the brush.
Variations of the Above
The method above is one of the most straightforward ones, even if it does seem a little longwinded in parts.
However, if you fancy altering the steps listed above, consider these alternatives:
- You can either clean your home by carrying out one specific cleaning task at a time. For example, you carry out Step 4 (dusting) in every single room and then move on to Step 5 (wet-clean). Or you can clean one room at a time, but carry out all the cleaning steps in one go for that room. For example, you complete Steps 1 – 6 for the bathroom, then carry out Steps 1 – 6 for the main bedroom, and so on.
- You could clean your home by starting with the ‘worst/hardest’ rooms to clean and working your way toward the ‘best/easiest’ rooms to clean. For example, you could start with the bathroom and end in the kitchen.
- Of course, there are some ‘cleaning’ steps that aren’t mentioned above, like decluttering a wardrobe or a kitchen cupboard. These activities are not mentioned because they aren’t classified as ‘cleaning’ per se. They’re more to do with organising. So, factor these tasks in for ‘as and when’ you need them. And remember that you don’t have to do these decluttering activities every single week.
- You can call a professional cleaner in to clean your home. Keep in mind that the cost of hiring a cleaner can vary depending on your location, the cleaning session’s duration, and who you decide to hire. In addition, make sure you pick a reputable cleaner who has plenty of experience, has had a background check done, is covered by insurance, and understands what you want them to do.
If you’re absolutely stuck and are still concerned about how to clean your house, follow our suggested weekly cleaning schedule! Use this as your base to get you started, and build on it as you get more confident and figure out how you like your abode cleaned.

Bethan has a passion for exploring, reading, cooking and gardening! When she’s not creating culinary delights for her family, she’s concocting potions to keep her house clean!


")
