Spring is when we say ‘so long’ to winter’s cold, icy winds and ‘hello’ to longer days, sunny spells, and blooming plants.
With a change in the weather and summer to look forward to, spring is the ideal season to carry out a spring clean!
But hang on, where do you start with this mammoth task? Check out the spring cleaning tips below. Then you’ll be good to go!
1. Pace Yourself
Carrying out a spring clean can seem like a huge job that must be carried out between certain months.
It’s not always clear where you should start cleaning, what tasks are priority, or how long the process will take to complete.
But this doesn’t have to be the case.
Instead of looking at a spring clean as one gigantic task, you should break each job down into smaller, more manageable activities that you can carry out over several weeks (and even into summer!). In fact, it may be better if you do it this way.
By spreading the cleaning jobs out over multiple weeks/months, you can focus on specific tasks and rooms. And the whole task won’t seem as daunting.
It also gives you free time to go and do other more enjoyable things – days out/activities/sweet treats, for example (all of which can be treated as ‘rewards’ for your hard work)!
As a result of taking time out, you won’t burn yourself out with the cleaning work and resent it. Instead, you’ll stay more upbeat and will be more willing to carry on.
All you need to do is sit down and make a plan of what needs to be done and decide when to carry out the work.
Think of the essential jobs in the following areas/rooms: bathrooms (toilet area in particular), kitchen (worktops/cabinets/appliances), and bedrooms (bedding/curtains). And consider who can do what job!
2. Discover What Type of Cleaner You Are

When planning a spring cleaning schedule, you should figure out what type of cleaner you are so you can tailor your schedule to suit you.
There isn’t a “one rule to suit all” kind of approach to cleaning. You’ve got to find out what works best for you and play to your strengths.
For example, are you:
The Procrastinator
If you’re a procrastinator, the chances are you’ll put off a lot of the cleaning work and do other stuff instead.
One way you can deal with this is to ensure your cleaning schedule is packed with lots of cleaning jobs that can be carried out in a few minutes (your attention will be on the task during this time). And to set up rewards for your efforts at the end of each task (motivators)!
Giving yourself smaller jobs allows you to stay glued to the task and see it through. And by rewarding yourself at the end, you’ll continue to motivate yourself for future jobs.
A reward can be something like taking a thirty-minute break to watch an episode of a TV show in between cleaning tasks.
The Tidy Cleaner
If you’re a tidy cleaner, you’re likely to be the person who makes their house look neat, puts things away, and stacks papers nicely. But never gets into the cleaning side of things.
Yep, there’s a difference between tidying and cleaning!
A simple way of getting you into the cleaning mood instead of the tidying one is to buy products you like the smell and look of.
Attractive tools and odours can entice you to clean. Once you’ve got the right tools, you can introduce cleaning-related activities to your ‘tidying tasks’.
For example, you could dust the bookshelf as you put books away.
The Angry Cleaner
As an angry cleaner, you’ll likely channel a lot of negativity/pent-up frustration into your cleaning routine.
In this case, cleaning can be a cathartic exercise where you expel your anger. This is when you want to get stuck into complex cleaning tasks because you’ll be able to use that energy.
However, do some cleaning when you’re happy because you don’t want to associate cleaning with anger!
Note: Depending on the day, you may find you’re a mixture of different ‘cleaners’.
3. Get Everyone Involved in the Spring Clean!
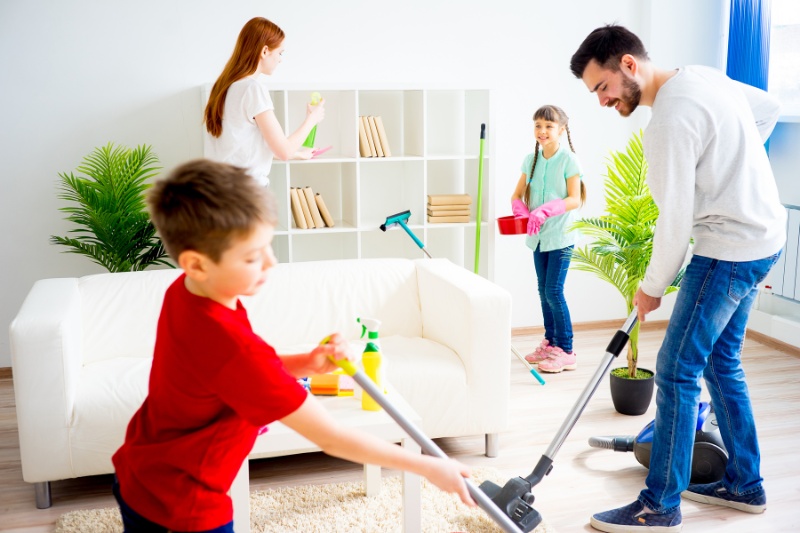
Don’t assume that a spring clean is a one-person job – it’s a whole family affair!
You can get your kids involved with general tasks, like putting their toys away or sorting books out.
Your spouse/partner can help with more significant tasks, like dusting high ceilings and hoovering. And everyone can have their own little job/area to clean.
4. Clean Top to Bottom
As a guide, you should clean the top of a room (ceiling) and work toward the floor (carpet/laminate).
Why? As you clean, dust and general grime float into the air and settle on lower surfaces.
By cleaning from top to bottom, you can clean the dirt off each surface as you work towards the floor.
For example, if you were cleaning a kitchen, you wouldn’t want to mop the floor and then clear the cupboards.
If you did this, all the crumbs and grime would fall onto your freshly cleaned floor, so you’d have to re-clean it.
5. Declutter the Inside and Outside of Your Home
Wardrobes, games rooms (toy room), garden sheds, and kitchen cupboards get stuffed with items that haven’t been used for years, are out of date, or are just taking up room.
So, declutter the spaces in your home!
Take note of the following:
- Bin items that are out of date (medicines/food).
- Take goods that are too dirty to be cleaned to the rubbish tip (old makeup stuff).
- Empty pots/tubs/jars can be recycled (creams/sauces).
- Donate clothes you no longer need or wear.
- Give unwanted toys to a charity shop.
- Remove the stuff that’s been thrown into the shed and go through it all.
The goal is to only keep the essential stuff!
And don’t worry if you feel utterly overwhelmed by decluttering. It’s perfectly natural!
Just step back, assess the situation, and plan how to move forward. Again, just take baby steps toward your goal. Rome wasn’t built in a day. Take it easy!
6. Scrub Your Floors
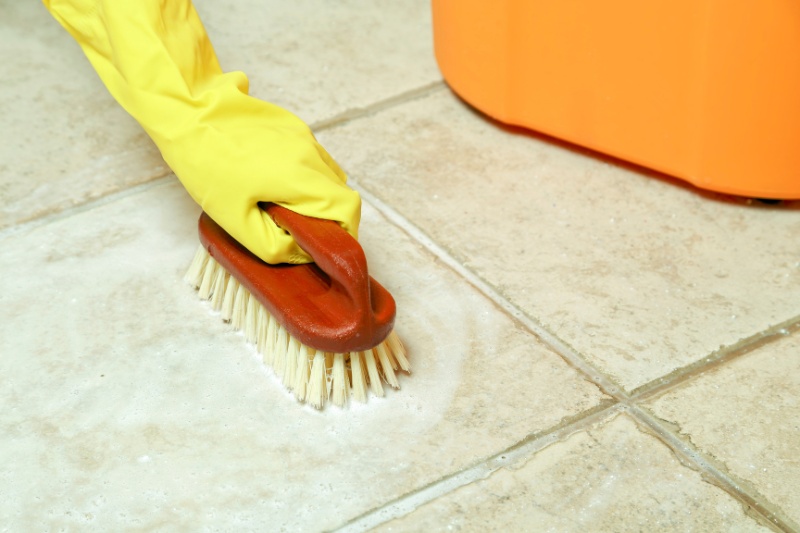
As part of your spring cleaning session, you should clean all the floors in your home. This includes the mats by the doors (the ones you wipe your feet on as you walk into the house) and rugs.
Floors, whether they be laminate, carpet, slate, vinyl, or shag rugs, are subjected to lots of foot traffic as well as other dirt daily.
They quickly become a haven for germs and bacteria, get overrun with stains, and must be cleaned regularly.
Ideally, you should carry out this cleaning task towards the end of the spring clean because you’ll walk over the surfaces as you clean other areas.
There are many ways you can clean a floor, including buying an off-the-shelf product, renting a cleaner, or using a mop and basket (choose a suitable cleaning method that matches the type of surface you have).
Don’t forget that cleaning is only one step. You’ll also need to deodorise carpeted surfaces as they hold onto odours.
It’s usually a straightforward job to remove aromas from carpets, and a little bicarbonate of soda usually does the trick!
A clean floor can transform the look of a room!
7. Make Hoovering and Dusting Part of Your Routine
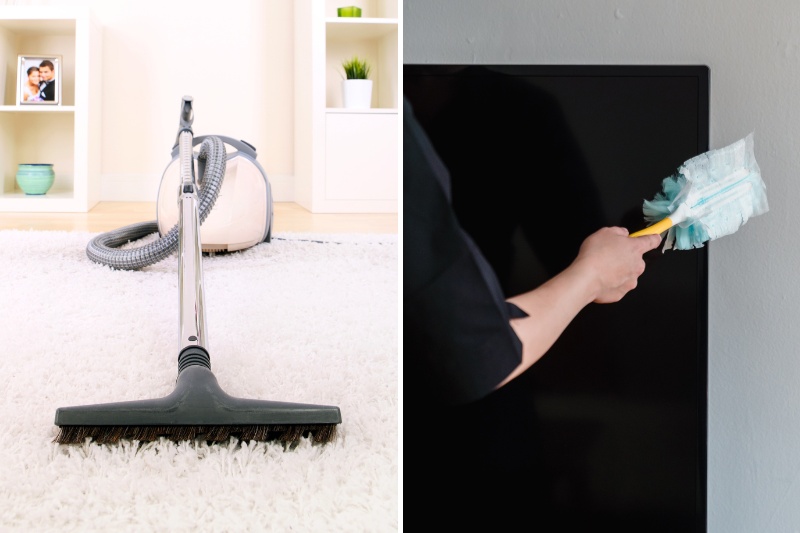
A relatively easy way to clean a home is to dust and hoover it regularly. A weekly dusting or vacuuming session can remove a lot of surface grime from around your home and can keep the cobwebs at bay.
As part of your dusting routine, you could also wipe the walls down in each room. You won’t believe how much dirt they get covered in. Try not to wet the walls. Just use a duster or a microfibre cloth to remove the dirt.
8. Revive Metal Surfaces
Metallic surfaces often lose their glowing appearance once they get caked in fingerprints and muck. So, make them shiny again. Polish them!
A little polish here and there will do the world of good and give sockets and switches a new lease of life.
Tip: It would also be worth giving each surface a quick clean with an antibacterial wipe. This small action will remove bacteria/gunk – let’s face it, you don’t know what germs you’ll find on a switch.
9. Freshen Up Your Curtains and Blinds
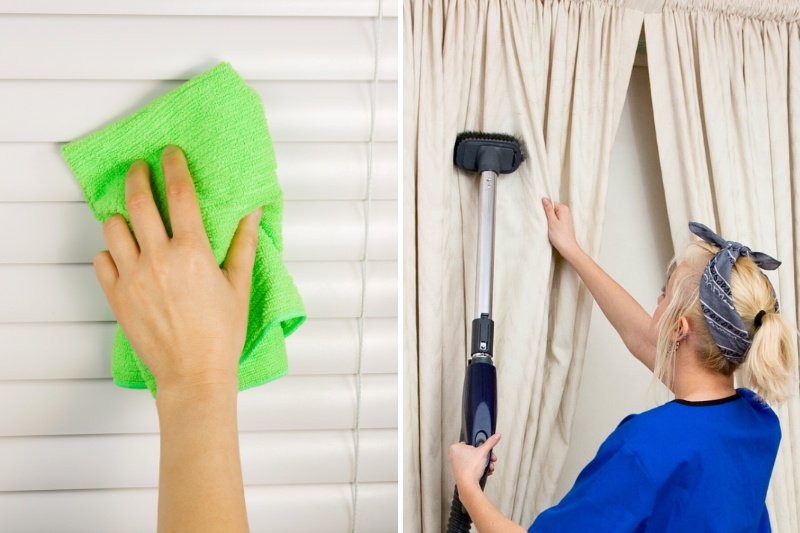
Curtains and blinds get covered in dust particles, dander, and pollen because they’re near the window. This, in turn, can make them look gloomy and dated.
But all of this can be rectified by giving the blinds a wipe-down with a duster and cleaning the curtains!
You’ll be surprised by how much nicer the windows in your home look when they’re adorned with fresh curtains and blinds!
10. Invest in the Best Cleaning Tools

Spring cleaning isn’t the most exciting task in the world. However, there are a few ways you can make the job more interesting, or perhaps I should say, more enjoyable.
You need to invest in the proper set of tools to clean your home.
The correct cleaning equipment can make the work more straightforward for you. It also means that you don’t have to stop all the time to look for supplies. So, get your tools in order and then get cleaning.
Essential tools and solutions include:
- Brushes
- Buckets
- Mops
- Dusters
- A vacuum cleaner with a HEPA filter
- Squeegees
- Mircrofibre cloths
- Detergent
- Washing-up liquid
- Soft toothbrush
- White vinegar
- Lemon juice
- Bicarbonate of soda
- An off-the-shelf stain remover
- Measuring device
- Isopropyl alcohol/rubbing alcohol
- Bowls/pots
Note: It’s also worth storing your cleaning tools in convenient spots around your house so you actually remember to use them. Keep your main cleaning supplies in the kitchen and store a smaller batch of washing products in the bathroom, for example.
11. Make Sure You Use Your Cleaning Tools
When it comes to cleaning tools, you should make a habit of using all the additional attachments that your cleaning equipment comes with.
For example, your vacuum cleaner will have an upholstery attachment, brush bar, and crevice tool at a minimum. You must use all these tools as you spring clean your home.
Use the upholstery attachment to hoover soft furnishings and the crevice tool can be slotted into narrow gaps – perfect for sucking up crumbs!
12. Spruce Up Your Cleaning Tools
On the note of cleaning tools, don’t forget to maintain your equipment as you carry out your spring cleaning activities! Some jobs you’ll complete will make your cleaning gear dirty, so it must be washed/wiped down.
Hoovers need to be emptied and maintained, hair and gunk must be removed from brush heads, and mops must be sanitised, for example.
If your cleaning equipment isn’t clean, how on earth do you expect them to clean your home successfully? You won’t be able to. Dirty tools just spread grime and bacteria around.
13. Use Natural Cleaners
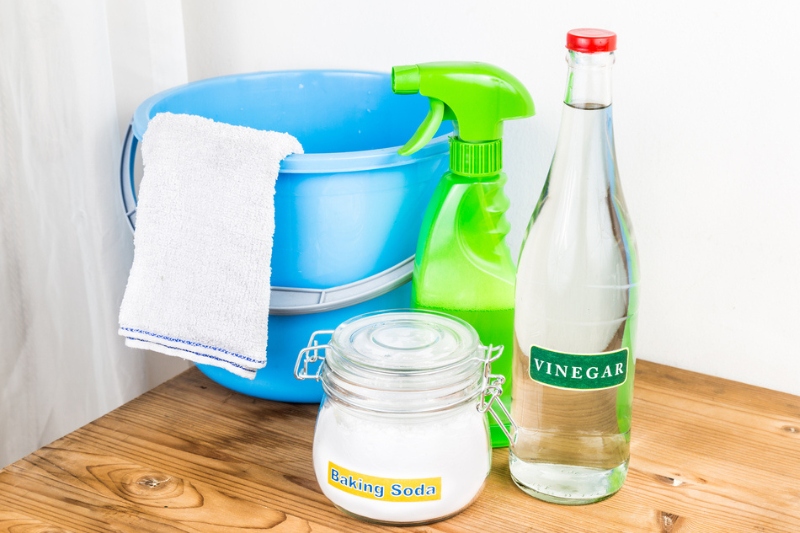
It’s not essential to invest in hardcore, chemical-laden cleaners to clean your home. You can turn to natural products like bicarbonate of soda, white vinegar, and lemon juice for help!
These ingredients are only a handful of useful ones that can be used to treat and wash the many surfaces in your home.
They’re also super easy to get hold of, don’t cost a fortune to buy, and can be used in busy family environments.
14. Move Your Furniture Around So You Can Clean Properly
Don’t forget to move your furniture from its usual spot to clean behind/underneath it.
Lots of debris (cobwebs, dust, and dander) finds its way under the sofa/bed and behind wardrobes and units.
In most cases, you’ll have to hoover and dust the areas! But in the end, you’ll have given your home an epic spring clean.
Tip: You’ll have to remove ornaments from cupboards and clean them.
15. Show Your Furniture and Clothes Some TLC
As you carry out the more obvious cleaning activities on your list, take a few minutes to consider treating any leather items or re-waterproofing your garments.
It’s not an essential step, but treating items like leather sofas with leather cleaners and protectors can help their longevity! Similarly, popping a waterproof coating onto a jacket will help to keep you dryer for longer.
16. Keep Your Fridge in Tip-Top Form

Fridges are known for getting clogged up with foods that are well-passed their sell-by dates!
But instead of wasting food, why not rotate the items in your fridge (bring old food to the front) as you replenish the appliance?
By doing this, you’ll be able to see what’s about to go off so you can eat it. It also means that you won’t leave rotting, sticking, or leaking food in the machine for weeks on end.
In addition, you won’t clutter your appliance up with duplicates of each type of item! It’ll also make your fridge look neater, and you can save a few pounds here and there every time you go to the shop!
17. Smarten Up Your Appliances
You should deep clean all your appliances as part of your spring clean. These include the washing machine, tumble dryer, dishwasher, microwave, oven, and coffee maker. You could even defrost the freezer!
Cleaning said appliances won’t just make them hygienic, but a maintained machine usually functions effectively. Don’t allow the gunk to build up and for problems to appear. Put an end to potential issues before they’ve had a chance to manifest.
18. Put Your Appliances to Good Use
When it comes to spring cleaning, you’ve got to get a little creative and consider how to utilise all the cleaning tools you have at home!
Believe it or not, you can use your dishwasher to clean other things aside from crockery! It can also be used to clean toys and dog toys. So, why not use the dishwasher and save time?
Likewise, use your washing machine to clean as much as you can!
19. Refresh Your bedding
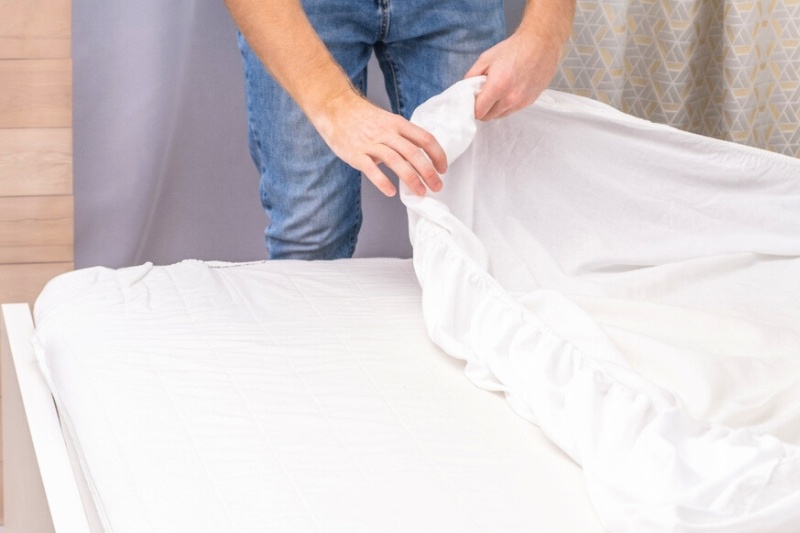
A simple way to spruce up your home during a spring clean is to remove the old bedding, wash it, and replace the covers with new seasonal bedding.
This includes swapping your winter-themed cushions and blankets for spring-themed ones and putting a thinner tog on the bed.
20. Maintain Your Bathroom as You Sleep
You do have to be present to do most of the cleaning work during your spring clean. However, there are a few jobs that you can do while you sleep.
This includes popping your showerhead in a bag of white vinegar overnight to remove the limescale from it. By the morning, you’ll be able to clean the deposits off the head, and it’ll work like new.
Keep an eye out for more hacks like this! They’re great time-savers.
21. Keep Your Windows Clean

As mentioned above, clean blinds and curtains can transform a room. But to take things one step further, you should clean your windows inside and outside to make them glow and to allow light to pass through the panes properly!
For external windows, you can hire a professional for help. But for internal windows, you can gather the following window cleaning supplies and use them to carry out the work: a little washing-up liquid, cloths, and a squeegee!
See our article on how to clean windows if you need a step-by-step guide.
Tip: Don’t forget to clean the window’s tracks!
22. Keep Your Windows Open as You Clean
When carrying out your spring clean, keep your windows open so that fresh air can enter the house and foul smells can go out.
23. Remove Odours from Your Home
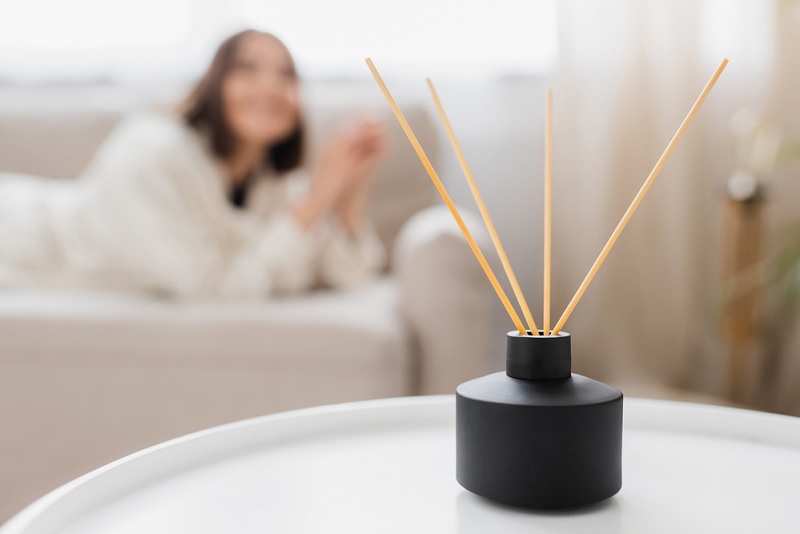
As mentioned earlier, cleaning is imperative, but removing bad smells from your home is also essential.
To be clear, these aromas are not your everyday, “this is my house smell” kind of odours. These scents are an assault on your nostrils and are not supposed to be in your home.
There can be many foul odours in a property. These include pet urine/faeces, food smells), and earthy, sewer-like aromas.
But luckily, there are many ways you can take out these odours and make your home smell nice.
These include cleaning up obvious dirt, allowing fresh air into the house, keeping smells to one room, and using diffusers/air fresheners/candles to manage the aromas.
When we’re on the topic of odours, one whiffy area in your home will be the rubbish bin (bins even!). Don’t skip cleaning your kitchen, bathroom, and wheelie bins.
Give them a thorough wash with warm, soapy water and add some Bin Buddy (they do a Spring Blossom version – how apt!) to the base of each bin to keep them smelling fresh!
24. Get Creative with Storage Solutions
When your spring clean is in full swing, you’ll probably be looking at new storage solutions that you can use to keep all your goodies tidy.
Storage containers, vacuum bags, drawer organisers, and tiered spice/can racks for cupboards are some solutions you could look into! They’re easy to come by, straightforward to use, and keep your items safe and secure.
And why not use these storage solutions throughout your house? You can try them in your fridge, wardrobes, and use them to keep your make-up tidy!
25. Hoover Your Mattress

A little hoovering job that many of us skip is vacuuming the mattress on our bed. Even though we sleep in our beds most nights and spend a lot of time lying on the soft surface, we forget to clean it!
Now it’s spring it’s time to whip the covers off the bed and start hoovering the mattress!
You’ll need to vacuum the whole mattress, so go over the sides and back, and don’t forget to flip it over.
Then, you can cover the mattress in bicarbonate of soda (which absorbs odours), leave it sitting on the surface for a few hours, and vacuum the area again.
When you’re done, the mattress will smell a lot better!
26. Give Overlooked Areas Some Attention
As you carry out your spring clean, consider what areas you regularly wipe down/wash and which areas you often miss.
As noted earlier, the mattress is one area, but there are more. Overlooked areas include skirting boards, coving, ceilings, and lights. Now it’s time to clean them!
You can dust most of these areas with a telescopic duster, a microfibre cloth, or hoover them. (They’re likely to be covered in cobwebs, dander, and dust!)
By the end, you’ll notice a huge difference. Your ceilings and walls will be web-free and cleaner, and your lights will be sparkling after you’ve ripped the film of grime from them!
27. Give Your Electronics a Little Attention
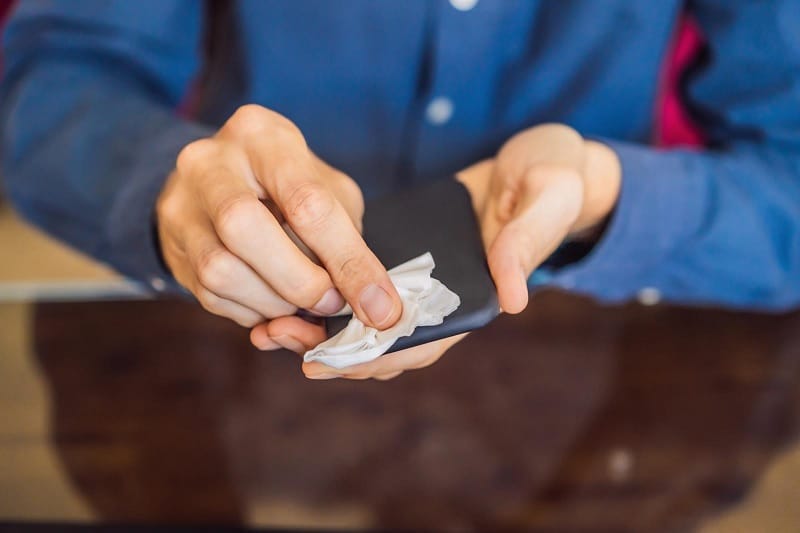
We spend a considerable amount of time playing on different consoles, watching TV, handling remote controls, and scrolling through Facebook on tablets, iPads, and phones. These gadgets are subjected to a lot of hand dirt and sweat.
So it makes sense to clean these electronic items!
As a rule, electronics shouldn’t get wet. So, you’ve got to be a bit creative and use toothpicks, microfibre cloths, and canned air to tease the grime from them!
Sometimes, you can use alcohol wipes to clean controllers, but they’ve got to be the quick-drying ones!
28. Check Your Alarms
A crucial part of your spring clean should be to ensure all the alarms are working correctly. This is the time when you replace any batteries!
29. Don’t Forget to Clean the Outside of Your House
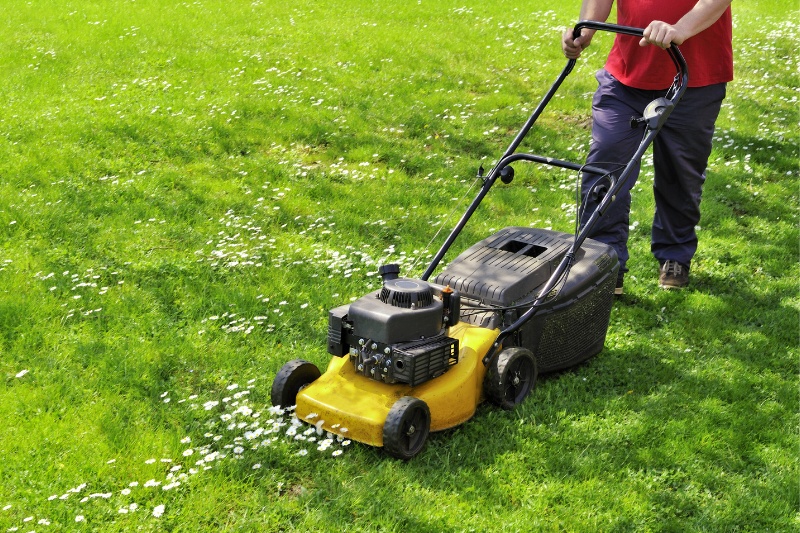
With summer straight after spring, it makes sense to give your garden a quick tidy-up before you start using it.
Consider the following:
- Do some weeding
- Mow the lawn
- Pressure-wash the path
- Clean the patio furniture ready
- Clean the outside of your windows
- Clean the guttering
- Wash the cushions that go on the seats
In general, you want to spruce up the garden so that it looks well-kept and inviting!
30. Create a Checklist of Jobs You Can Do Every Day
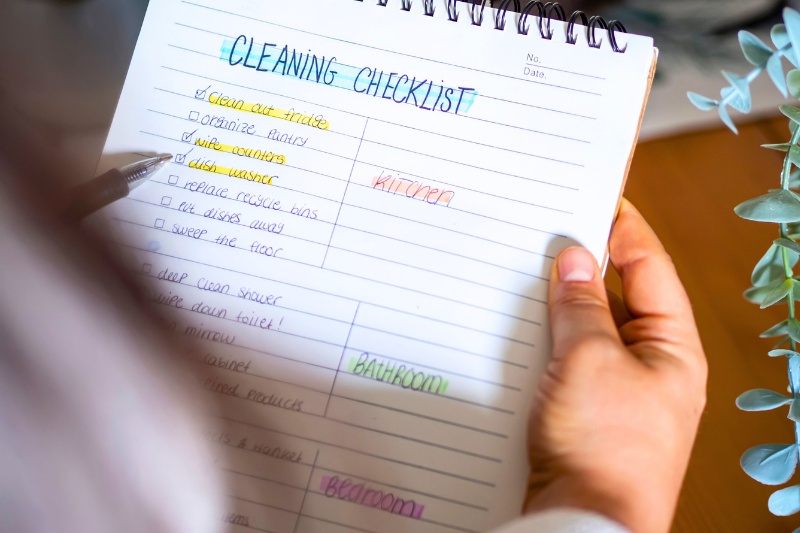
As you’re carrying out your spring cleaning tasks, take note of what jobs you could do every day or every few days so that you can work them into your regular cleaning schedule.
The purpose of doing this is that your house will be relatively clean and orderly by the time the following spring clean comes around because you’ll have stayed on top of the tasks.
It will also help you to keep your home in a relatively clean condition throughout the year.
Ultimately, you won’t have a mammoth spring cleaning job. It’ll be more like a slightly deeper version of your regular cleaning routine, which isn’t bad at all!
31. Call a Pro to Help You!
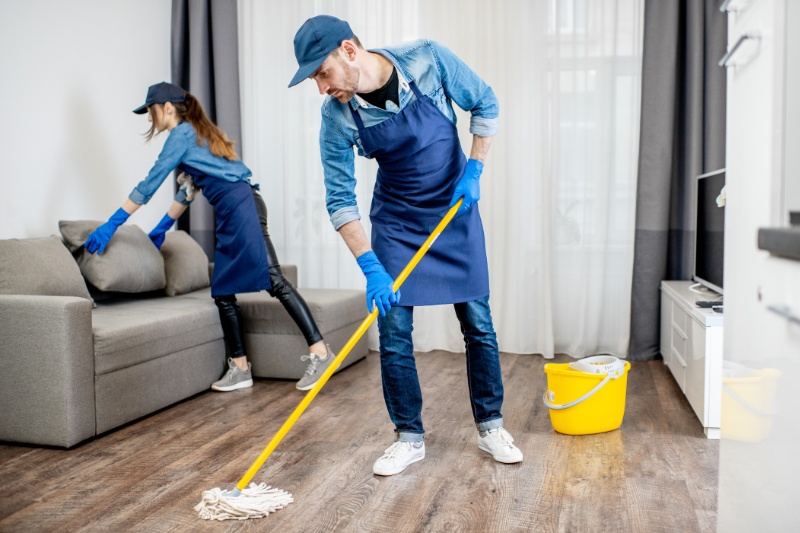
If cleaning isn’t for you, you can always call someone to do the work for you! Experts in this field can be found online – just pick a suitable company with many positive reviews.
And remember, you can always get a cleaning person in weekly to help you stay on top of the housework!
In addition, you can also hire professional declutterers to carry out decluttering work for you. This is particularly useful if you feel overwhelmed by the task and need some support!
Now you’ve got all the tips you need, you can start your spring cleaning session!

Bethan has a passion for exploring, reading, cooking and gardening! When she’s not creating culinary delights for her family, she’s concocting potions to keep her house clean!


